


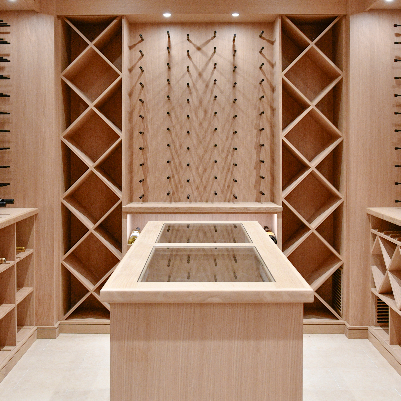


A great wine cellar starts with accurate measurements. Whether you are converting a basement room, fitting a glass enclosed display into a dining area, or planning a compact under stair installation, the dimensions of the space influence almost every design decision that follows.
That includes bottle capacity, racking style, cooling strategy, insulation requirements, and how comfortable the room will be to use day to day.
The goal is not simply to find out whether the room is big enough. It is to understand how the space can function as a wine cellar once storage, access, construction details, and climate control are all factored in.
Begin with the true interior dimensions
The first step is to measure the room carefully. Start with the interior length, width, and ceiling height, then calculate the total cubic footage. The source article uses cubic footage as the starting point because room volume affects cooling requirements and overall planning.
For a rectangular room, use:
Length × Width × Height = Cubic Footage
If the space is not a simple rectangle, divide it into smaller sections and measure each one separately before adding the totals together. This is especially useful for alcoves, angled walls, bulkheads, and under stair spaces, which can otherwise distort your planning. The source article recommends breaking irregular rooms into multiple sections for this reason.
It is also worth noting any features that reduce usable space, such as soffits, columns, doors, low ceiling areas, windows, or equipment that must remain accessible.
Measure for usable storage, not just empty space
One of the biggest mistakes in early cellar planning is assuming the whole room can be used for bottle storage. In reality, part of the room must be reserved for circulation, door swing, feature displays, and sometimes cooling equipment or service access.
A more useful question is: how much of the room can actually hold wine?
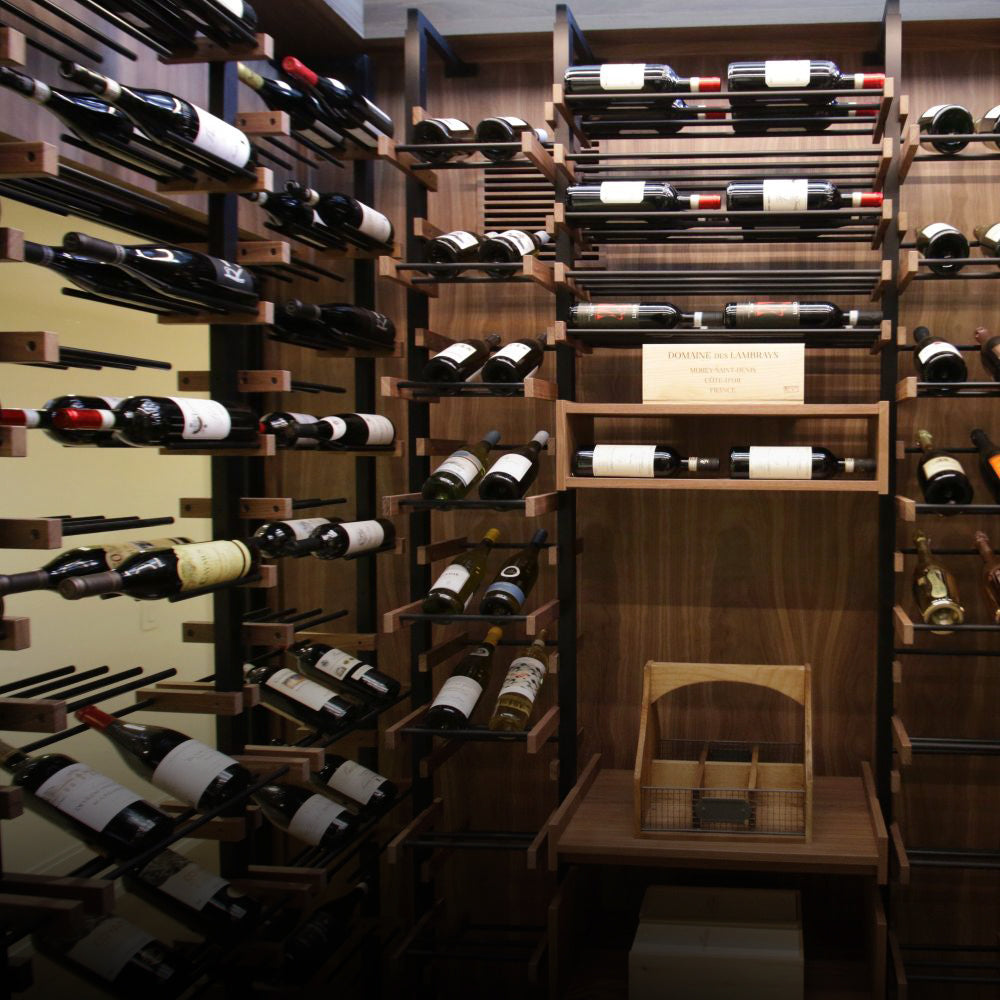
That is why measuring wall lengths, recesses, and uninterrupted surfaces matters just as much as measuring the room itself. A narrow wall may be perfect for label forward display, while a deeper section may be better suited for standard bottle storage or bulk bins.
Decide how many bottles the cellar needs to hold
The source article advises taking stock of your current collection and planning beyond it, including room for future growth. It also notes that many clients underestimate how quickly a collection expands once they have a proper storage space.
Before you settle on a layout, estimate:
- how many bottles you own today
- how many you would like the cellar to hold in a few years
- whether you collect larger formats such as magnums or Champagne bottles
- whether you want room for cases, wooden crates, or display shelving
Designing only for your current inventory can make a cellar feel undersized sooner than expected. It is often smarter to build in extra capacity from the beginning, especially when the room is being finished anyway.
Think about bottle mix, not just bottle count
Not every collection is made up of standard 750 ml bottles. Burgundy, Champagne, magnums, and oversized formats all take up more space and often need different rack openings or dedicated storage zones. The source article specifically mentions adjusting rack sizing for larger bottles rather than relying on standard openings.
For that reason, your measurements should reflect the actual types of bottles you store most often. A cellar designed around standard Bordeaux sizing may not perform well if a meaningful portion of your collection comes in wider or taller formats.
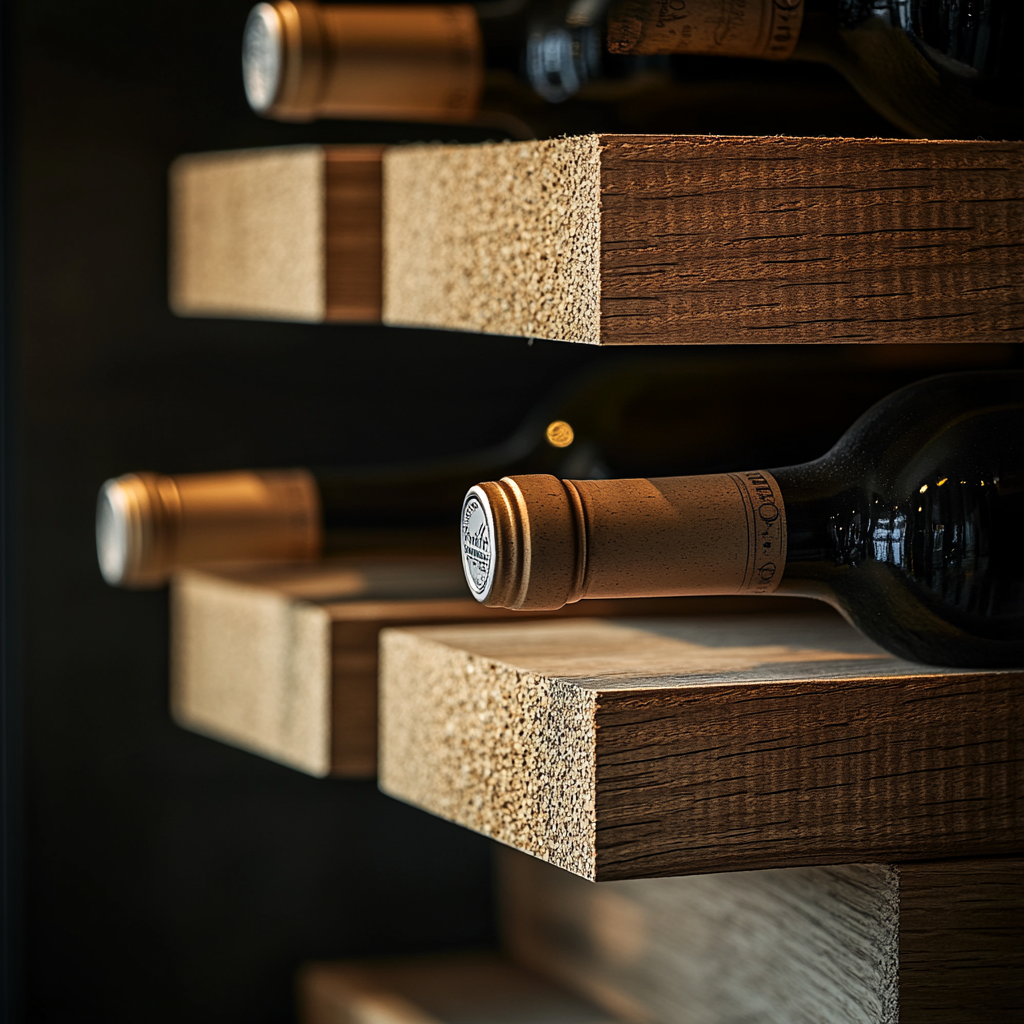
Account for the depth and footprint of the racking
Racking dimensions affect how the room feels and functions. The source article notes that a standard rack that fully supports a typical 750 ml bottle usually requires about 14.5 inches of depth, and that wall measurements should allow for clearance rather than using every inch tightly.
This matters because wine storage is never just about what fits on paper. You also need enough room to:
- reach the bottles comfortably
- move through the space
- open the door without conflict
- create a layout that does not feel cramped
If the cellar is a walk in room, aisle width becomes especially important. The source article recommends allowing proper access in front of racks and notes a minimum three foot clearance for doors.
Plan around the experience of using the room
A wine cellar should be practical, but it should also be enjoyable to walk into. That means measurements should support the way the room will actually be used.
For example:
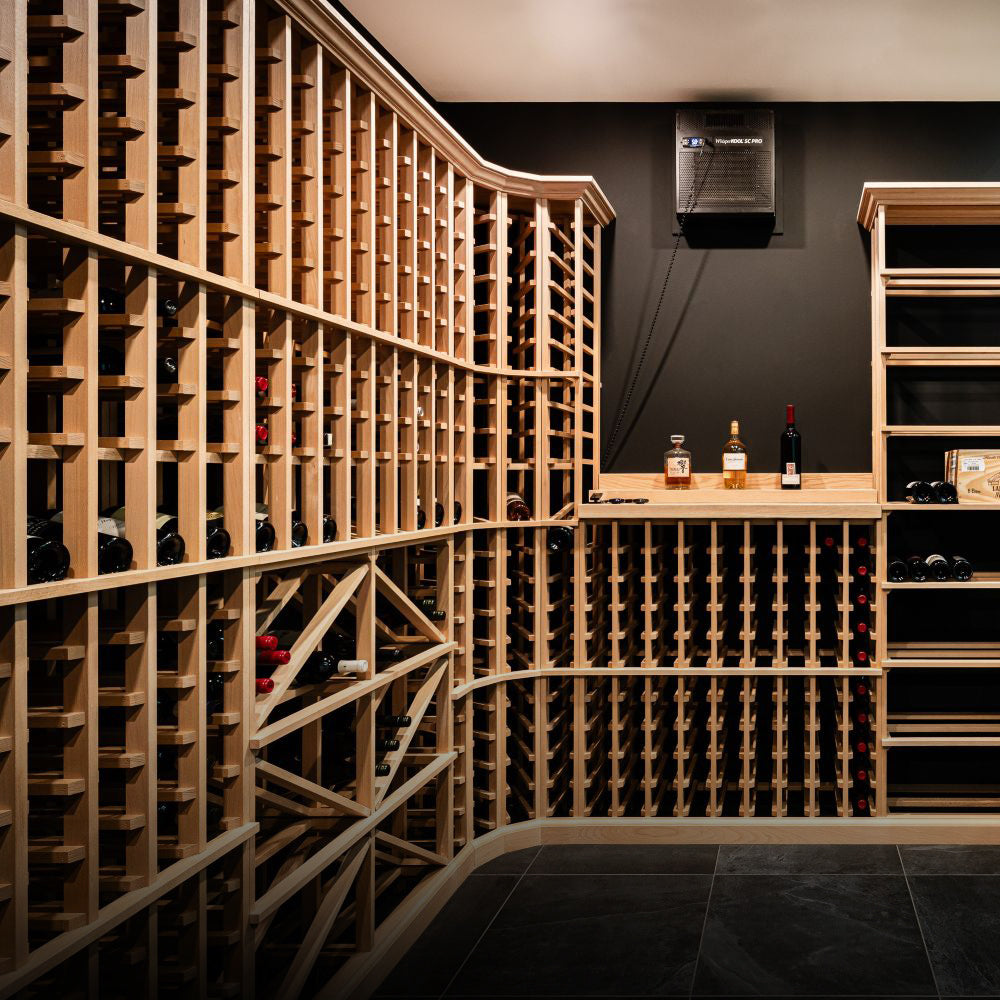
- A collector focused on long term storage may want dense capacity and double deep sections
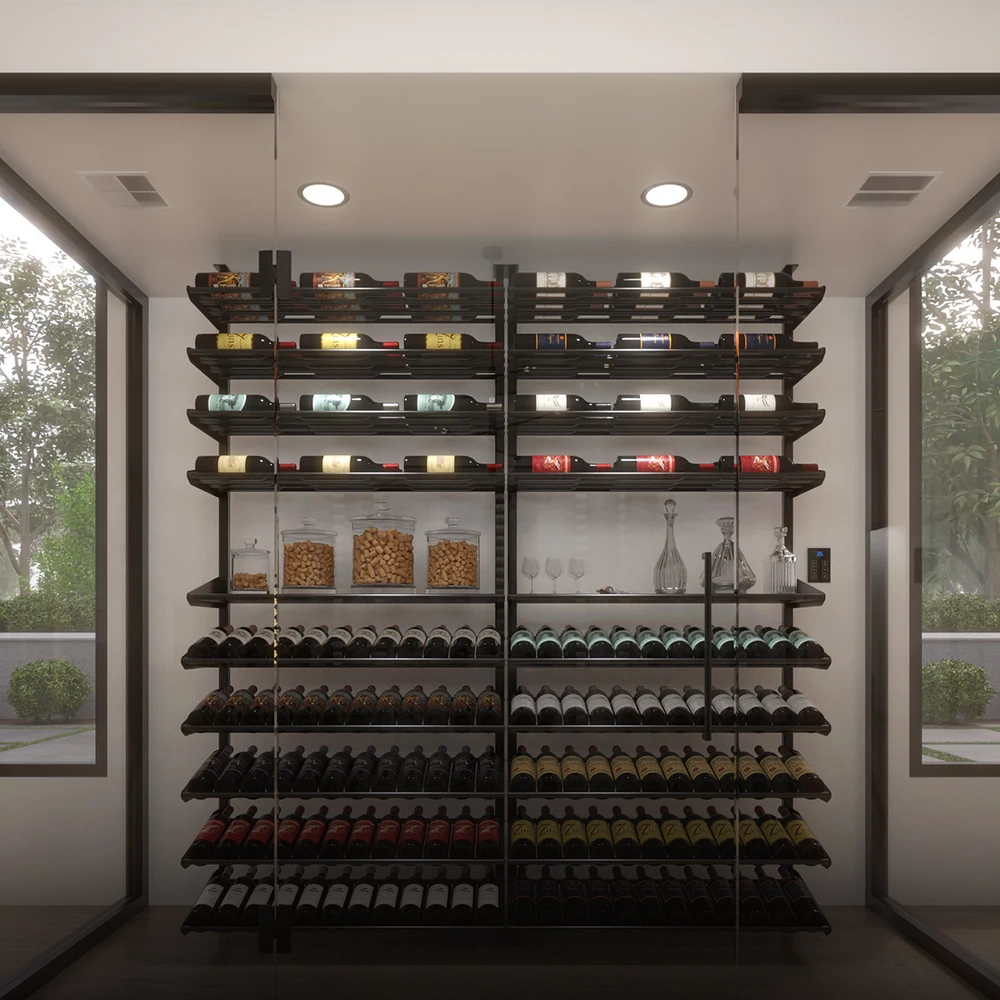
- A client who entertains may prefer more feature displays and easier bottle visibility
- A compact urban cellar may prioritize visual impact over maximum bottle count
The source article references double deep racking as a way to increase density in smaller footprints. Rosehill’s approach would be to balance density with accessibility, aesthetics, and the overall purpose of the room.
Leave room for construction build up
Raw room dimensions are not always the same as finished dimensions. Once insulation, vapour barrier, wall finish, trim details, and glass systems are added, usable interior space can shrink.
The source article highlights insulation thickness and vapour barrier requirements as part of the planning process, especially because those details affect both cooling performance and available room for racking.
This is especially relevant in:
- exterior wall applications
- basement conversions
- glass enclosed wine rooms
- spaces with framing modifications
- projects with feature paneling or millwork
In other words, measure the space you have now, but design for the dimensions the room will have once it is properly built.
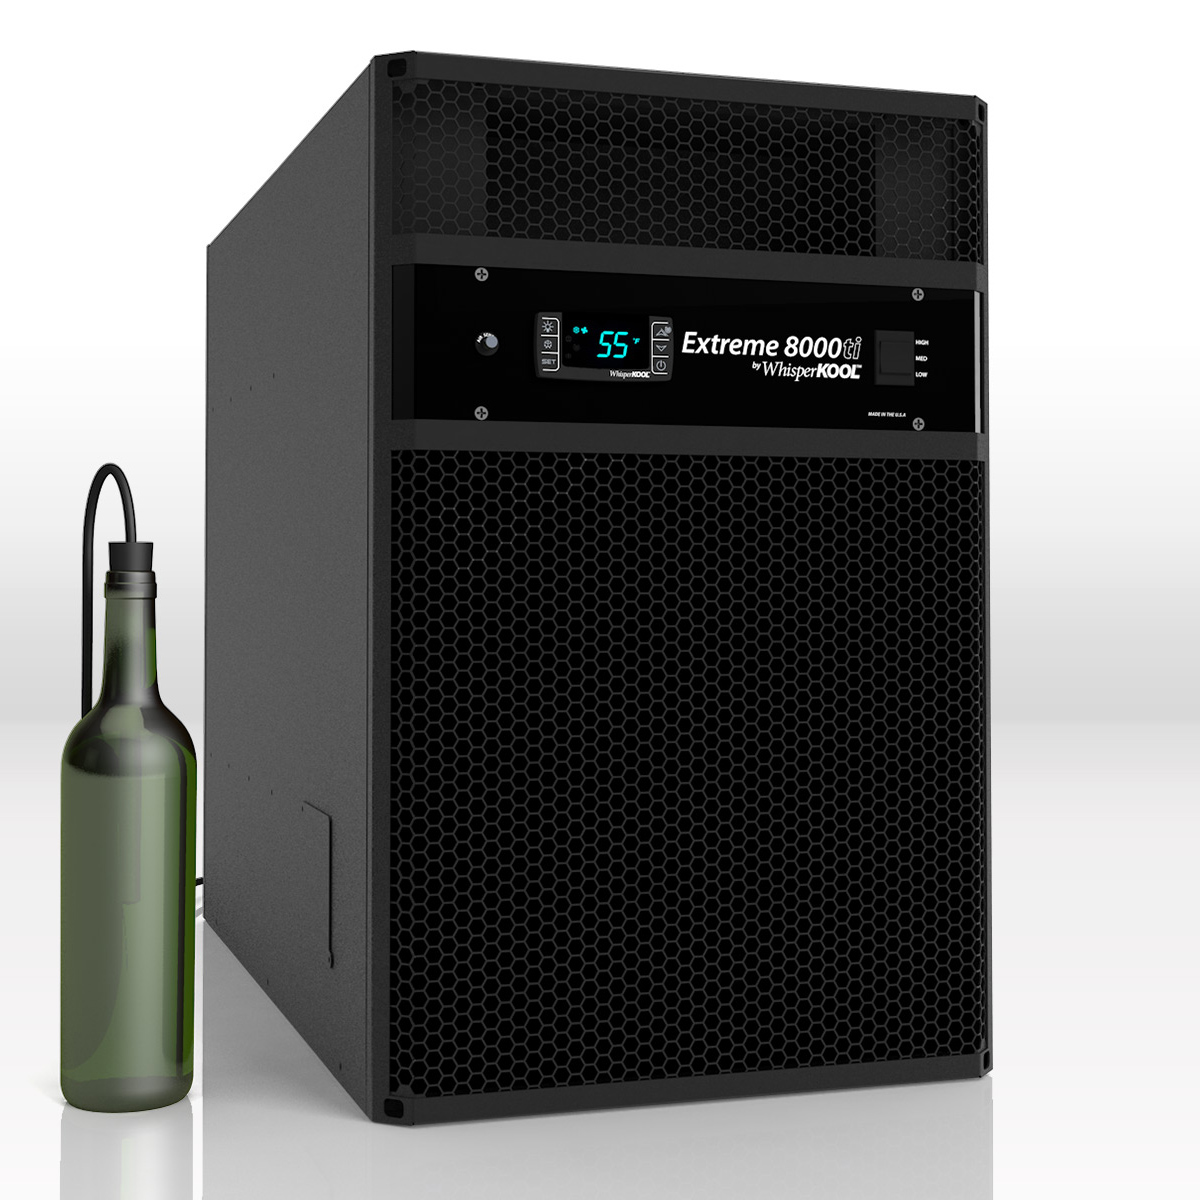
Do not separate measurements from cooling planning
A wine cellar is not only a storage room. It is a climate controlled environment. That means your room measurements should feed directly into cooling and insulation decisions.
The source article ties cubic footage, insulation, and heat sources to cooling system selection and recommends using those inputs for heat load calculations.
That includes thinking about:
- room volume
- insulation level
- exterior walls
- glass surfaces
- lighting
- nearby heat producing equipment
- expected usage patterns
A room may look small enough for one type of system but perform very differently once glazing, lighting, or inadequate insulation are taken into account.
Watch the structural load in larger cellars
The source article also points out that bottle storage becomes heavy surprisingly quickly, estimating roughly three pounds per bottle and noting that larger collections can place meaningful load on a structure.
That does not mean every project needs structural intervention, but it does mean larger installations should be planned responsibly, especially on upper floors or in spaces with concentrated storage walls.
Why professional measurement review matters
Even when homeowners take careful dimensions, a design review is still valuable. The source article ends by recommending consultation with wine storage professionals to help align room preparation, racking choices, and cooling selection.
At Rosehill Wine Cellars, measurement is not treated as a simple technical step. It is the foundation for the entire project. Accurate planning helps determine:
- what storage style makes sense
- how much capacity is realistic
- how the room should flow
- what cooling solution is appropriate
- how to avoid costly design revisions later

