


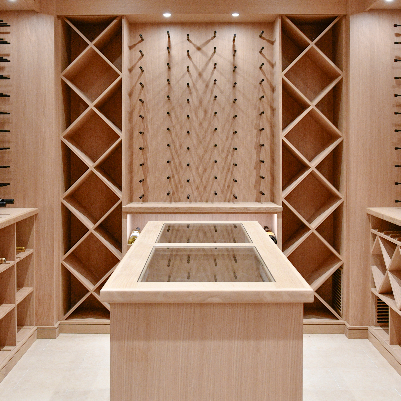


Most collectors spend considerable time choosing the right cooling system. They compare brands, study specs, weigh through-wall units against split systems. That attention is well placed. But the cooling system can only do as much as the envelope around it allows, and the envelope is where the majority of cellar failures actually begin.
Insulation is the layer that makes everything else possible. Get it right, and the cooling system runs efficiently, temperatures hold through seasonal extremes, and the cellar performs year after year with minimal intervention. Get it wrong, and no cooling unit on the market can compensate for the heat load leaking through the walls, ceiling, and floor. The system runs constantly, the temperature swings, and the collection suffers quietly while the cellar looks perfectly fine from the outside.
This guide covers what proper wine cellar insulation actually involves: the R-values that matter, the vapour barrier that is almost always underestimated, the spots where insulation most commonly fails, and what to think about when building in climates where the thermal demands are highest.
Why Wine Cellars Need More Insulation Than You Might Expect
A well-built wine cellar is trying to maintain an interior environment of around 55 degrees Fahrenheit and 60 percent relative humidity, regardless of what is happening on the other side of the wall. In a Toronto basement in January, that might mean holding against a warm ambient interior while the ground outside is frozen. In Naples in August, it means pushing back against outdoor heat that routinely climbs past 95 degrees and ambient humidity that adds a separate layer of thermal and moisture pressure.
Standard residential insulation is not designed for this kind of continuous, sustained differential. A typical exterior wall might achieve R-13 to R-20, which is adequate for home heating and cooling but insufficient for a dedicated cellar environment that needs to stay at cellar temperature around the clock, every day of the year. Wine cellar walls benefit from higher R-values, ceilings even more so because heat rises and the ceiling is often where the greatest thermal load enters the space.
The practical consequence of under-insulated walls is straightforward: the cooling system works harder to compensate for heat gain, runs more frequently, and wears faster. A correctly insulated cellar can maintain target conditions with a properly sized unit running in normal cycles. A poorly insulated one puts the same unit under constant pressure, shortening its service life and risking temperature instability at exactly the moments when external conditions peak.
R-Values: What the Numbers Mean for a Cellar Build
R-value measures thermal resistance. The higher the number, the more effectively a material resists heat flow in either direction. For wine cellar applications, the target values differ depending on which surface is being insulated.
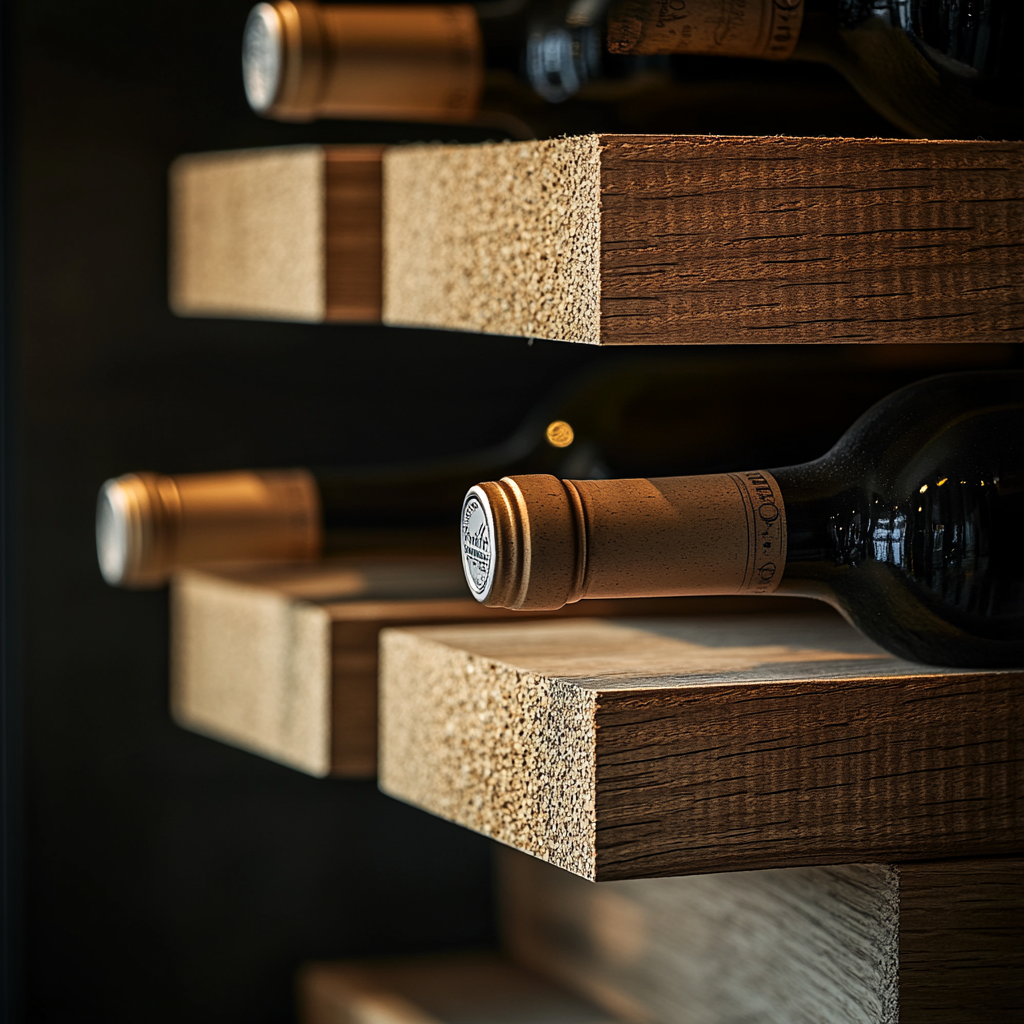
Walls. For cellar walls, R-19 to R-22 is the standard range for a properly built residential cellar. This is typically achieved with batt insulation in a 2x6 stud wall. R-22 batt insulation installed between 2x6 studs is a well-established baseline that provides meaningful thermal resistance while remaining practical to install and inspect.
Ceiling. Ceilings require higher R-values than walls, because heat rises and the ceiling bears a disproportionate share of the thermal load. R-30 or higher is the appropriate target for most cellar ceilings. In warm climates or spaces where the ceiling is directly below a conditioned living area with higher ambient temperatures, erring toward the higher end of the range is worthwhile.
Floor. The floor is the most variable surface depending on construction context. In a basement setting where the cellar floor sits on a concrete slab, the ground itself provides some thermal mass and temperature buffering. In above-grade builds, or in Florida where slab temperatures can be influenced by ground heat, floor insulation becomes a more active consideration. Rigid foam board insulation under the finished floor layer is the practical approach where insulating the floor is warranted.
Exterior-facing walls and shared walls. Not all cellar walls have the same thermal exposure. A wall shared with a conditioned interior room has a different load profile than a wall facing an unconditioned garage or the exterior of the home. In climates with significant seasonal temperature variation, exterior-facing surfaces deserve the most insulation attention. The calculation should account for the worst-case ambient condition the cellar will face across the full year, not just the average.

The Vapour Barrier: The Most Underestimated Component
Insulation handles the thermal load. The vapour barrier handles moisture, and in wine cellar construction, the two are equally important.
A wine cellar maintains cool temperatures inside while the surrounding environment is warmer. That temperature differential creates a driving force for moisture: warm, moist air wants to move toward the cooler surface, and when it reaches a point cold enough to condense, it deposits moisture inside the wall assembly. Over time, that moisture causes wood rot, mould, and insulation failure. The vapour barrier sits on the warm side of the insulation, between the insulation and the wall finish, interrupting that moisture movement before it can reach the cooler layers of the assembly.
The placement of the vapour barrier matters more than most builders and homeowners expect. In a conditioned cellar, the warm side is the exterior of the insulation, meaning the vapour barrier goes between the insulation and the stud cavity on the room-temperature side, not behind it. Installing a vapour barrier on the wrong side of the insulation is a common mistake that creates exactly the moisture problem it is meant to prevent.
For wine cellar applications, a 6-mil polyethylene sheet is the standard vapour barrier. It should be continuous across walls and ceiling, with seams taped and overlapped rather than simply butted together. Every penetration, every outlet, every pipe and conduit that passes through the barrier requires sealing around it. The barrier is only as effective as its weakest point, and gaps around electrical boxes and line sets are where moisture infiltration most commonly begins.
Spray foam insulation is increasingly used in wine cellar applications precisely because it provides both insulation and air sealing in a single layer. Two-pound closed-cell spray foam has a higher R-value per inch than batt insulation and does not require a separate vapour barrier because the foam itself resists moisture transmission. It is a more expensive approach but one that simplifies installation and tends to produce a tighter, more reliable envelope, particularly in retrofit situations where a standard stud wall is difficult to properly air-seal with batt insulation alone.
The Door: Where More Insulation Is Lost Than People Realize
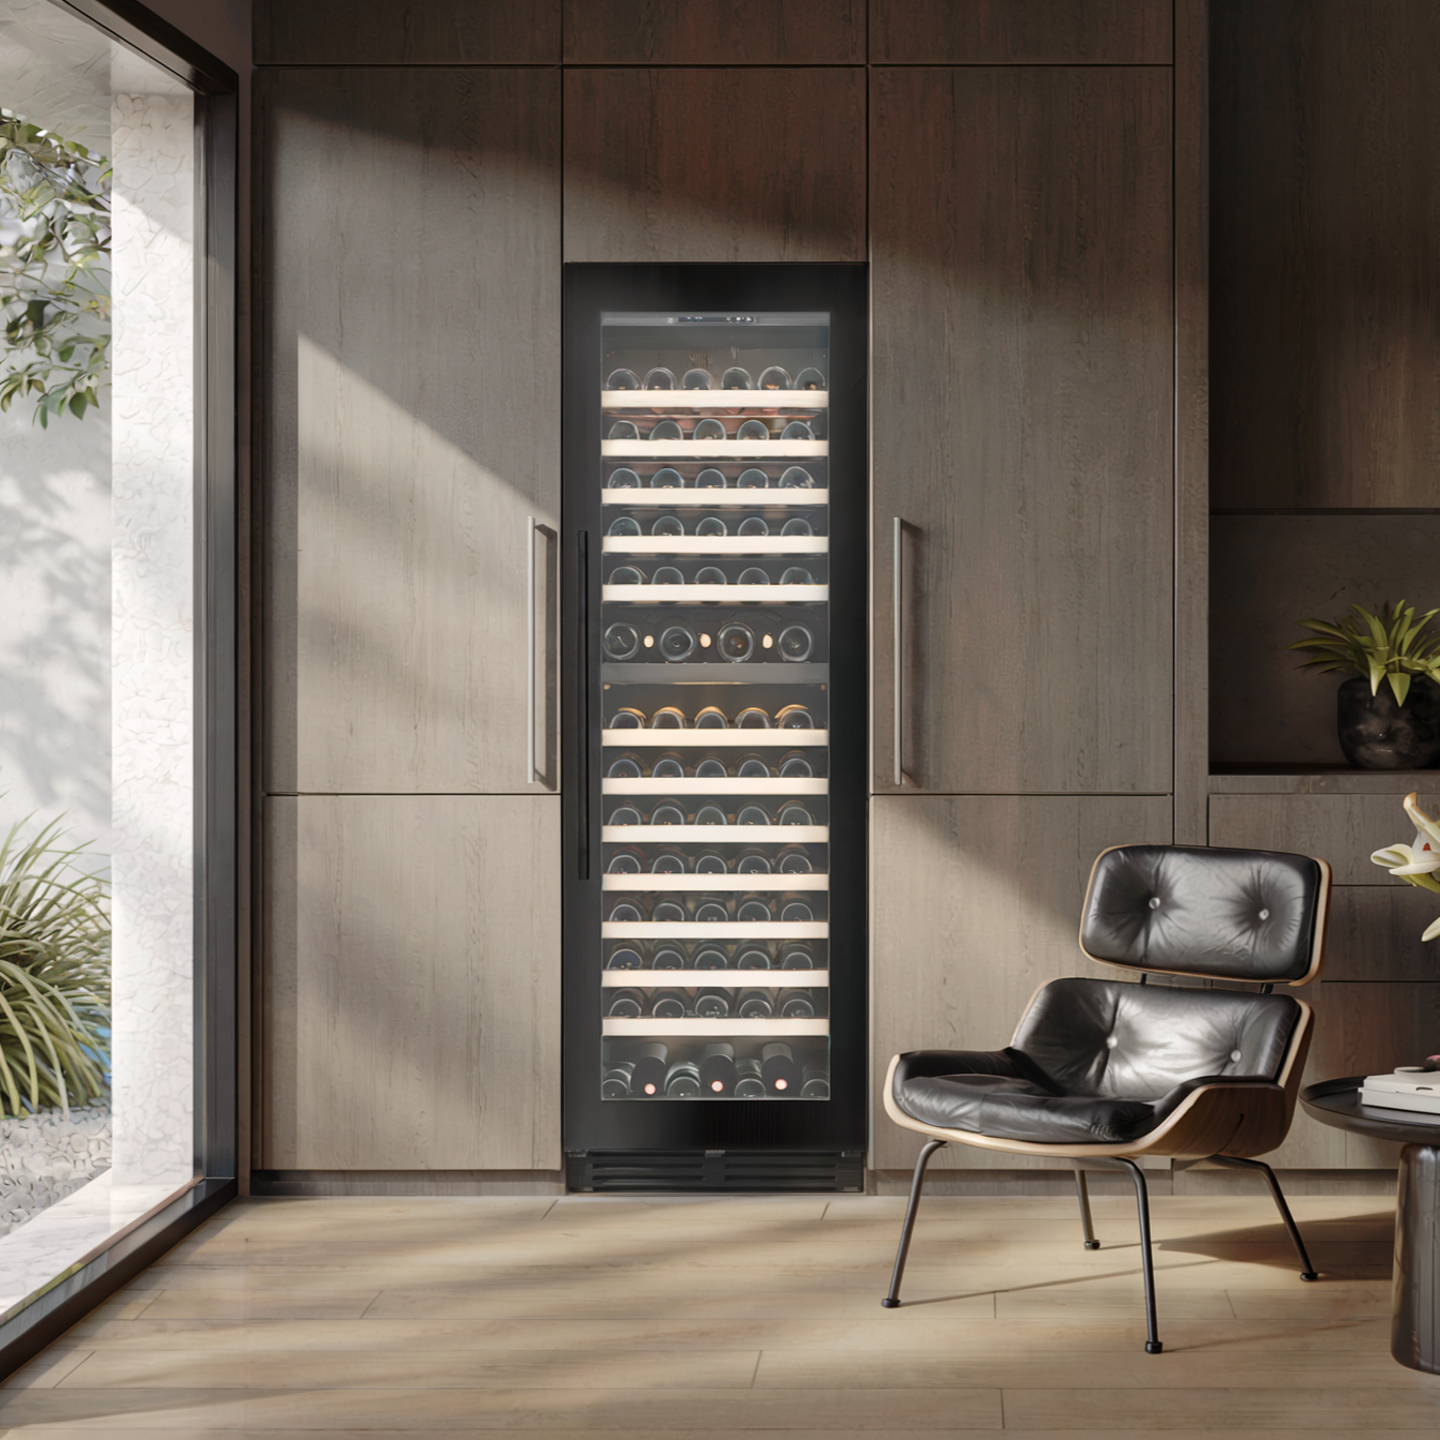
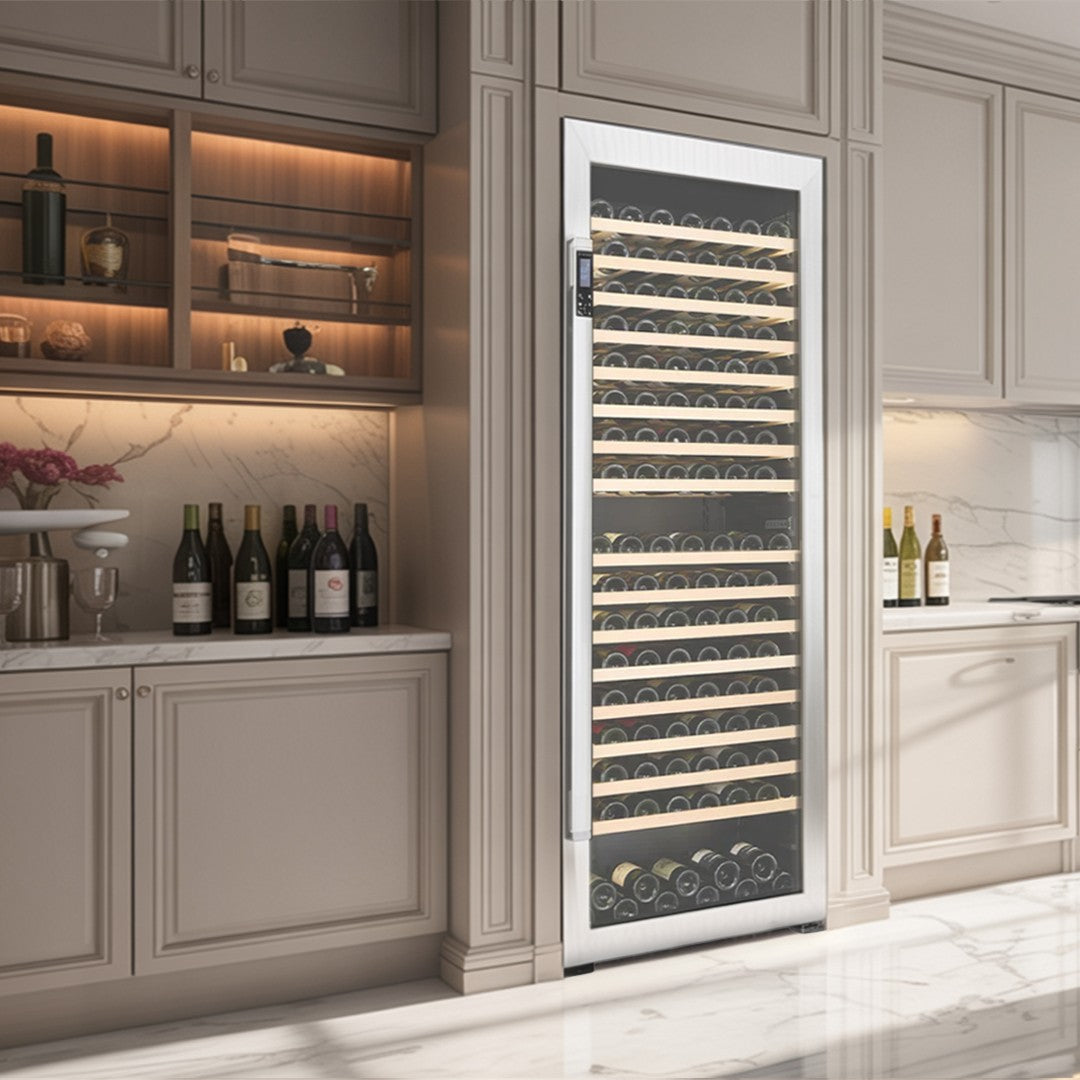
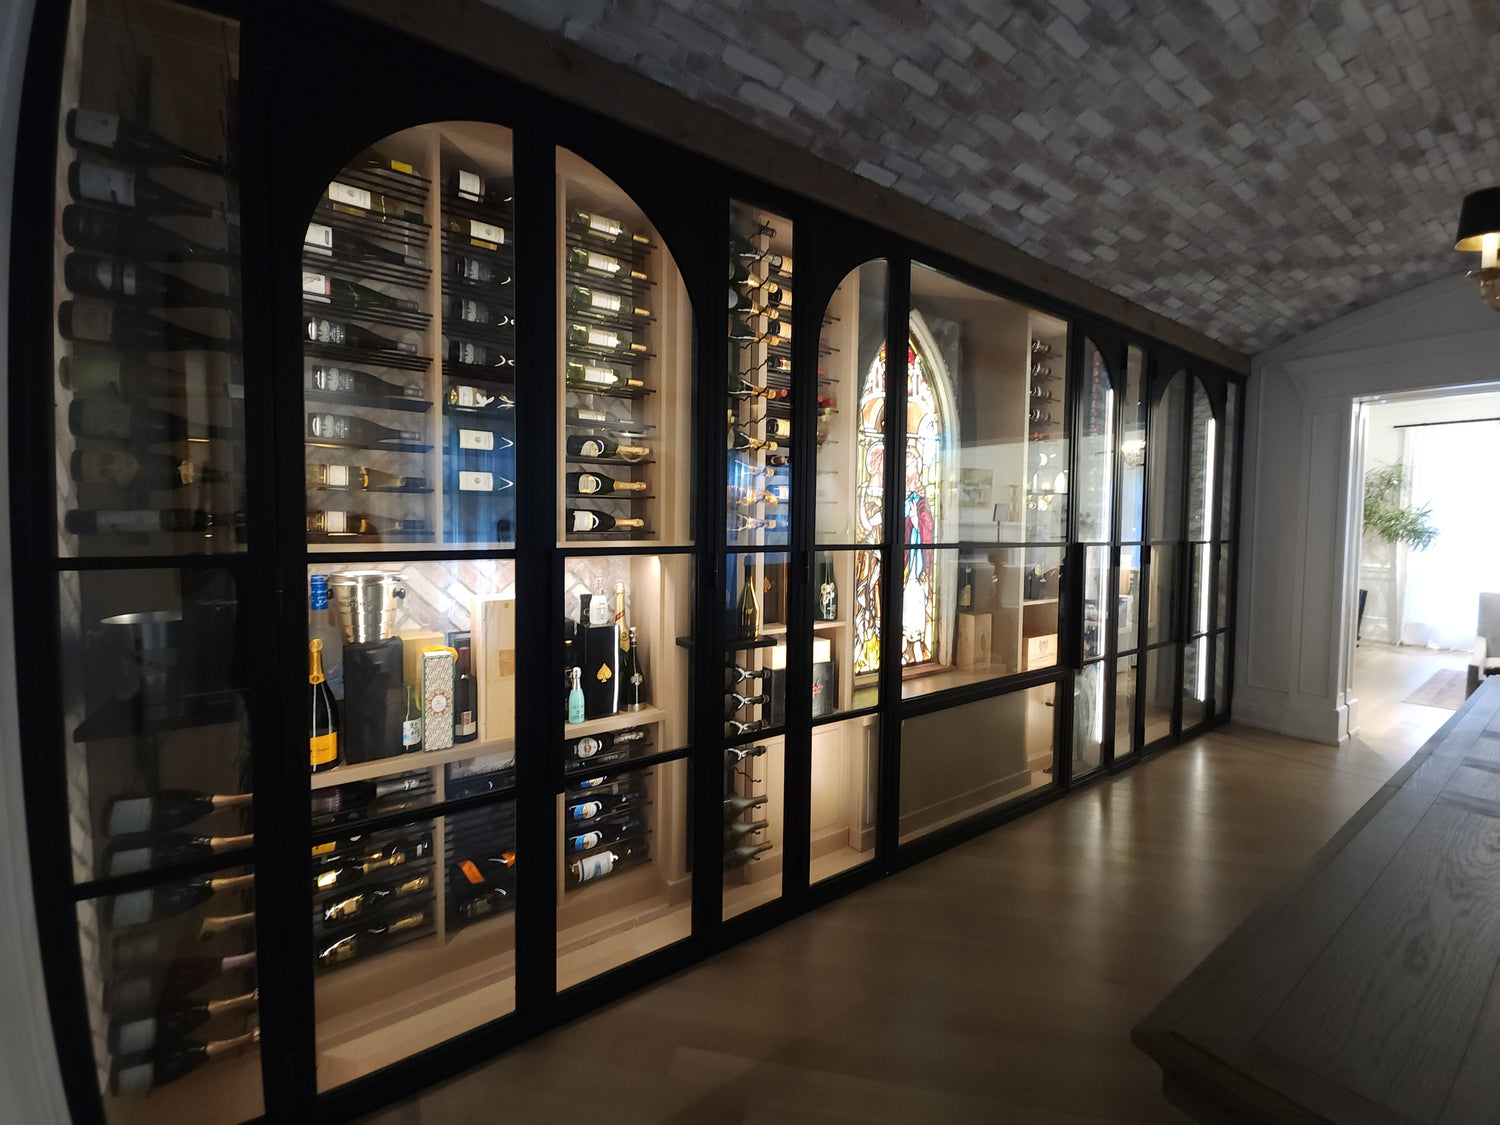
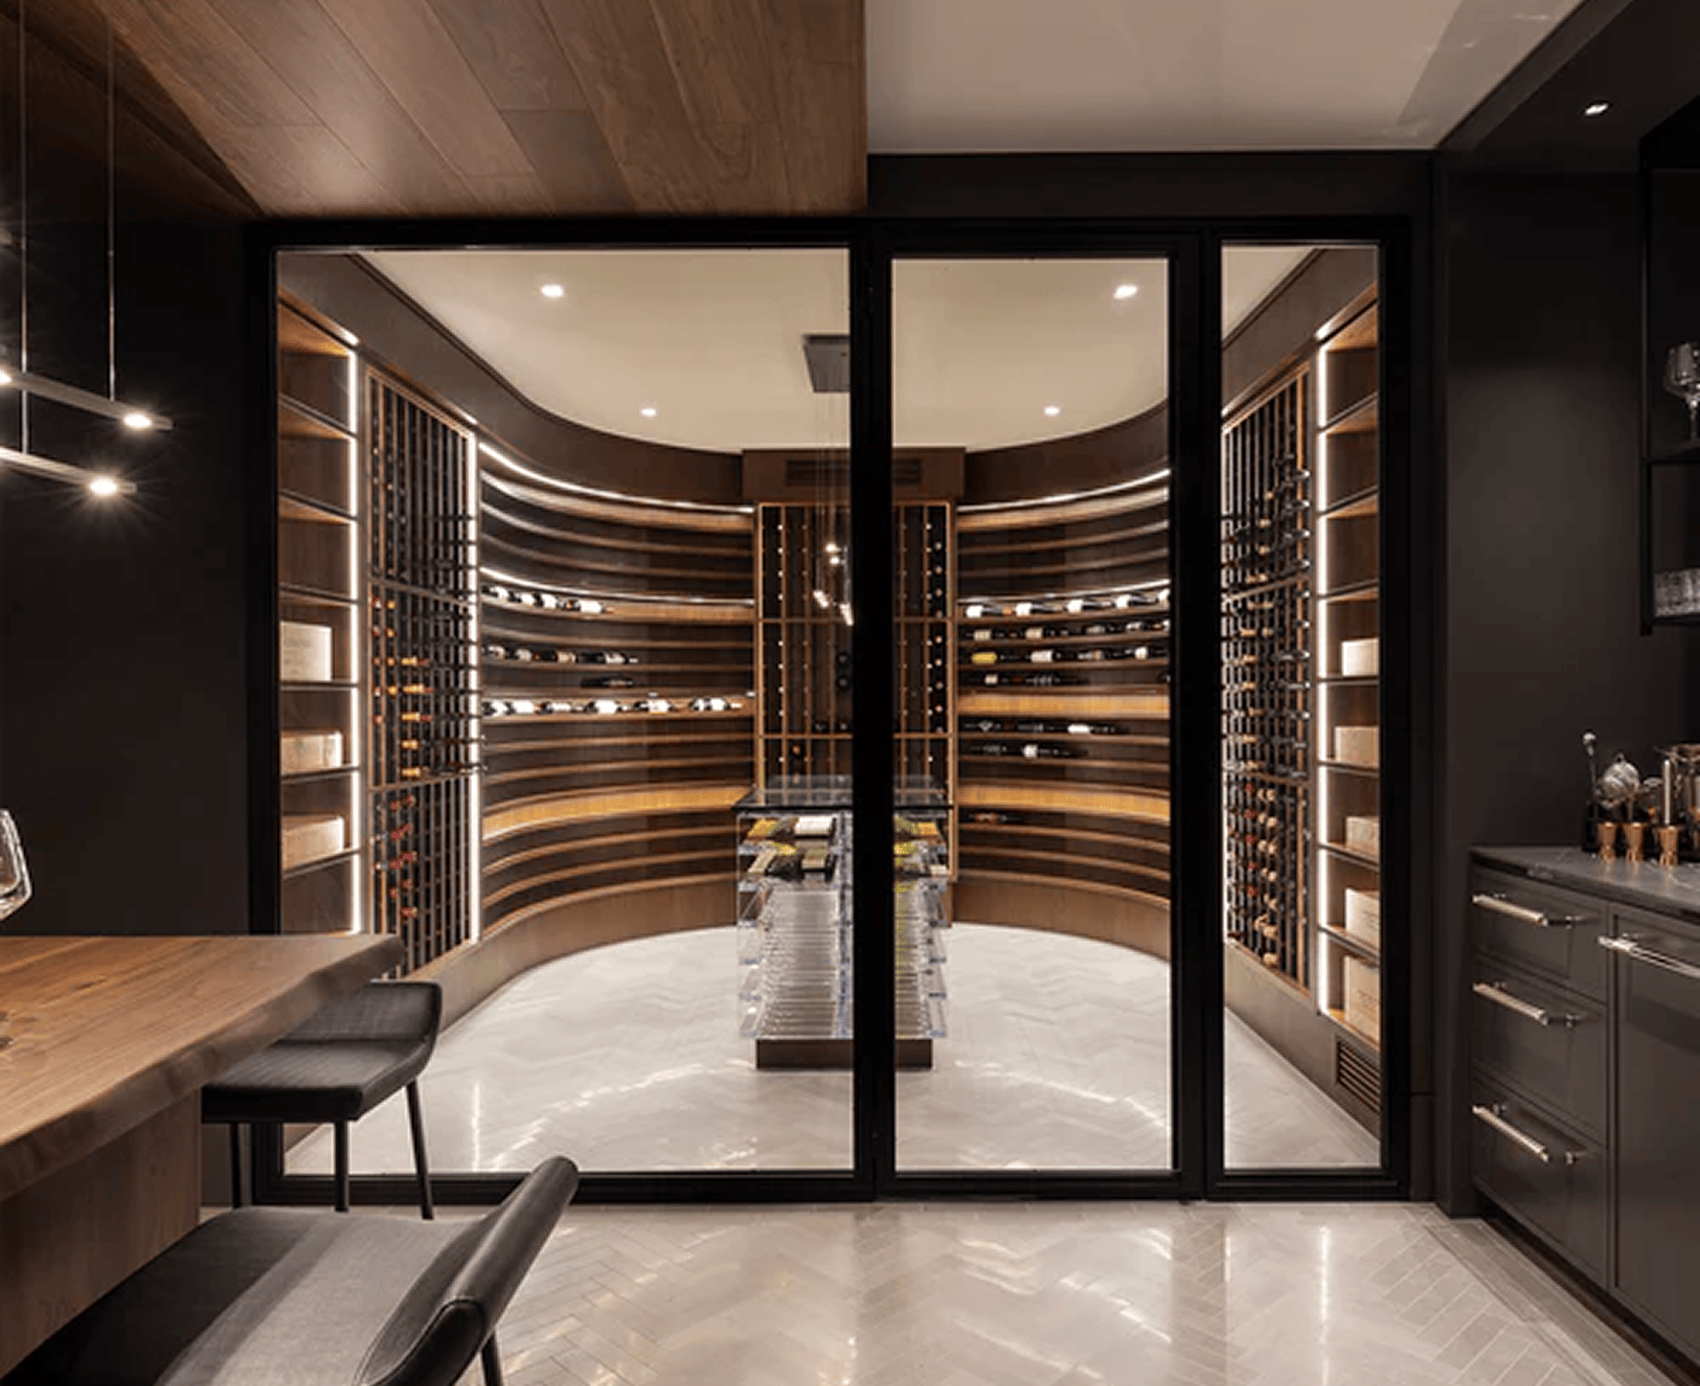
A cellar can have perfectly specified walls and ceiling and still underperform because of an inadequate door. The door is the highest-use thermal boundary in any cellar, opened and closed repeatedly across the life of the space, and it is worth specifying correctly from the start.
A wine cellar door should be an exterior-grade, solid-core door with proper weather stripping and a tight perimeter seal. The door needs to be heavy enough that closing it creates an air-resistant seal, not just a visual barrier. Interior hollow-core doors are entirely inappropriate for wine cellar applications and will allow substantial air exchange with every opening.
Thickness matters: a door of at least 1¾ inches provides meaningful insulating value and the structural integrity to hold its seal over time. The threshold requires the same attention as the perimeter seal. An unsealed gap at the bottom of the door undermines every other element of the insulation assembly.
Glass doors are popular for their visual appeal, particularly in display-forward builds. If the design calls for a glass door, thermopane glass with a minimum of two panes is the baseline specification. Single-pane glass is not an appropriate cellar door regardless of how it looks. The glass panel should be properly framed and sealed, and the door itself should carry the same hardware quality and threshold seal as a solid-core alternative. For more on how glass affects the thermal dynamics of a cellar build, our guide to glass wine cellars covers the glass specification decisions in detail.
Where Insulation Fails: The Six Most Common Gaps
Even well-intentioned cellar builds develop insulation failures that compound over time. The spots below account for the majority of performance problems Rosehill encounters in retrofit and repair work.
Around penetrations. Every pipe, conduit, line set, and cable that passes through an insulated wall or ceiling creates a potential gap. Without proper sealing around each penetration, thermal bridging and air infiltration occur at every one of those points. Expanding foam sealant around penetrations is the minimum; vapour barrier wrap-and-tape around each one is better.
At corners and top plates. Batt insulation is cut and fitted to stud cavities, but corners and top plates require careful attention to ensure there are no gaps between insulation sections. These transitions are where improper fitting most often leaves small but consequential openings.
The ceiling-wall junction. The junction where the ceiling insulation meets the wall insulation is a common gap point. Without a deliberate seal at this transition, the two insulation layers do not form a continuous envelope.
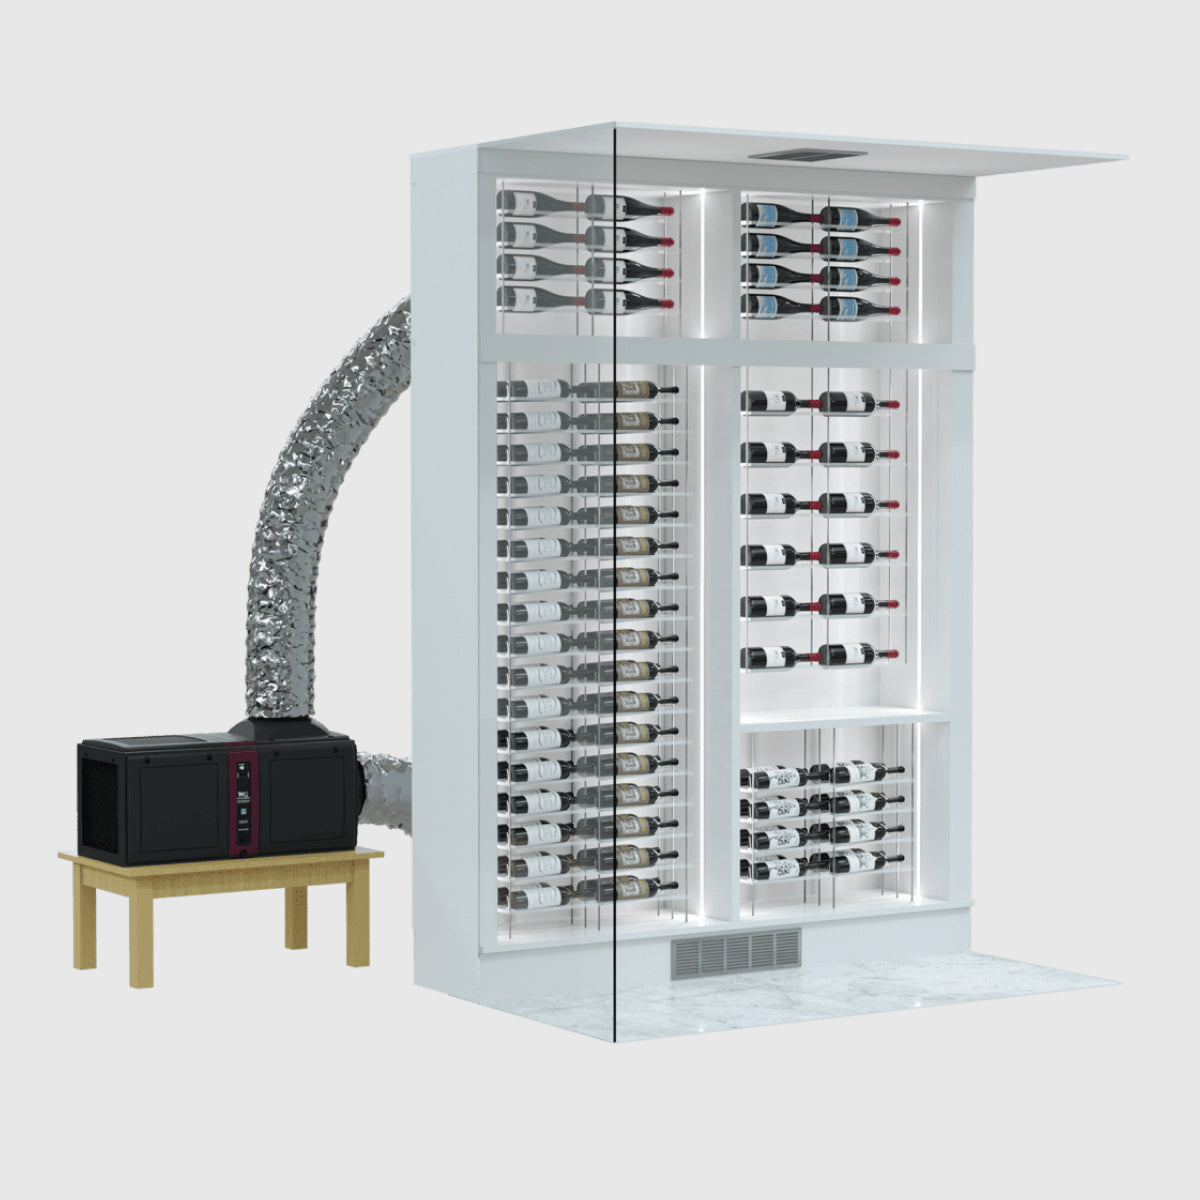
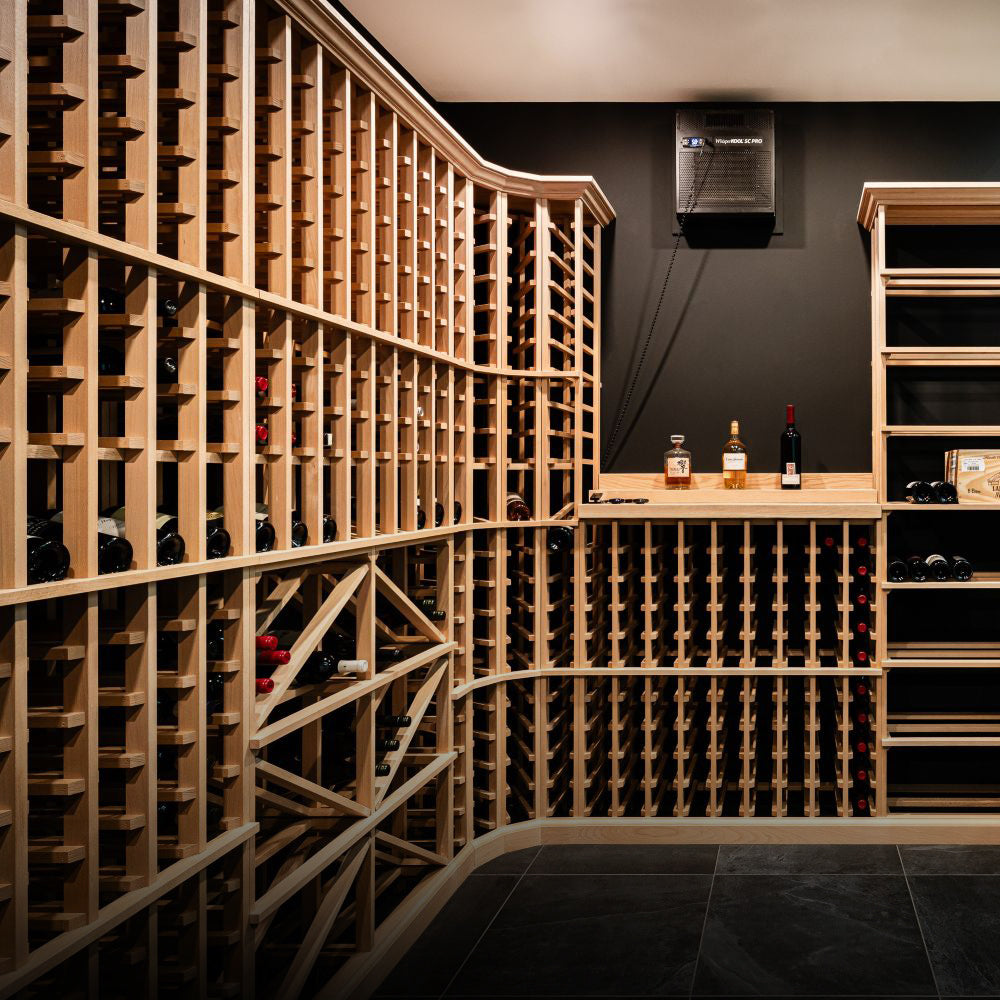
Around the cooling system. The opening cut for a through-wall cooling unit requires careful insulation and sealing around the sleeve. An improperly sealed cooling unit installation creates an air bypass directly through the wall.
The floor-wall junction. In basement builds, the joint between the concrete slab and the bottom plate of the cellar wall is a frequent source of air and moisture infiltration, particularly in older construction where the slab may have minor settling cracks or gaps.
Under-insulated ceilings in retrofit builds. When an existing room is converted to a wine cellar, the ceiling is often the most difficult surface to insulate correctly. Access is limited, existing finishes may need to be removed, and the temptation to treat the ceiling as secondary to the walls is worth resisting. The ceiling consistently accounts for a disproportionate share of thermal load.
Insulation in Warm Climates: Florida and the Heat-Humidity Challenge
Climate profoundly affects how insulation needs to be designed and installed. A cellar built in a Toronto basement has different challenges than one built in a Naples home, and treating them identically is a planning error that shows up in cooling bills and equipment wear long before it shows up anywhere visible.
In Florida and similar warm, humid climates, the thermal differential between the cellar interior and the ambient environment is substantially higher than in northern builds, and it exists year-round rather than seasonally. The cooling system is working against external conditions that never fully relent. In this context, insulation that performs adequately in a Canadian winter may prove insufficient during a Florida summer.
Closed-cell spray foam insulation is particularly well-suited to warm, humid climate builds because it addresses both the thermal and moisture challenges simultaneously. Its higher R-value per inch means more thermal resistance in the same wall thickness, and its moisture resistance properties help manage the substantial humidity differential between a cooled cellar and a warm, moist Florida exterior. For collectors building in warm climates, our guide to summer heat and your wine cooling system covers the seasonal maintenance and monitoring considerations in detail.
Condensation management also requires more attention in humid climates. The vapour barrier specification should be reviewed with the local climate in mind. In high-humidity environments, even small gaps in the vapour barrier can allow meaningful moisture infiltration over time. The standard for sealing penetrations, transitions, and junctions that might be acceptable in a drier climate should be tightened for Florida builds.

Insulation and Cooling System Sizing: Why They Cannot Be Treated Separately
Insulation quality directly determines how a cooling system needs to be sized, and the two decisions should be made together rather than sequentially.
A properly insulated cellar requires a smaller cooling system to maintain target conditions than an equivalent cellar with inadequate insulation. The difference is not trivial. A poorly insulated cellar might require a unit with nearly double the capacity of what a well-insulated identical-sized cellar would need, because the system is fighting constant heat infiltration rather than simply maintaining a stable environment against normal thermal load.
Undersizing a cooling unit to save on upfront cost is a common decision that proves expensive over the life of the cellar. A unit that is too small runs continuously, reaches its service interval faster, and ultimately fails earlier than one that is correctly sized for its actual load. The insulation specification is the foundation of the sizing calculation, and skipping it, or approximating it, leads to cooling system selection that does not match the real-world conditions of the build.
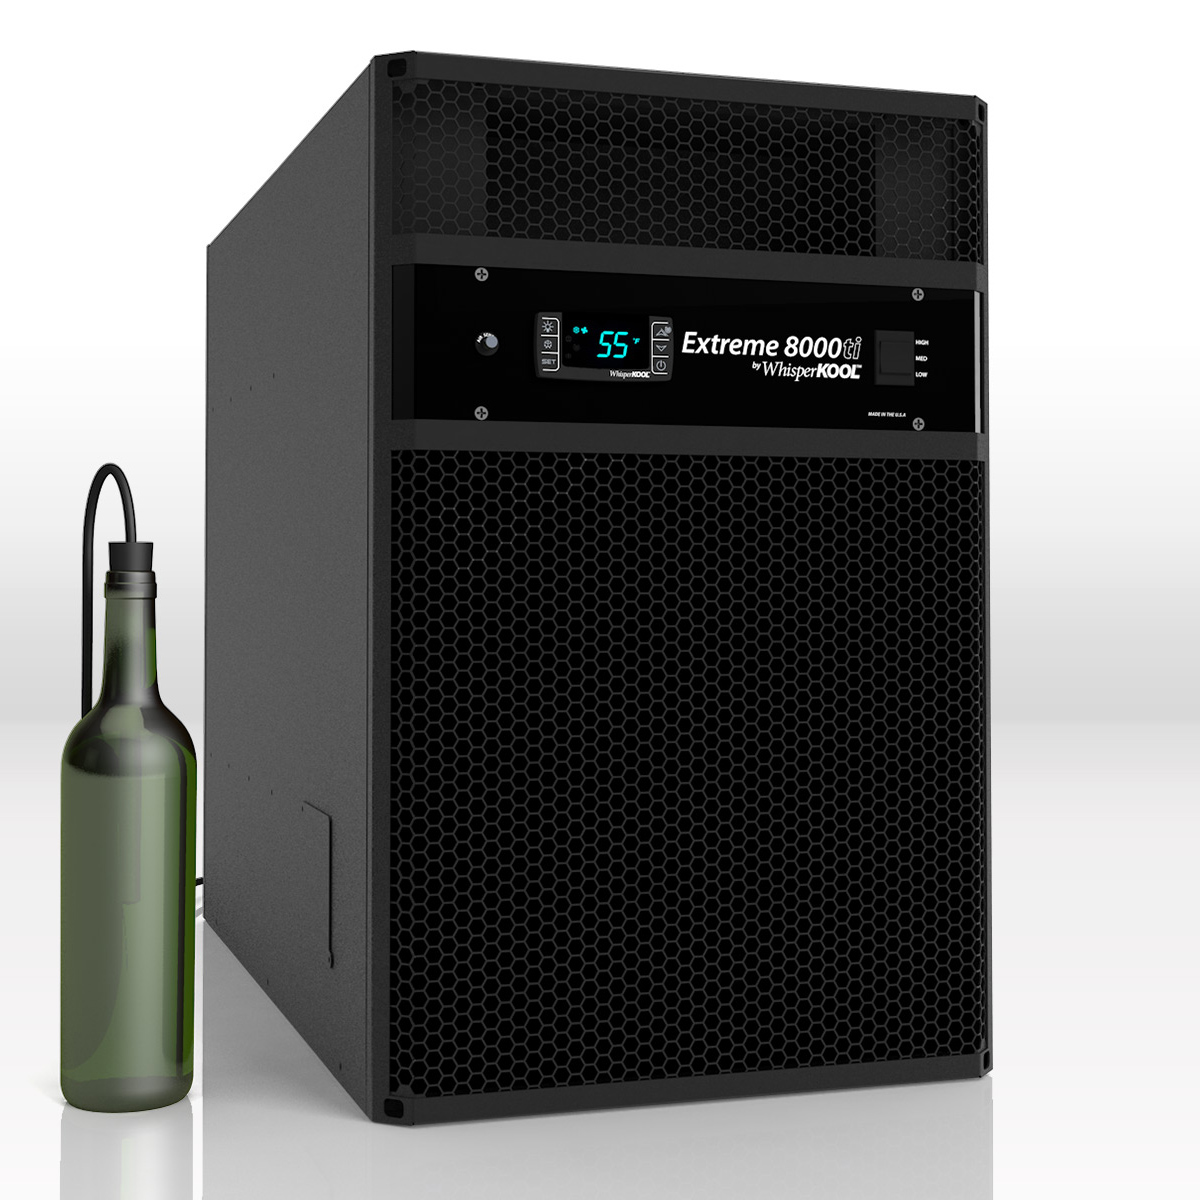
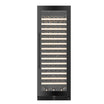
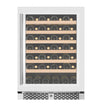
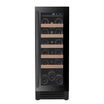
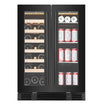
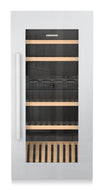
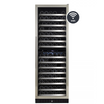
Browse Rosehill's full range of wine cellar cooling systems, including through-wall, ducted, and split configurations for cellars of every size and climate profile. For residential builds where an approachable entry point is the priority, the CellarCool line covers a range of cellar sizes with reliable, straightforward installation.
Humidity: The Variable Insulation Also Affects
A well-insulated cellar does more than hold temperature. The stability it creates has direct implications for humidity, and the relationship between insulation quality and humidity performance is worth understanding before building.
Wine cellars should maintain relative humidity in the range of 50 to 70 percent. Too low, and corks dry out, losing their seal and exposing the wine to oxidation. Too high, and labels suffer, mould becomes a concern, and wooden racking can be affected over time. Hitting and holding that window requires a cellar environment that is not in constant flux because of thermal instability.
A poorly insulated cellar with a cooling system running continuously to compensate for heat gain will often be drier than ideal. Cooling systems dehumidify as they run, and a unit operating far beyond its normal duty cycle removes significantly more moisture from the air than one running in normal, periodic cycles. The result is a humidity level that undershoots the target even in climates where ambient humidity is not the constraint.
Proper insulation, by allowing the cooling system to run in normal cycles, supports more stable humidity as a secondary benefit. In climates or builds where humidity nonetheless falls short, a dedicated wine cellar humidifier addresses the gap. Our guide to whether your wine cellar needs a humidifier covers when a humidifier is warranted and how to integrate one correctly.
Maintaining What You Have Built: Insulation Over Time
Insulation and air sealing are not permanently static once installed. Over time, materials shift, seals age, and small gaps can develop at junctions that were properly sealed at installation. This is not a failure of the original build but a natural consequence of thermal cycling and the gradual movement of any structure.
A well-maintained cellar includes periodic checks of the perimeter seal, the door weather stripping, and the performance of the cooling system as an indirect indicator of insulation integrity. A system that begins running significantly more than it used to, without any change in ambient conditions, is often the first signal that something has shifted in the thermal envelope, not that the cooling unit is failing. Catching a developing gap early is far less disruptive and costly than addressing it after the problem has compounded.
Rosehill's Annual Maintenance Plan is designed for collectors who want their cooling system and cellar environment professionally serviced on a scheduled basis, with technicians who understand the full system rather than treating the cooling unit in isolation from the envelope it depends on.
Building Right From the Start
Insulation decisions made at the design stage are far less expensive than corrections made after the cellar is built and finished. The materials themselves are not the significant cost. The labour required to open finished walls, correct vapour barrier placement, or re-seal a ceiling assembly after the fact is. Getting the specification right upfront is the highest-value decision in any cellar build, not a premium to defer.
At Rosehill, insulation is treated as a structural element of every cellar we design, not a line item to be value-engineered. Every cellar is designed in-house, built in our facility, and installed by our own team, with the insulation and air sealing treated as integral to long-term performance, not secondary to the racking and glass.
To explore a residential wine cellar that performs as well as it looks, or to discuss an existing cellar that may be underperforming, contact our team for a design consultation.
- Rosehill Wine Cellars