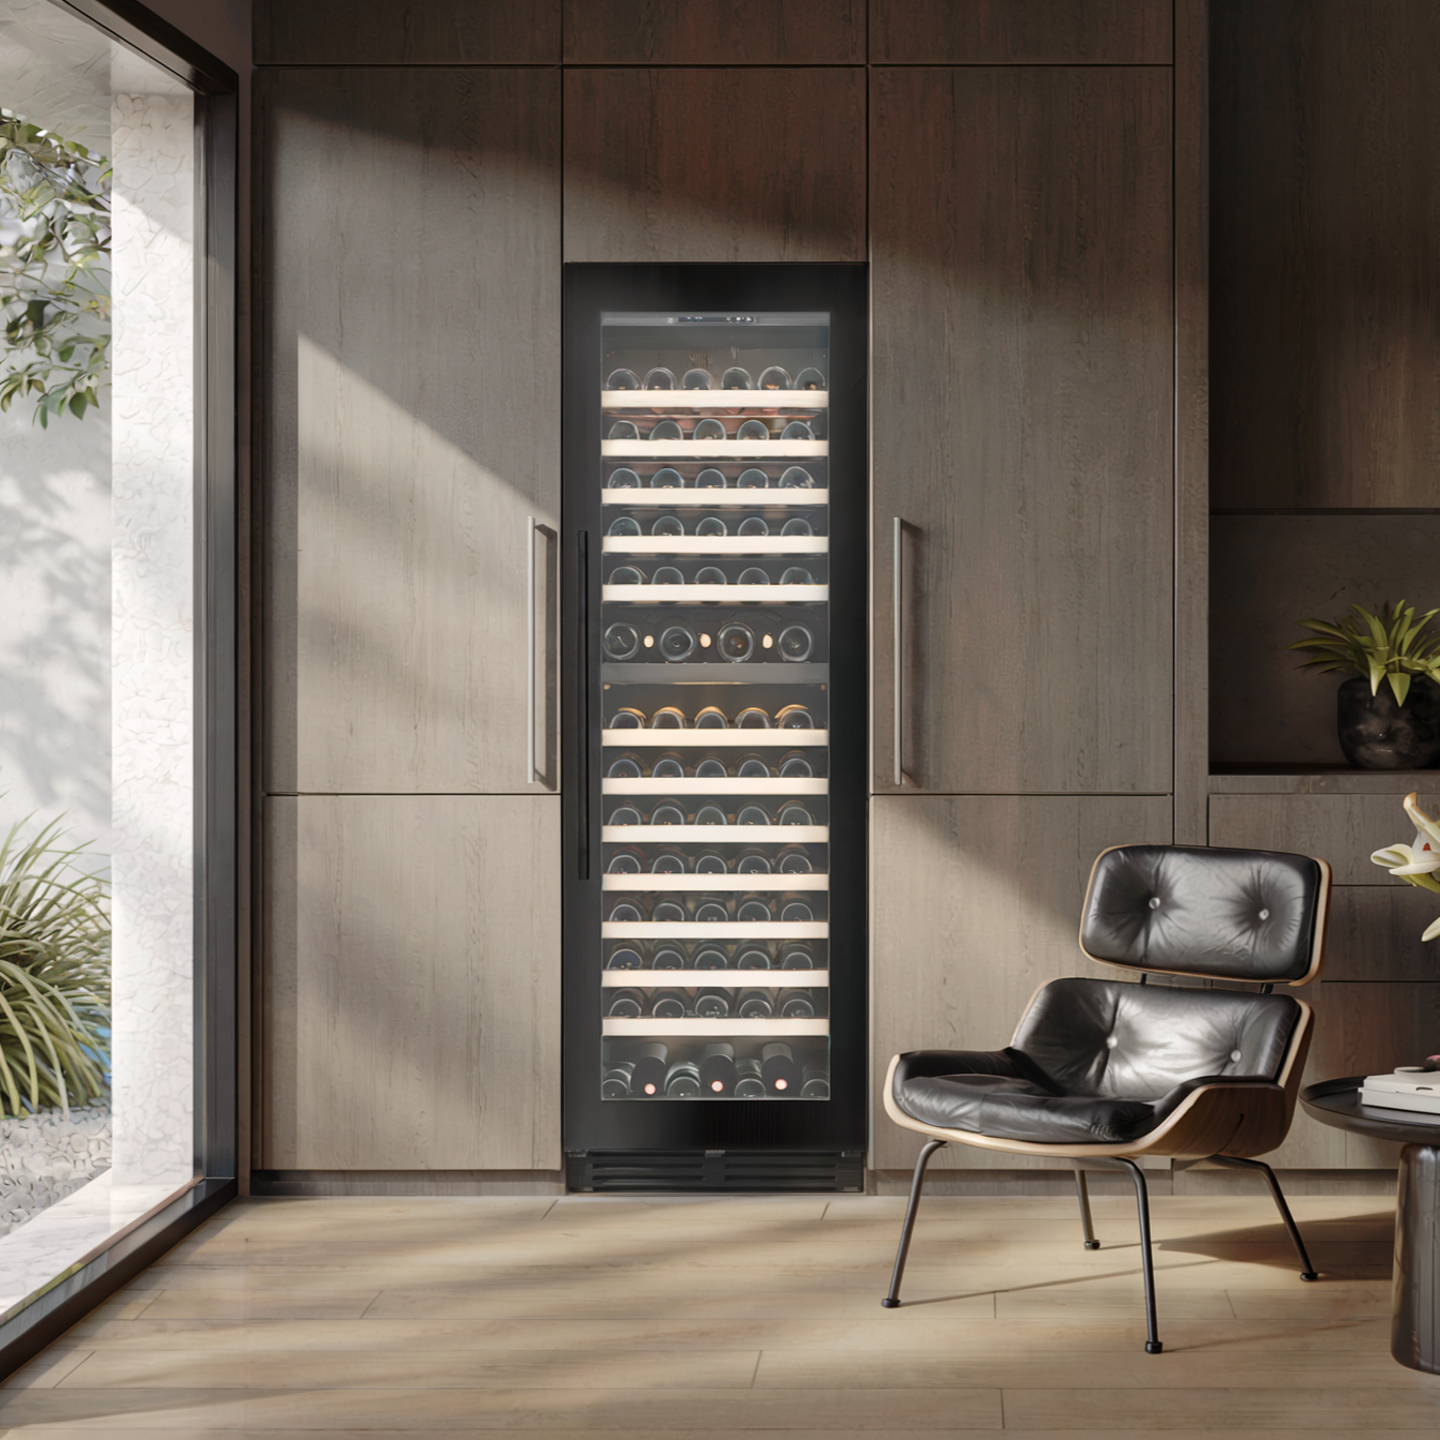
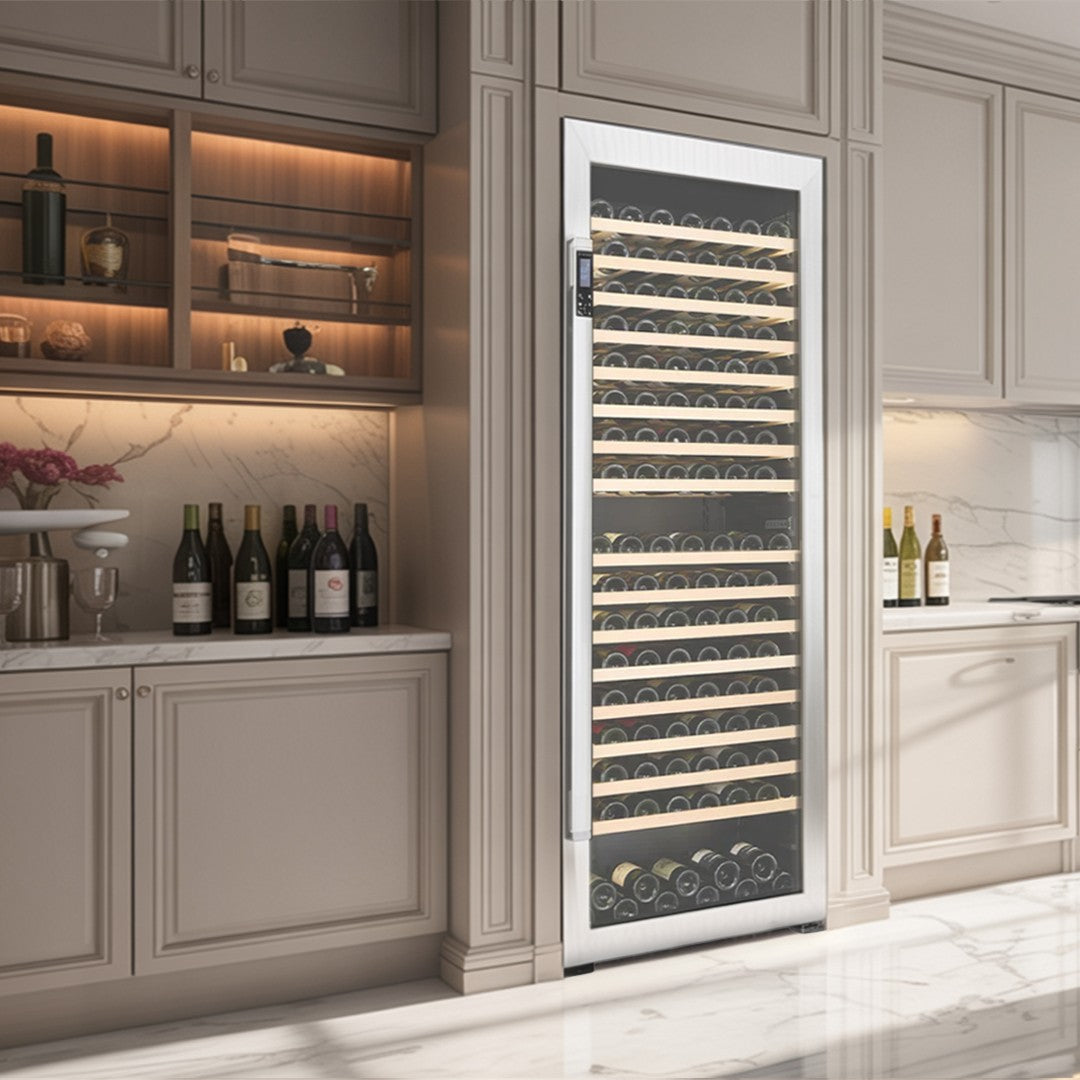
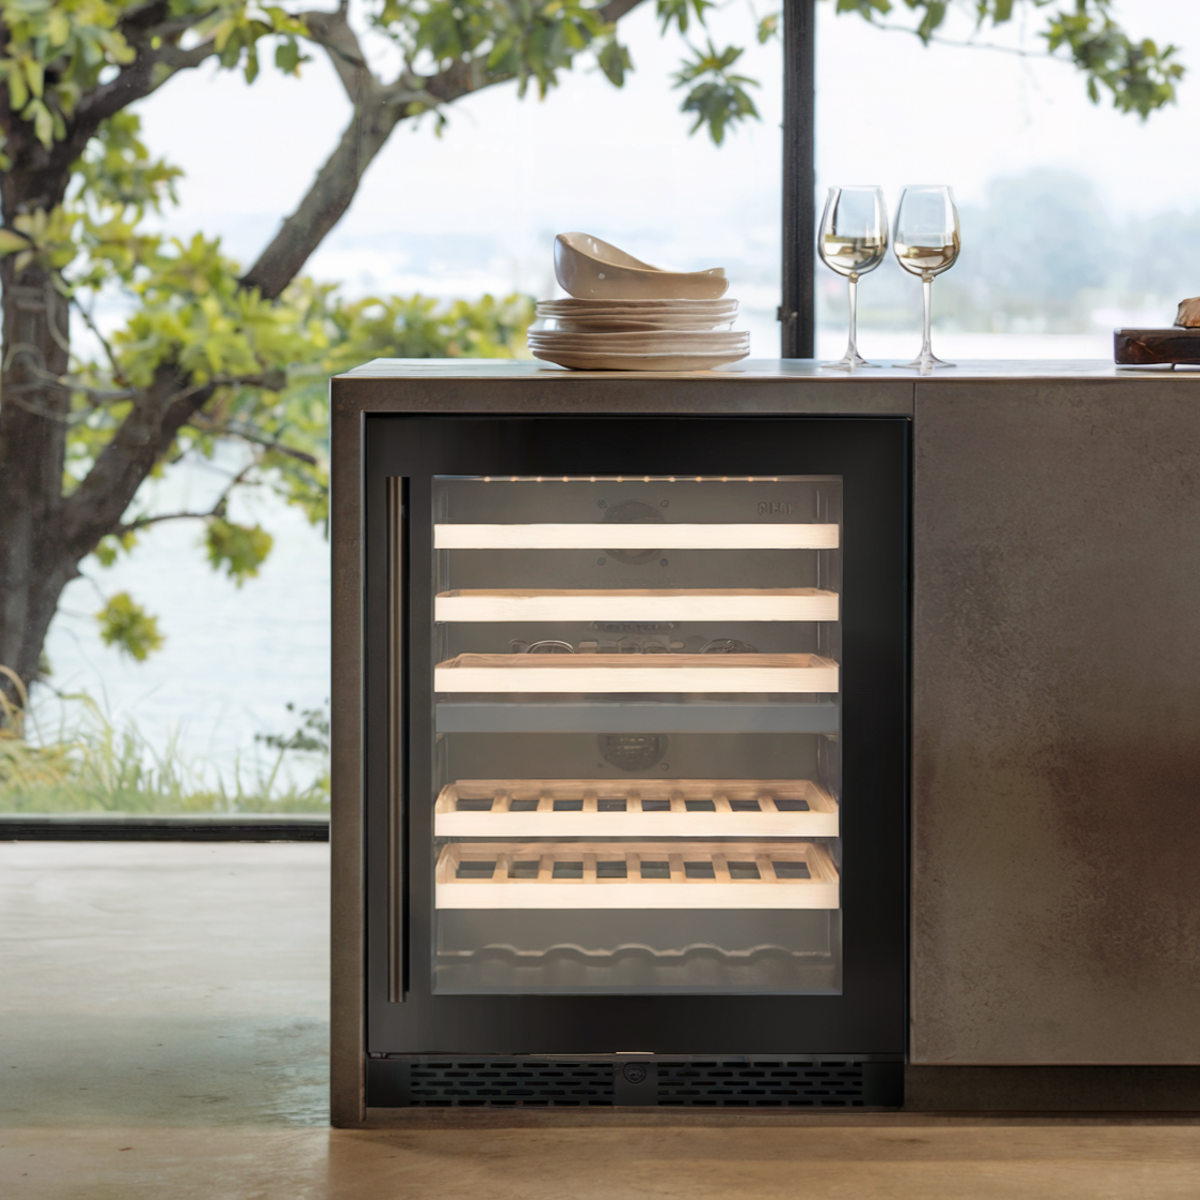
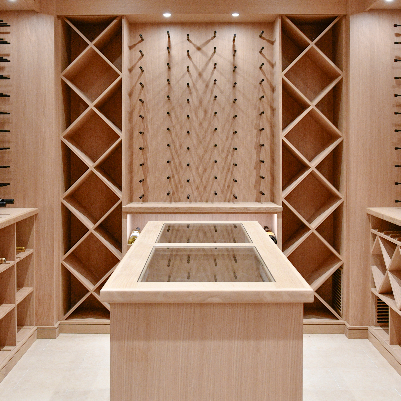
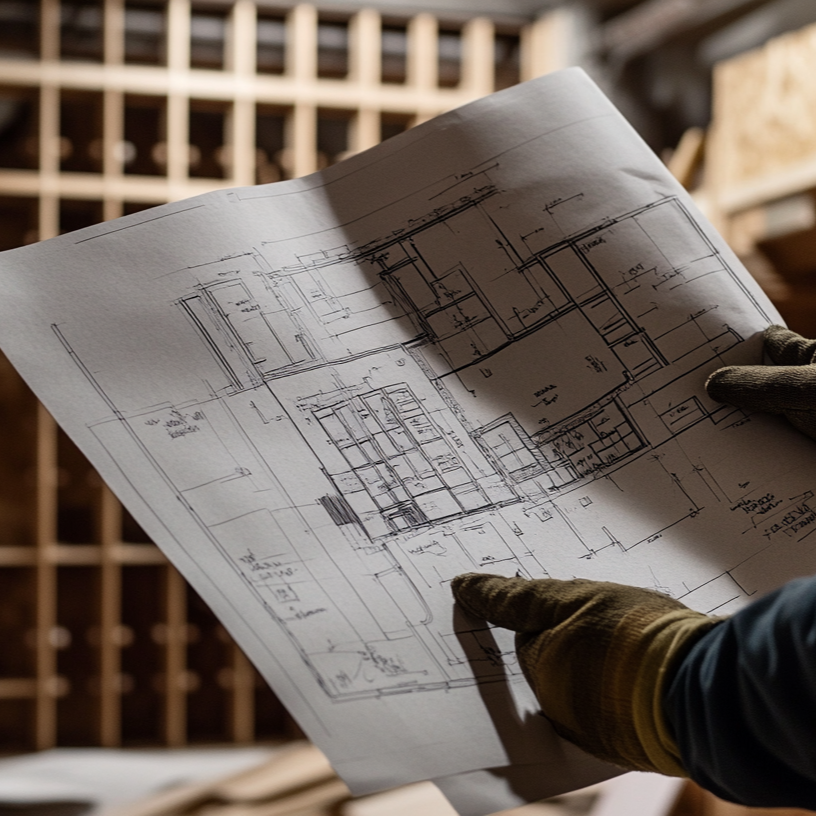
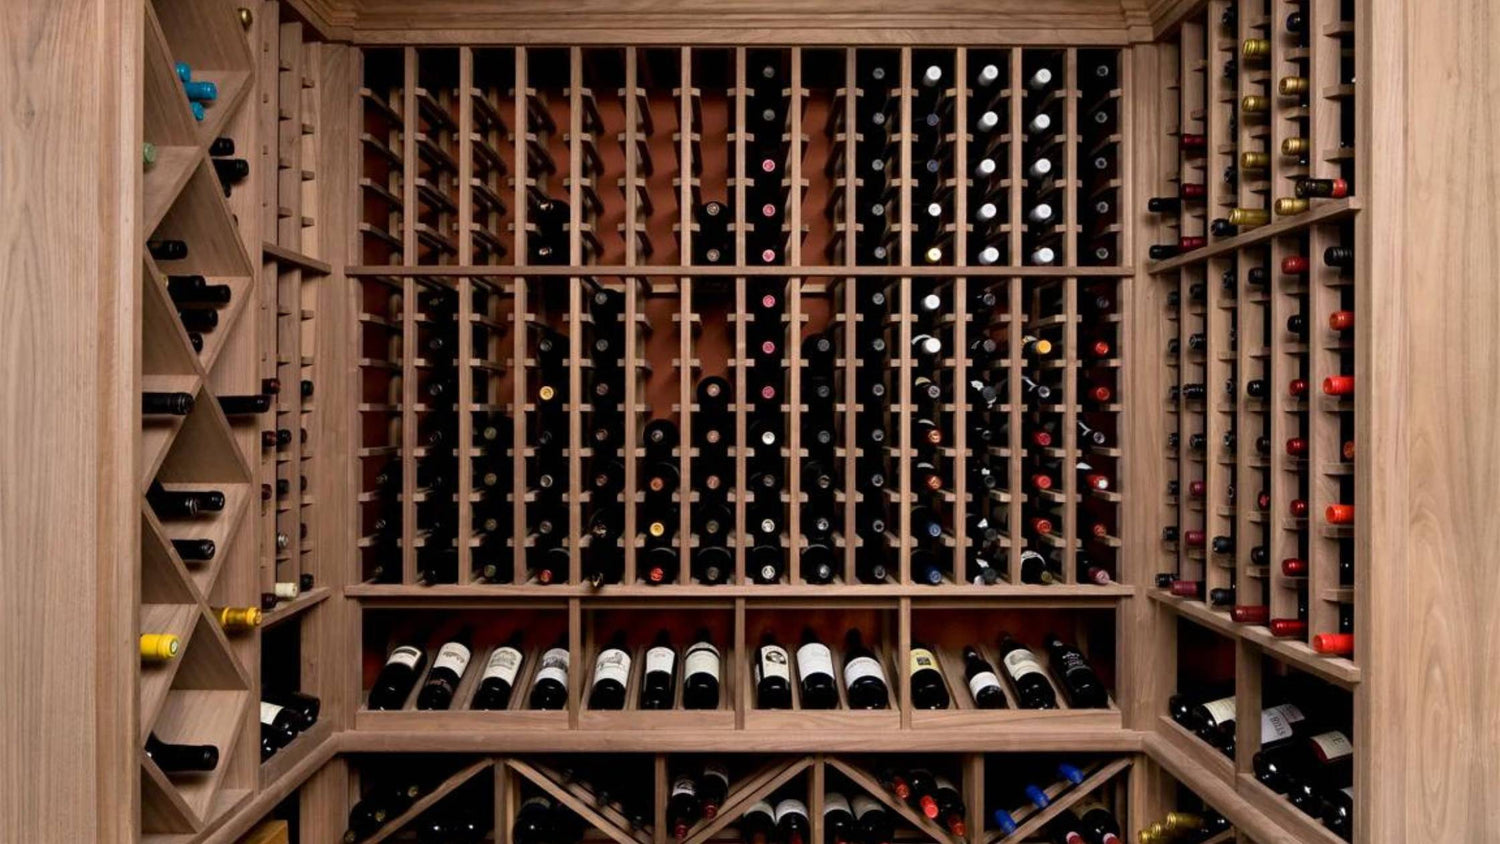
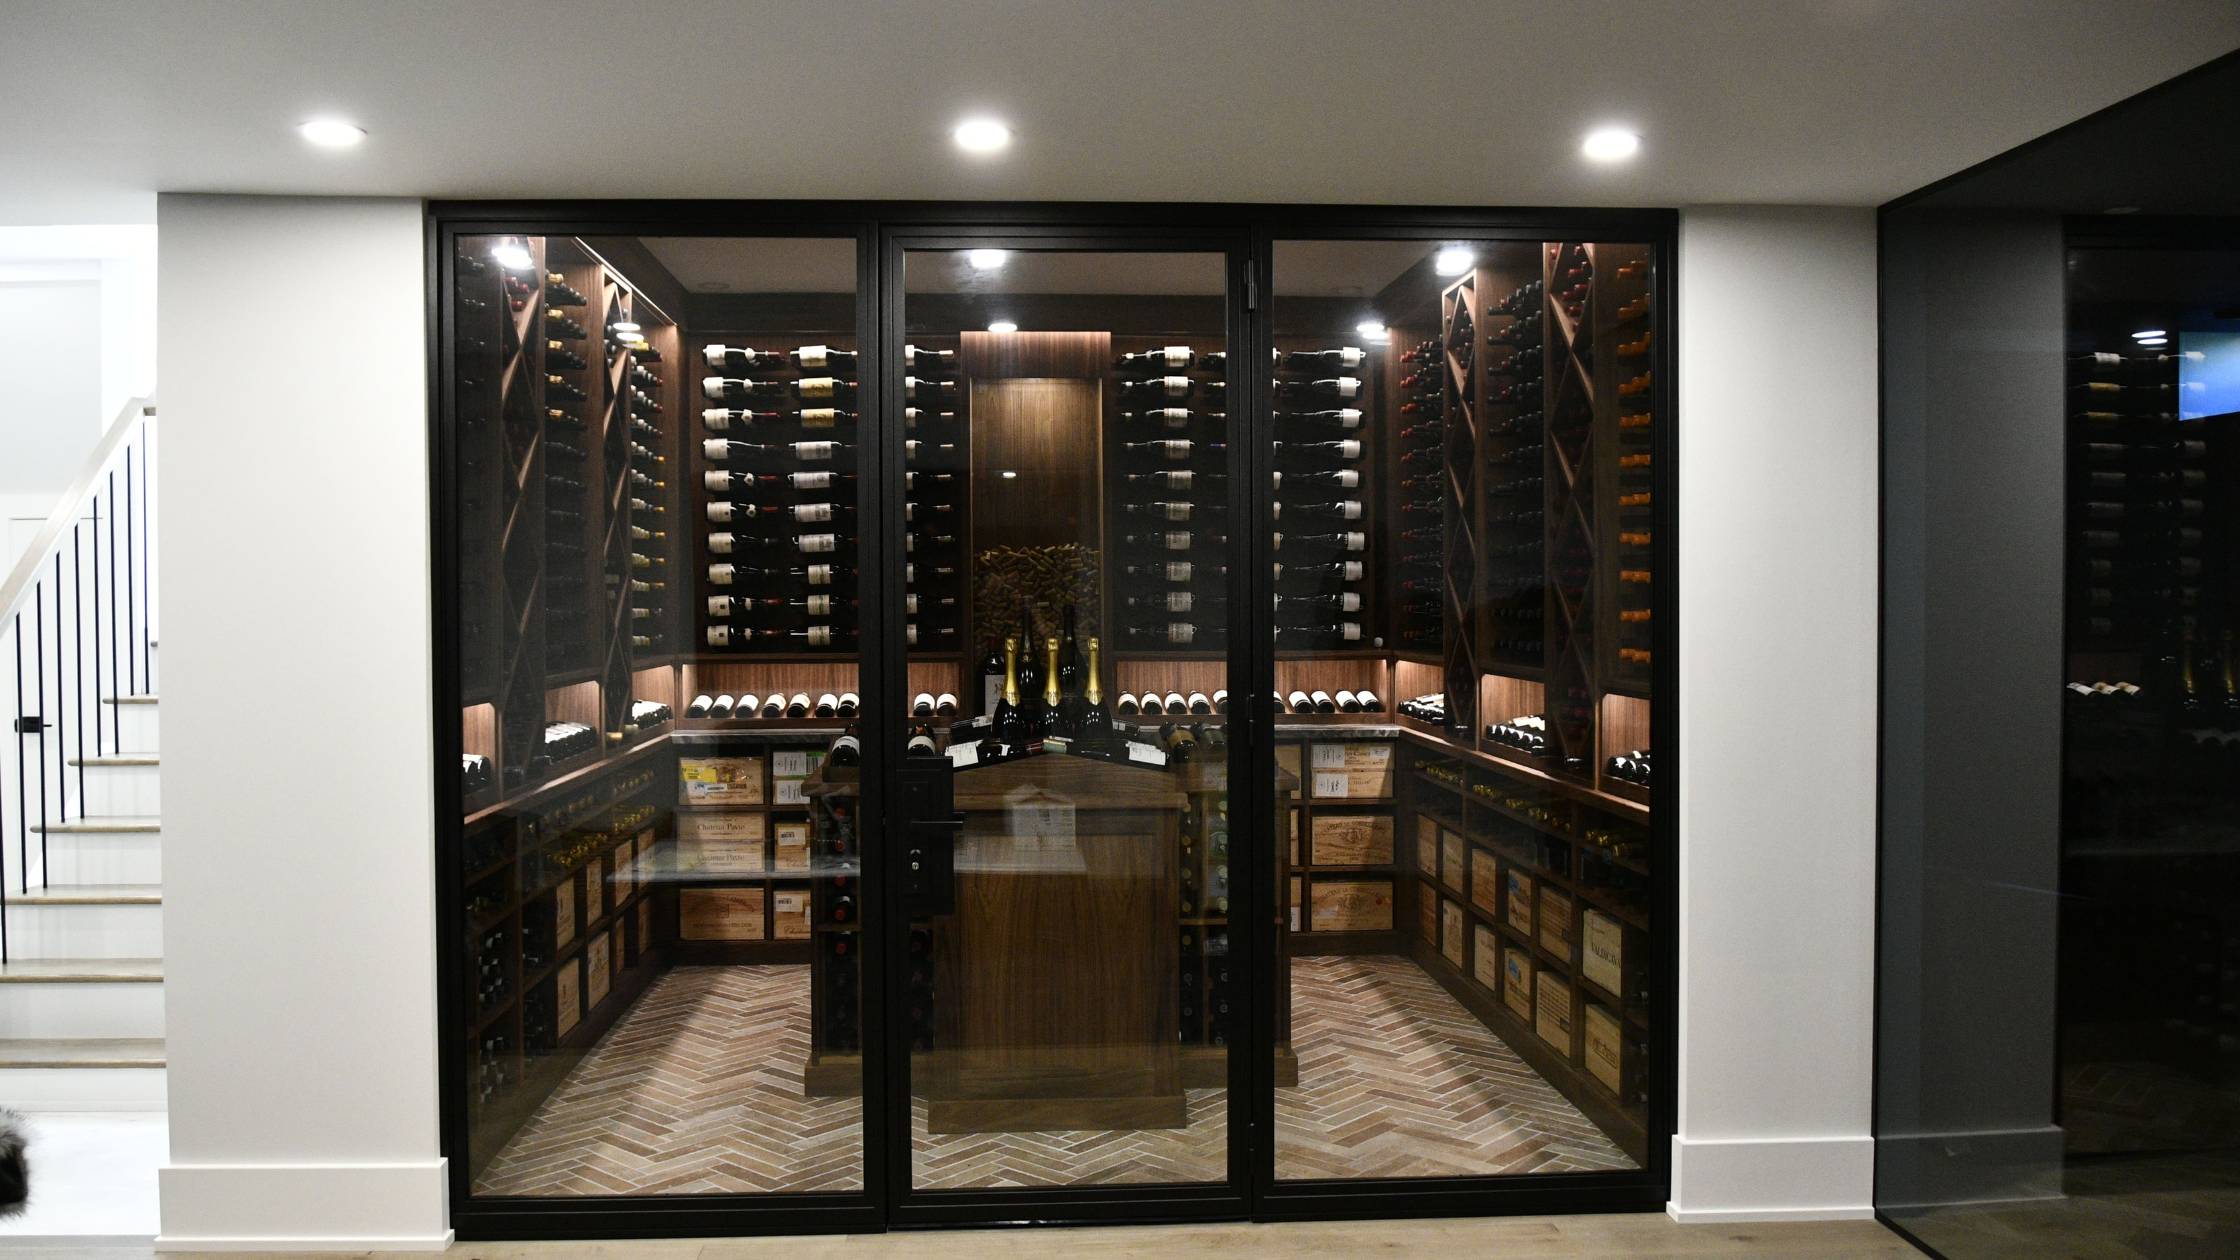
Here at Rosehill, we specialize in custom wine cellar design/build services. We pair your vision and available cellar space with our design/build expertise, creating the perfect value-added addition to your home.
In addition to our design/build services, we offer complimentary wine cellar construction tips and consultations as a service. Our design/build services result in customized wine cellar spaces. But the basic construction requirements are consistent with every project.
Here are some helpful wine cellar construction tips to create the perfect wine storage environment in your home.
How to select the perfect location for your home wine cellar
 The best location to build your home wine cellar is in your basement, below grade from ground level. That’s because environmental factors like lighting, temperature, humidity, and vibrations directly impact the wine fermentation process.
Basement cellars are more controlled spaces with very little lighting compared to the rest of the home. The temperature and humidity are typically cooler and more manageable in the basement, and you can install wine cellar cooling systems to further control how the surrounding environment affects your wine collection.
The northeast corner of your basement is the ideal location for your wine cellar. Because of the position and angle of the sun, which rises in the east, it doesn’t affect temperature in this part of the house. The basement is shielded from most of the sun’s rays. Therefore, additional precautions to protect your wine makes good practical sense.
Be advised that these are merely suggestions. There are no standard sets of rules when it comes to wine cellar construction. Have an objective look at your own home. Then, determine how spacious and environmental conditions are applicable for a construction project.
How to insulate your wine cellar and protect your bottles

Preserve and age your wines
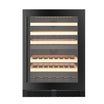
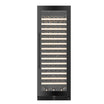
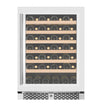
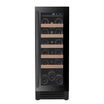
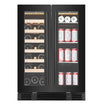
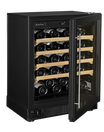
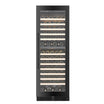
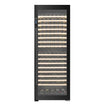
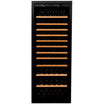
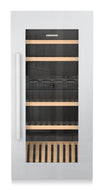
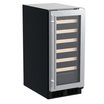
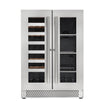
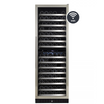
Technologically advanced wine coolers maintain the perfect wine temperature.
Finish installing the studs and the drywall for the cellar space. You need to insulate the walls and the ceilings to control the environment.
We recommend using R-22 batt insulation (Roxul) nestled between 2” x 6” framed studs to insulate the walls of your wine cellar. Additionally, use R-32 batt insulation to seal off the ceiling. Use vapour barrier between the studs to fully enclose your wine cellar space.
You can use sprayed-in-place 2-lb. polyurethane as vapour barrier. Insulate the space between the studs, but it is a rather expensive means of insulation. Batt insulation can also be fitted into the stud cavities at a more affordable price.
Keep in mind that all the necessary electrical, plumbing, line set, and condensation drains for your wine cooling unit must be installed prior to completing the insulation. Make sure that all the technical requirements are fully installed. Then, you can proceed with the insulation process.
What are your options for flooring in your wine cellar?
Unfinished basements are typically lined with cement foundations that are terrible conductors of heat. One of the most important wine cellar construction tips is to chill wine at the right temperature. But you want it comfortable enough that you can stand in the cellar space without freezing your feet.
To help with this, we recommend applying R-7.5 insulation atop the concrete foundation. Subsequently, install 2” x 2” wooden “sleepers” to create new floor space for your wine cellar. In the event you have an especially cold basement dwelling, install 2” x 4” studs around the edges of the cellar space and insulate with sprayed-in-place 2 lb. polyurethane.
Sealing the floor space will seal any leaks and prevent the coldness in the foundation from chilling the temperature too low. If it gets too cold in your wine cellar, you can risk freezing the vintage in the bottles, spoiling your collection and defeating the purpose of home preservation.
How to finish the walls around your wine cellar?
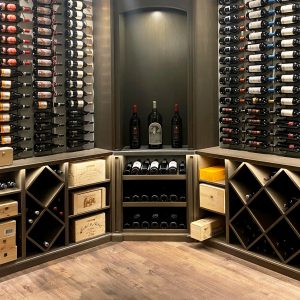 When it comes to drywall, we recommend using moisture resistant drywall (blue board) around your entire wall space and the ceiling of the cellar. The drywall should extend down to the floor since a baseboard is not required due to your wine racks. The walls and ceiling are to be primed and painted using latex based paints.
Glass walls may look pristine, but they’re ill-suited for insulating a wine cellar. Airflow can more easily penetrate small leaks or cracks in the glass, which is why insulated drywall is a far better finish for your wine cellar.
Additional wine cellar construction tips: proper wine cellar door
The door to your wine cellar should be an exterior grade door with the proper weather stripping and threshold. The most important feature of the door is that, once it’s closed, it provides a fixed seal that blocks any airflow from disrupting the controlled environment within.
In terms of thickness, the door should be at least 1 ¾” thick. Glass doors must be double paned (at least) and the glass elements should be tempered glass (if applicable).
Supplementary wine cellar construction tips: proper wine racks
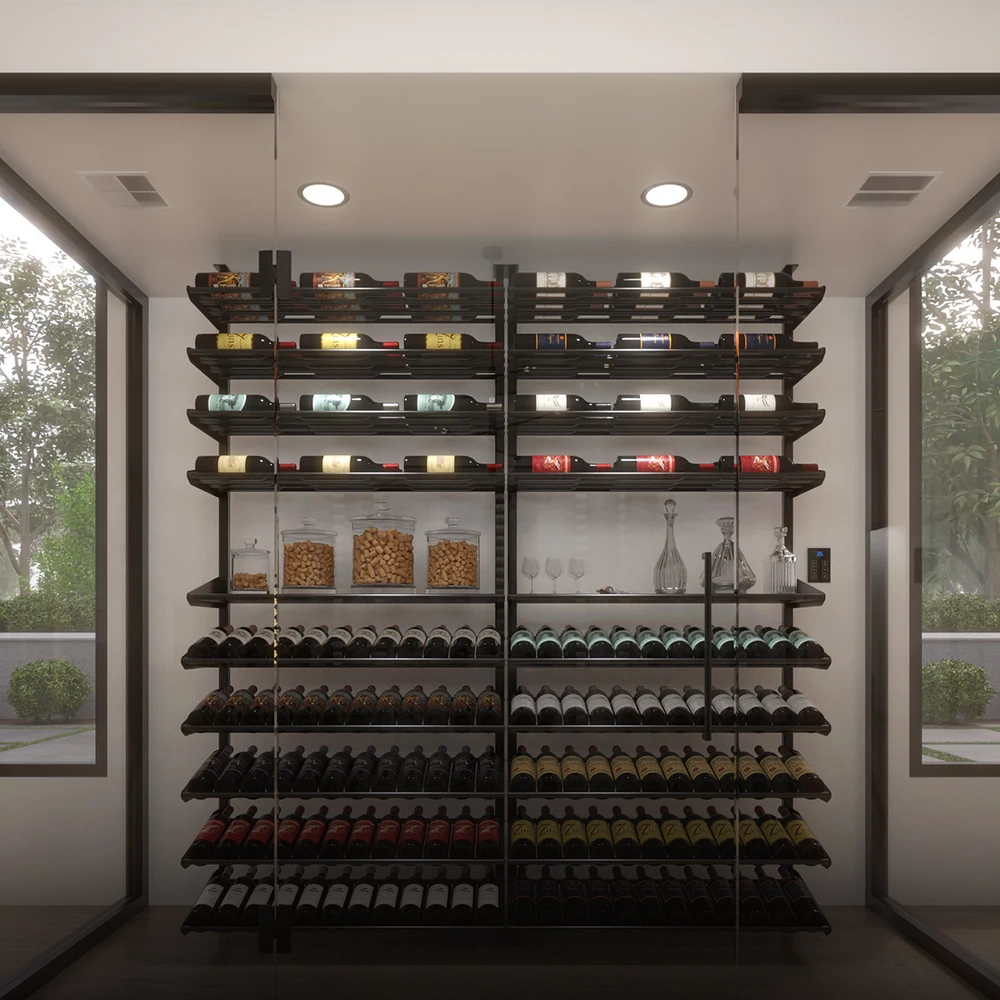
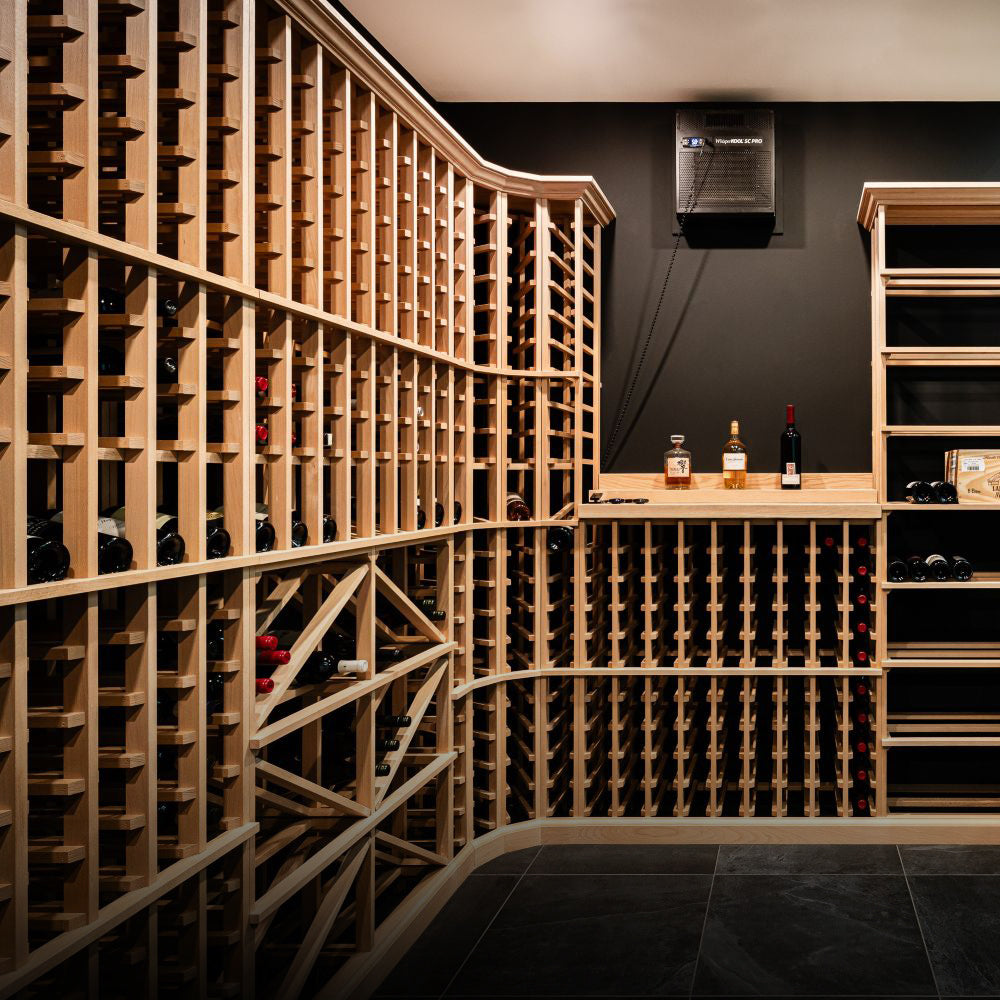
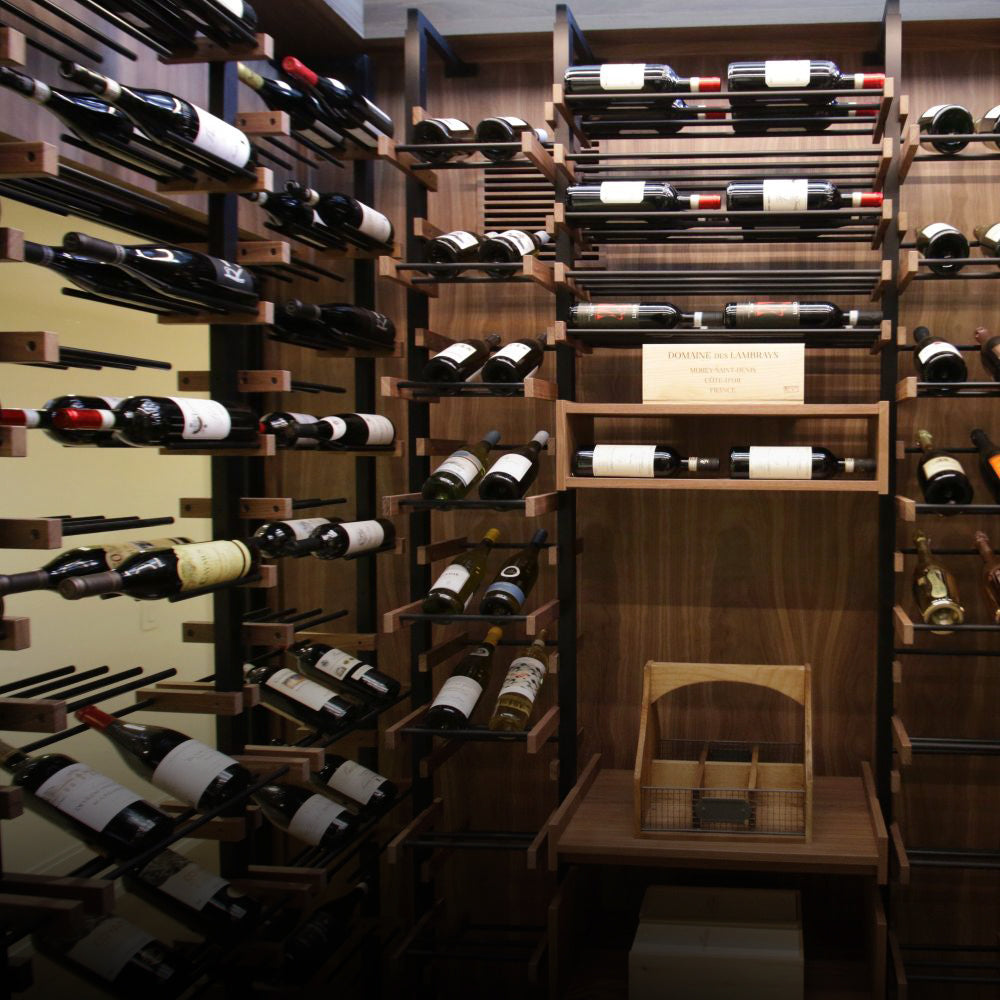
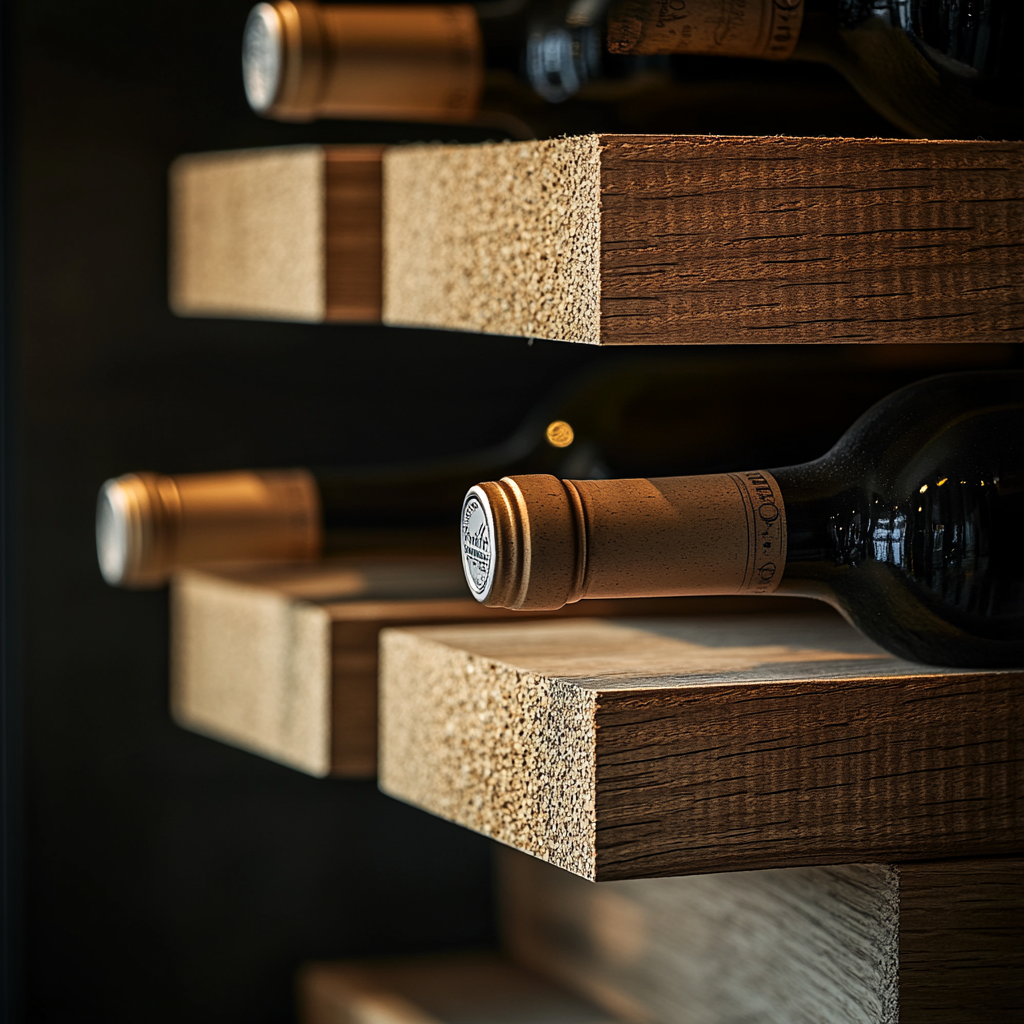
Decorative wine racks instill a sense of character within your wine cellar. You take pride in your wine collection, so why not proudly display your vintage bottles with a professional-grade stylish racking system?
Modular wine racks are amongst our biggest specialties at Rosehill Wine Cellars. Choose from our collections of custom wood, metal, and other specialty materials to assemble racks that match your unique tastes and preferences. Also, if you really want to showcase your flare for premium designs, you can purchase our superior Premiere Cru wine racks that preserve your wines with tender loving care in a premier finish.
Final wine cellar construction tips: wine cellar cooling system
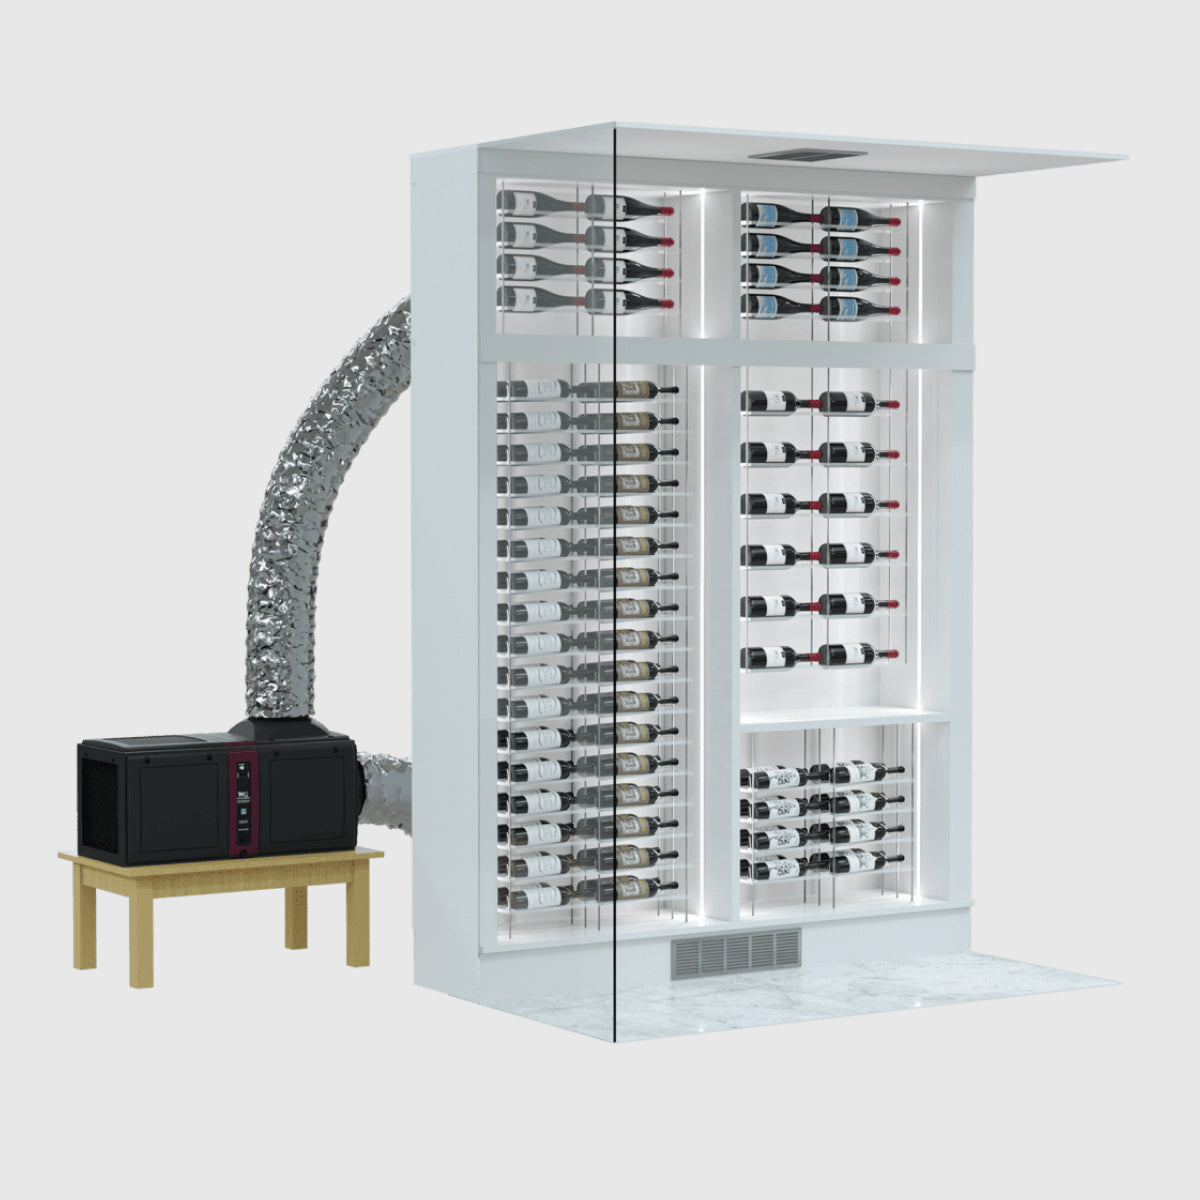
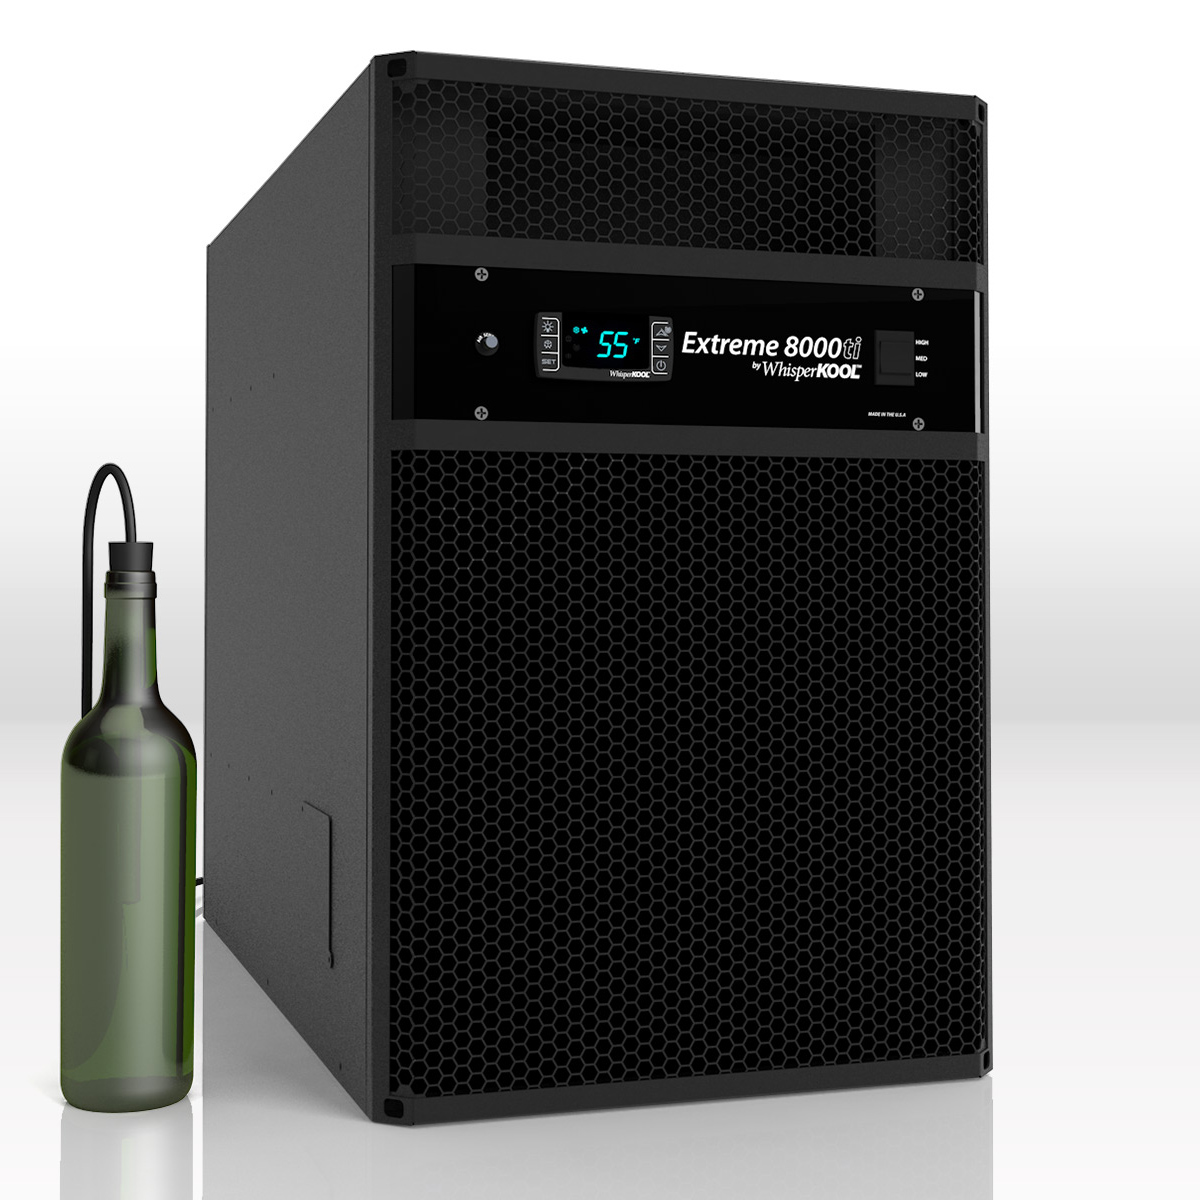
Once the construction of your wine cellar is complete, and you’ve installed the proper storage amenities, it’s time to add the final piece of the puzzle. You need to install a wine cellar cooling system to help regulate temperature, humidity, and airflow so that the wine fermentation process proceeds uninterrupted by uncontrollable environmental factors.
The exact measurements and specifications for a wine cellar cooling unit will vary depending on the dimensions of your cellar space. Measure out the designated dimensions for your wine cellar cooling unit to get a sense of the sizing in play.
Once you have the dimensions, you can browse our wine cellar cooling unit collections to choose a model that matches the decor of your now finished cellar. You can also speak with one of our representatives for helpful advice as you make your selection.

Custom wine cellars for your home
Create more than a cellar space. Build a personalized wine storage environment.

