


R Series Helix Dual 15 (minimalist wall mounted metal wine rack)
Description
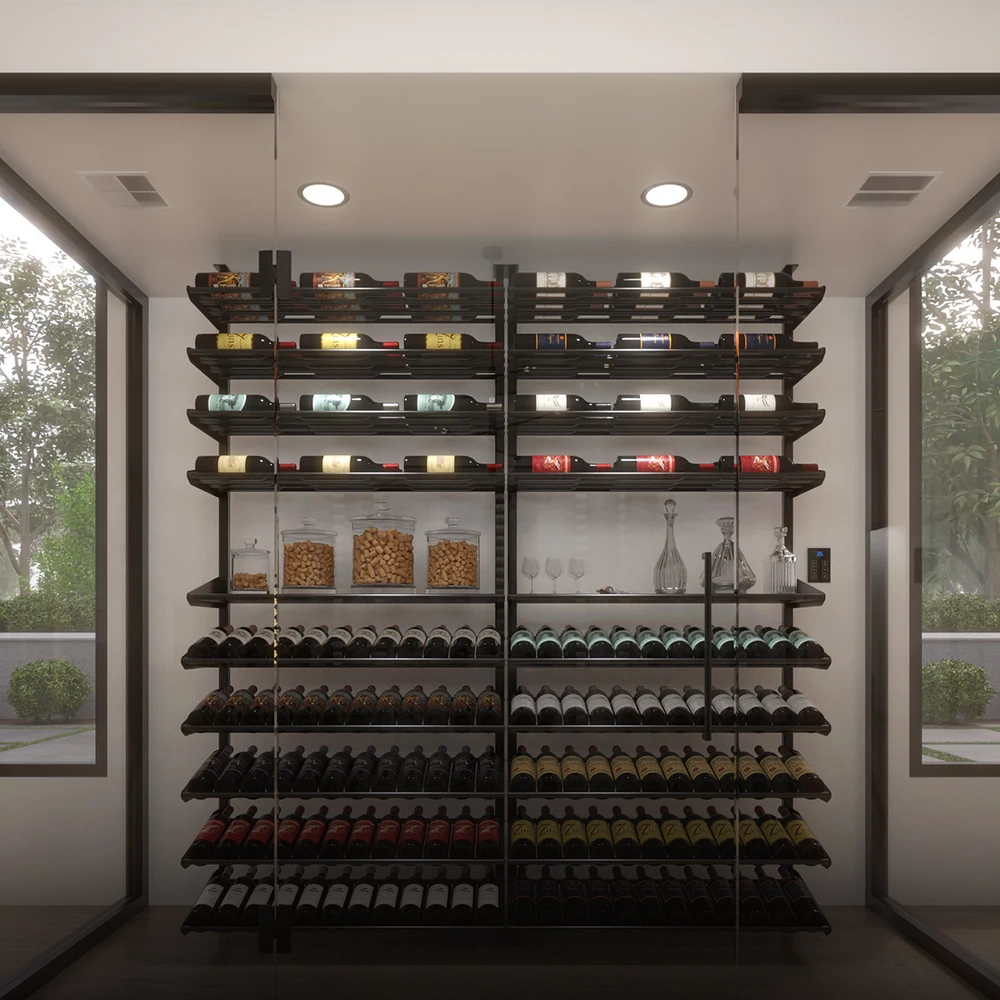
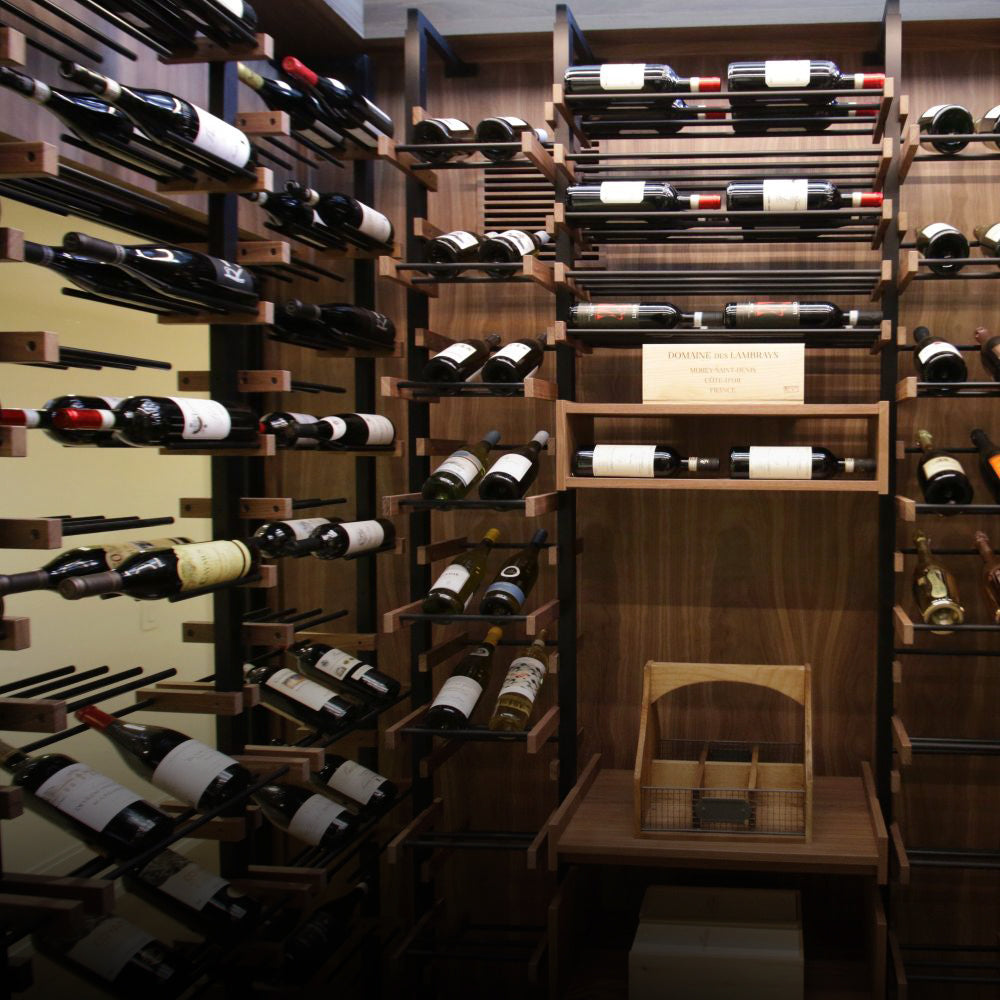
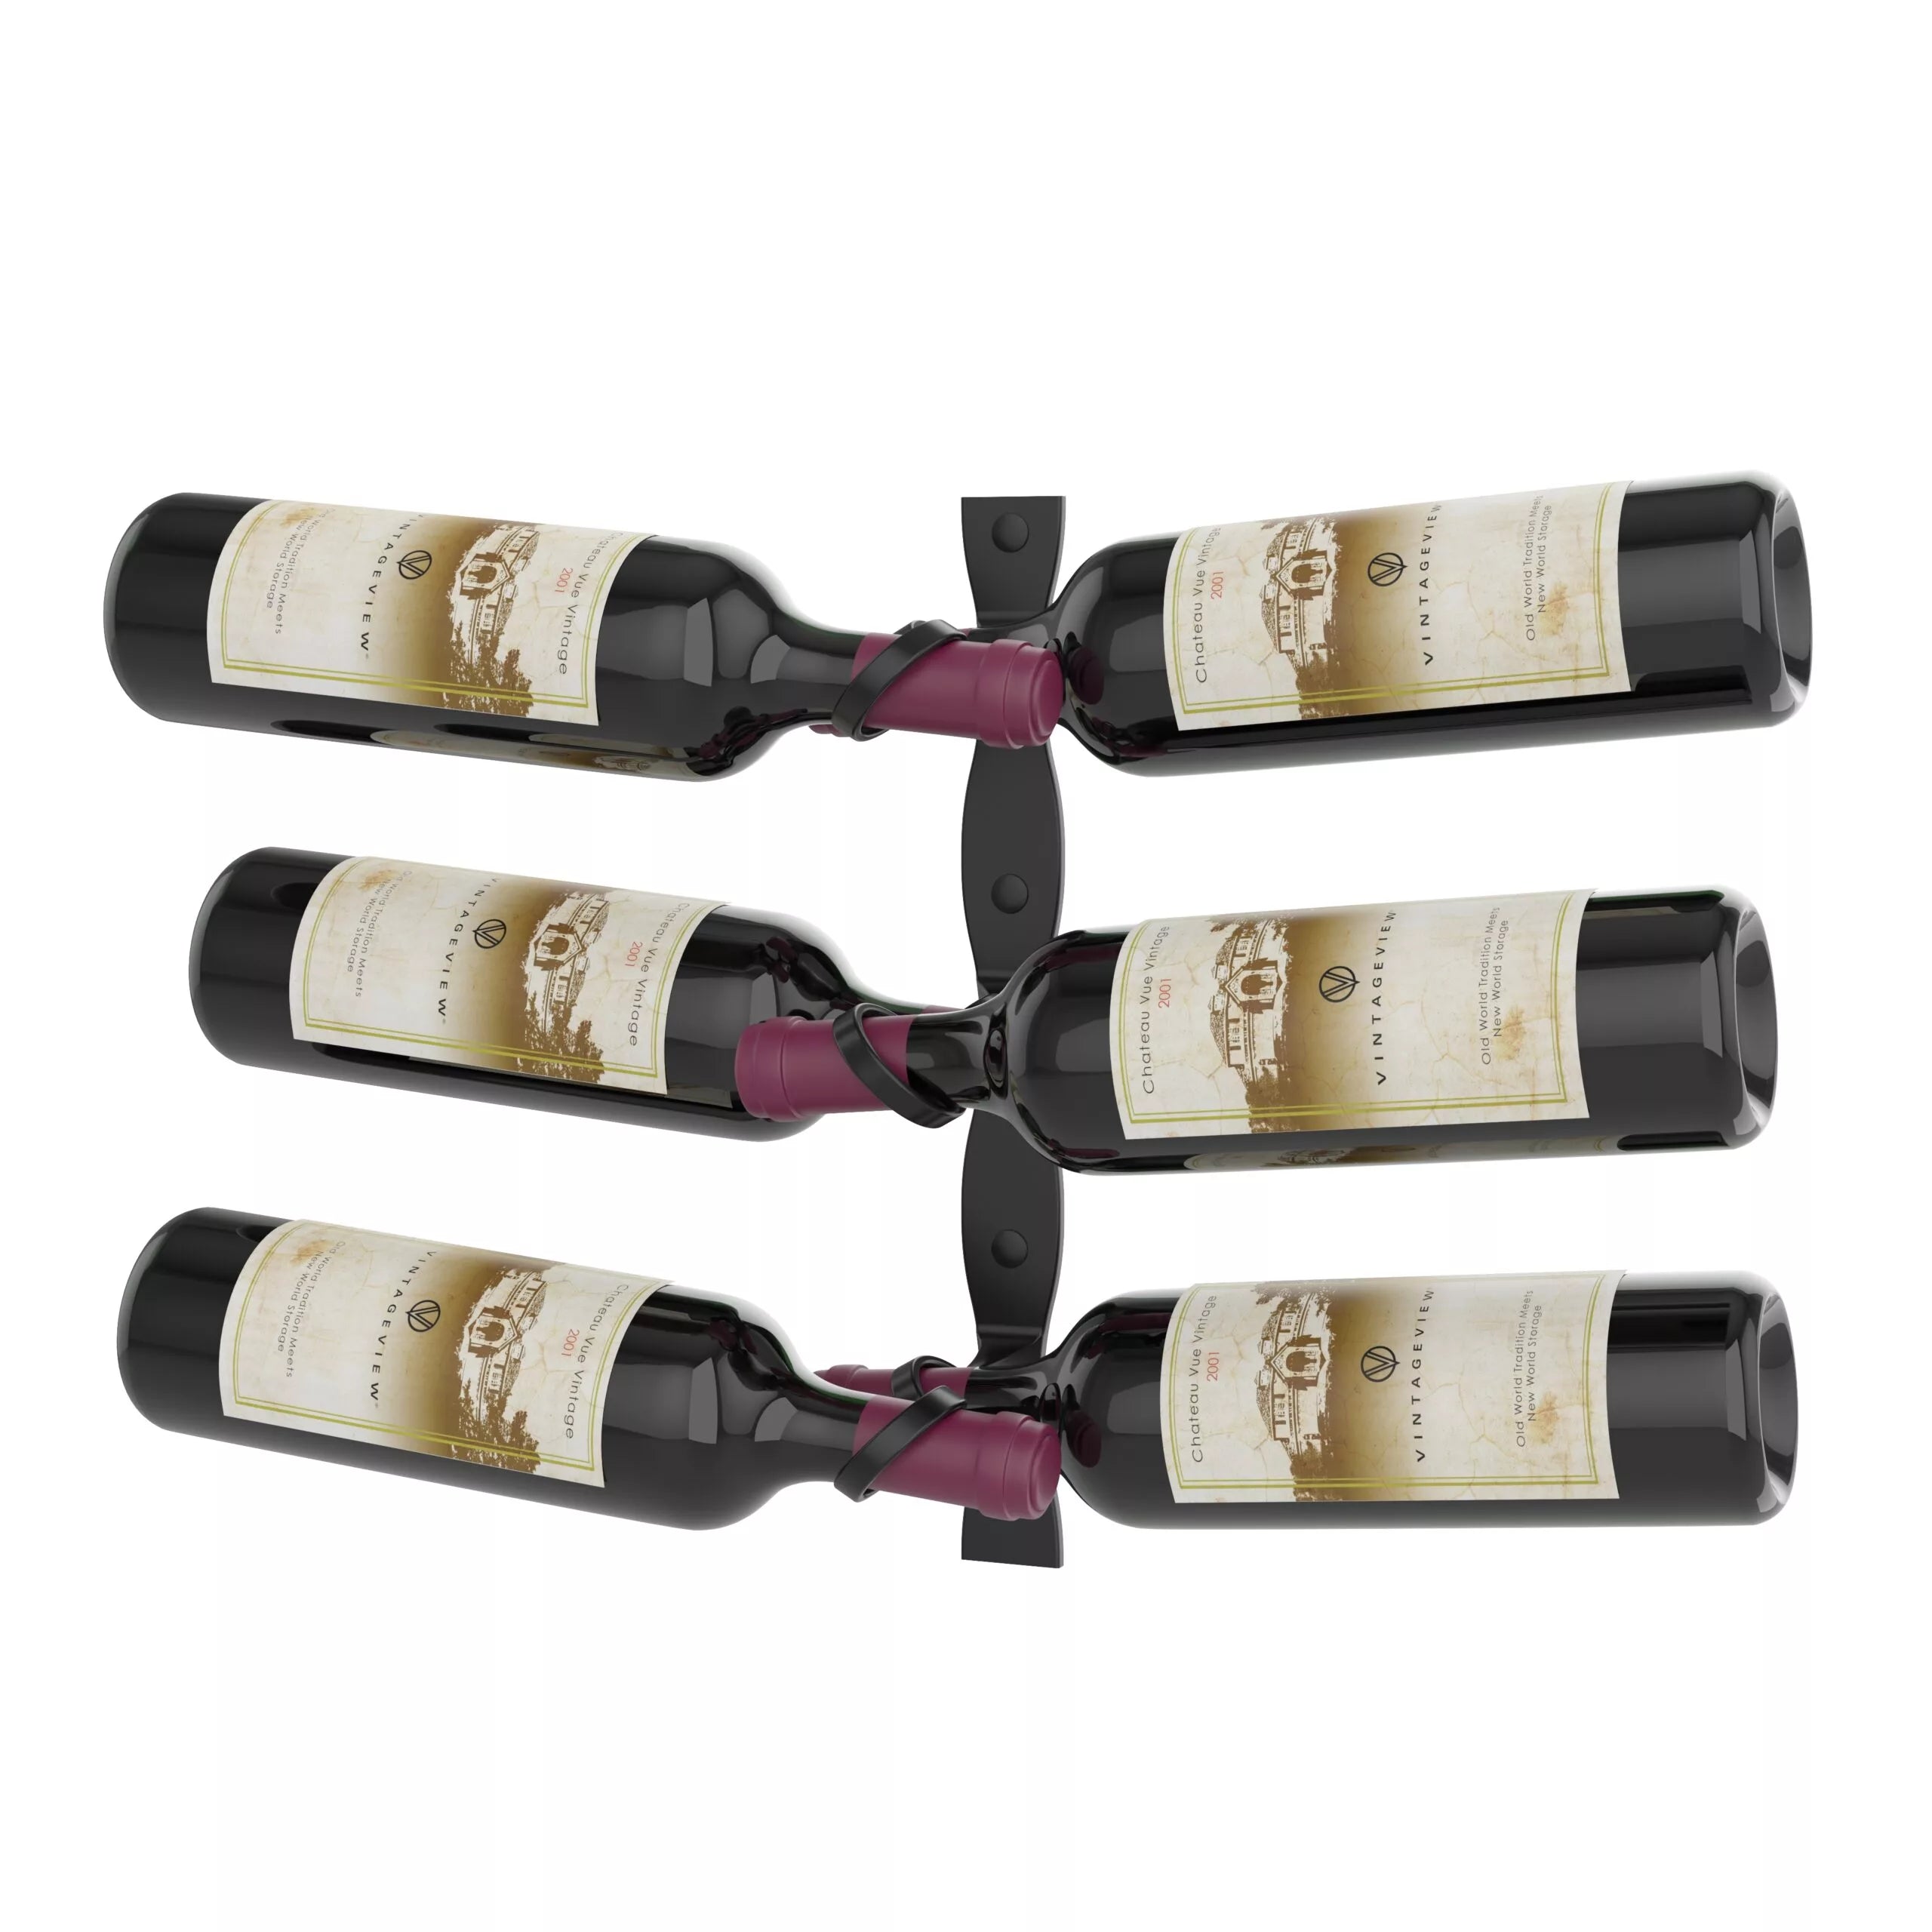
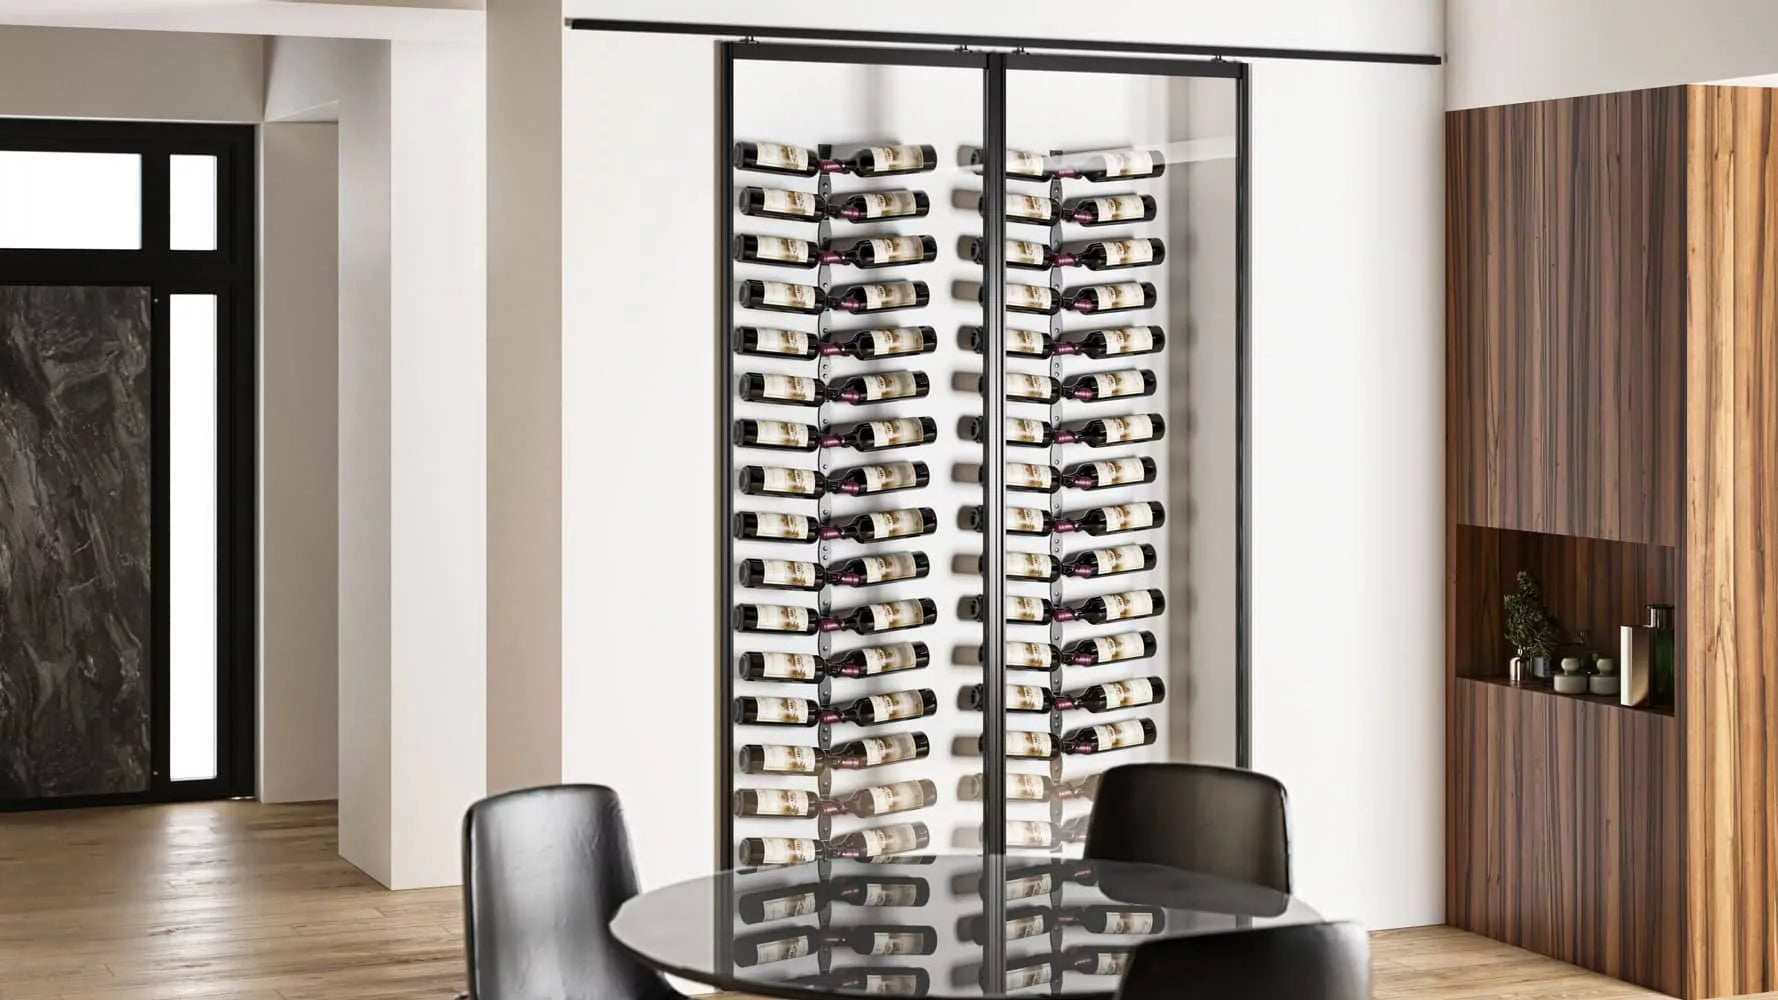
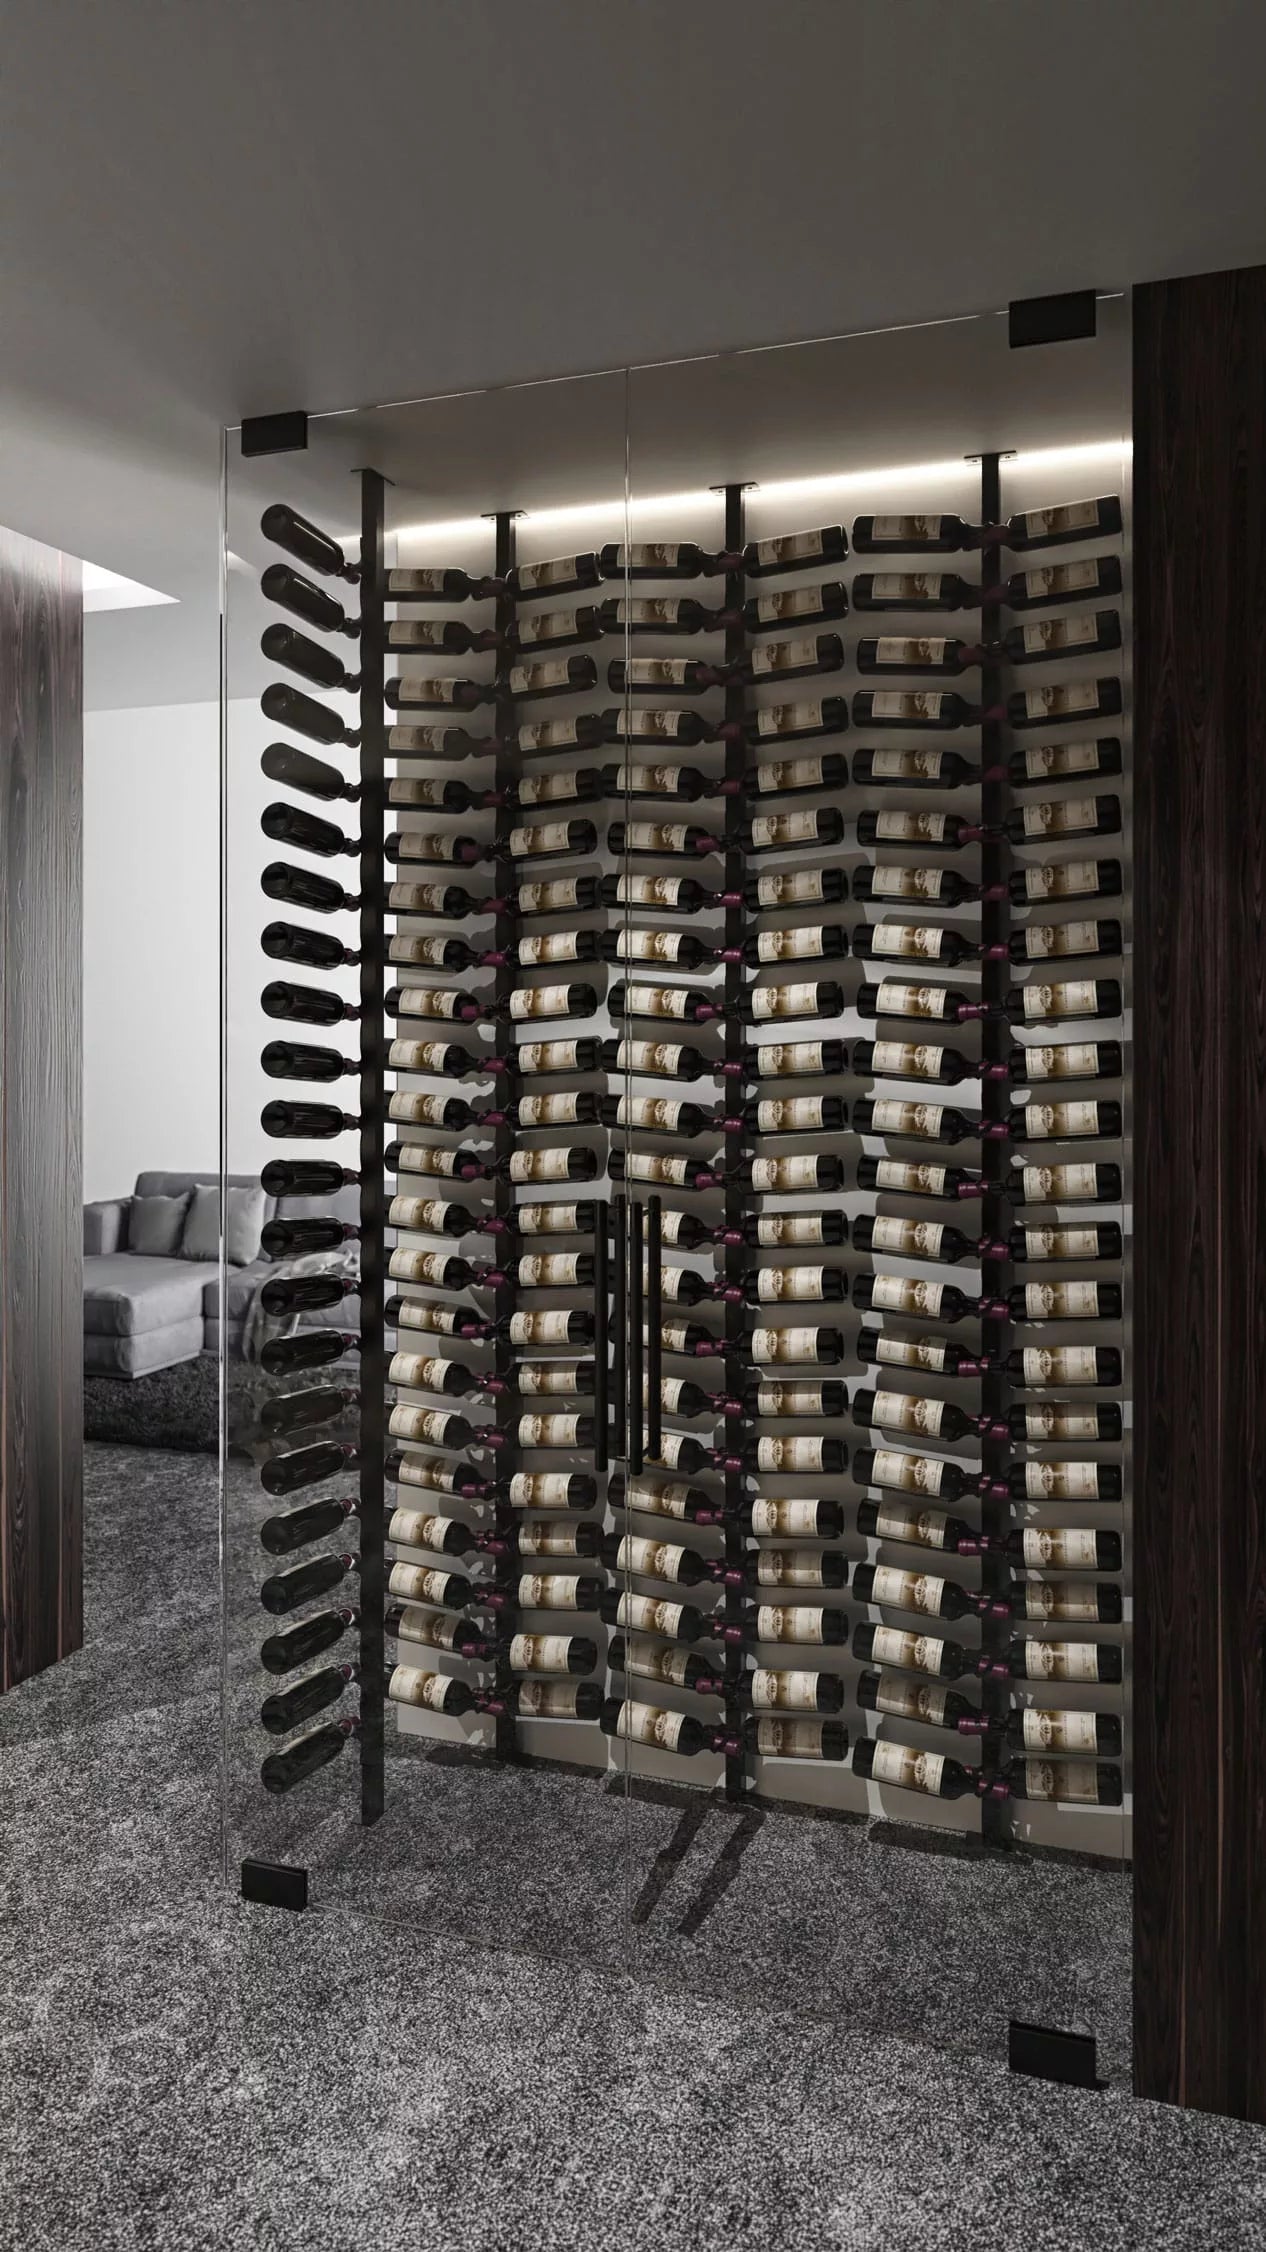
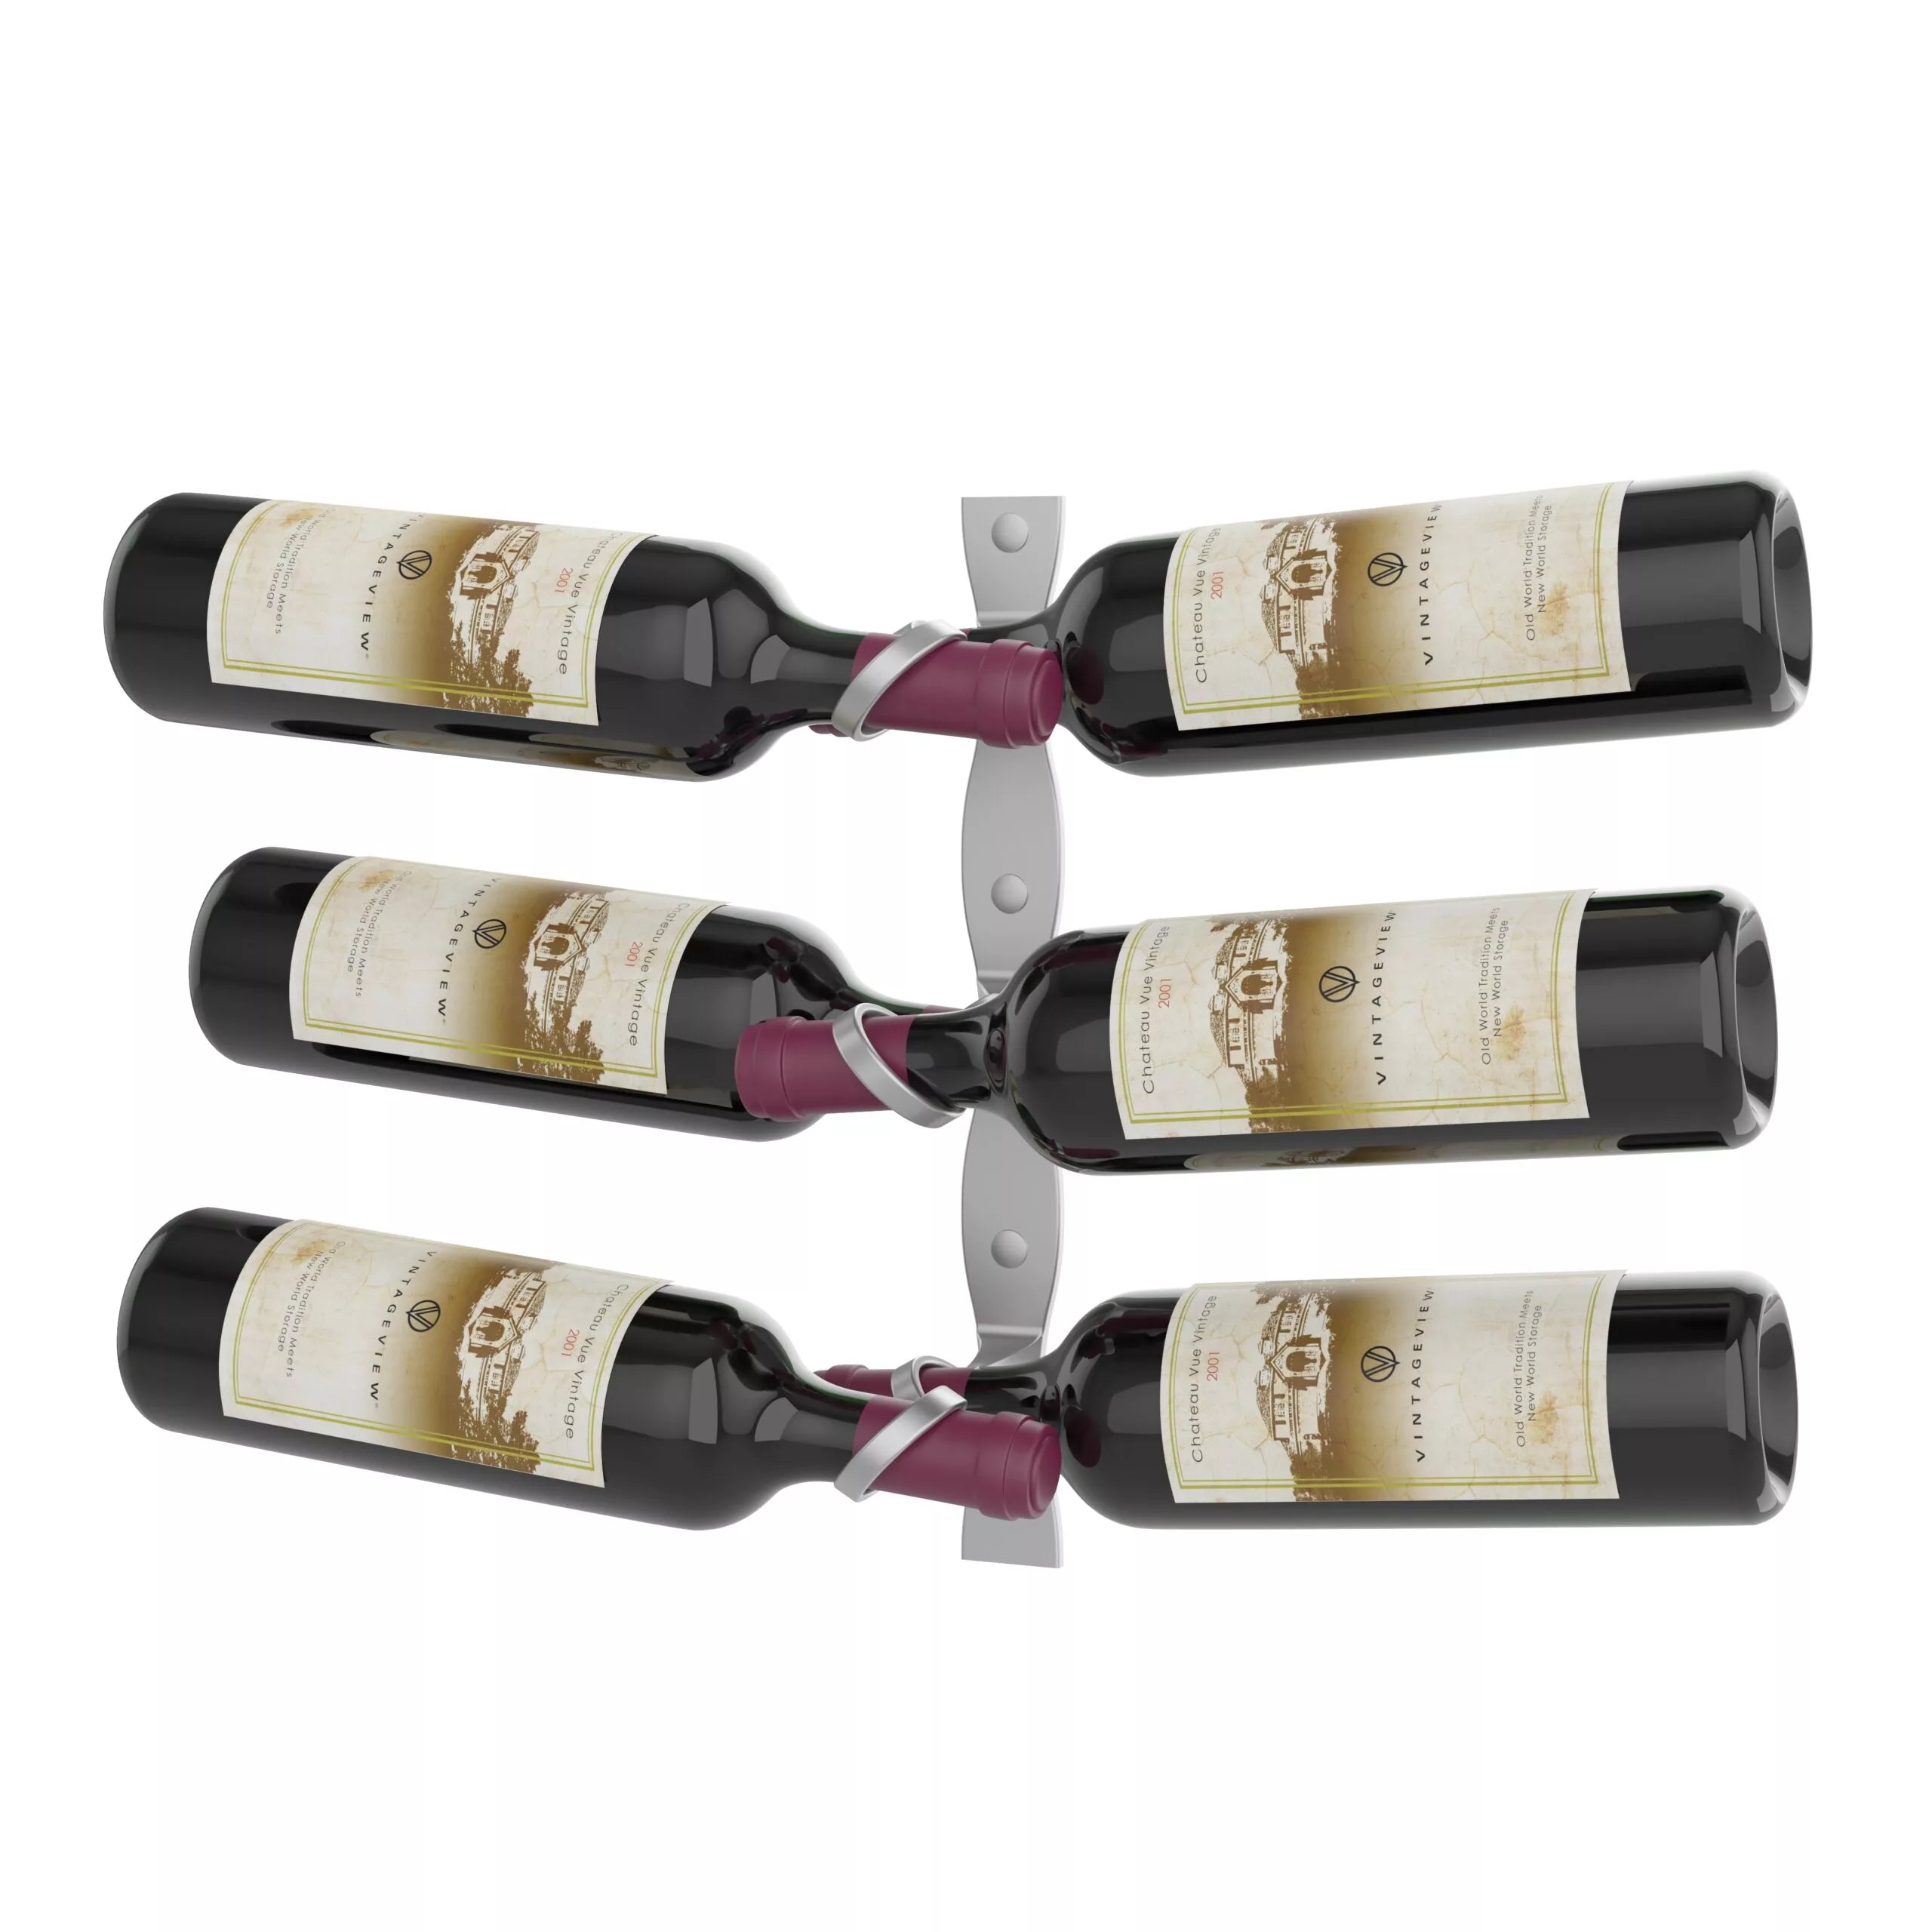
Helix Dual 15 Minimalist Wall-Mounted Wine Rack raises presentation to a sculptural statement, cradling six standard or Champagne bottles in two opposing directions so they appear to levitate from the wall. Soft, helical curves draw the eye even when the rack is empty, while the dual-side symmetry lets you alternate labels for lively visual rhythm in bar alcoves, kitchen backsplashes, or full-height cellar displays.
As part of VintageView’s contemporary R Series, this 21-inch-wide module installs in minutes—either on drywall or directly into wood—with all hardware included. Pair it with Helix Single or additional Dual racks, or attach to an R Series Post to float bottles in front of glass or stone. Industrial-grade steel-and-aluminium construction, powder-coat finishes, and a lifetime warranty ensure the artistry endures as long as your collection.
Pair your racking with the Helix Foil Guard (sold separately) for added protection and a polished look.
Additional Information
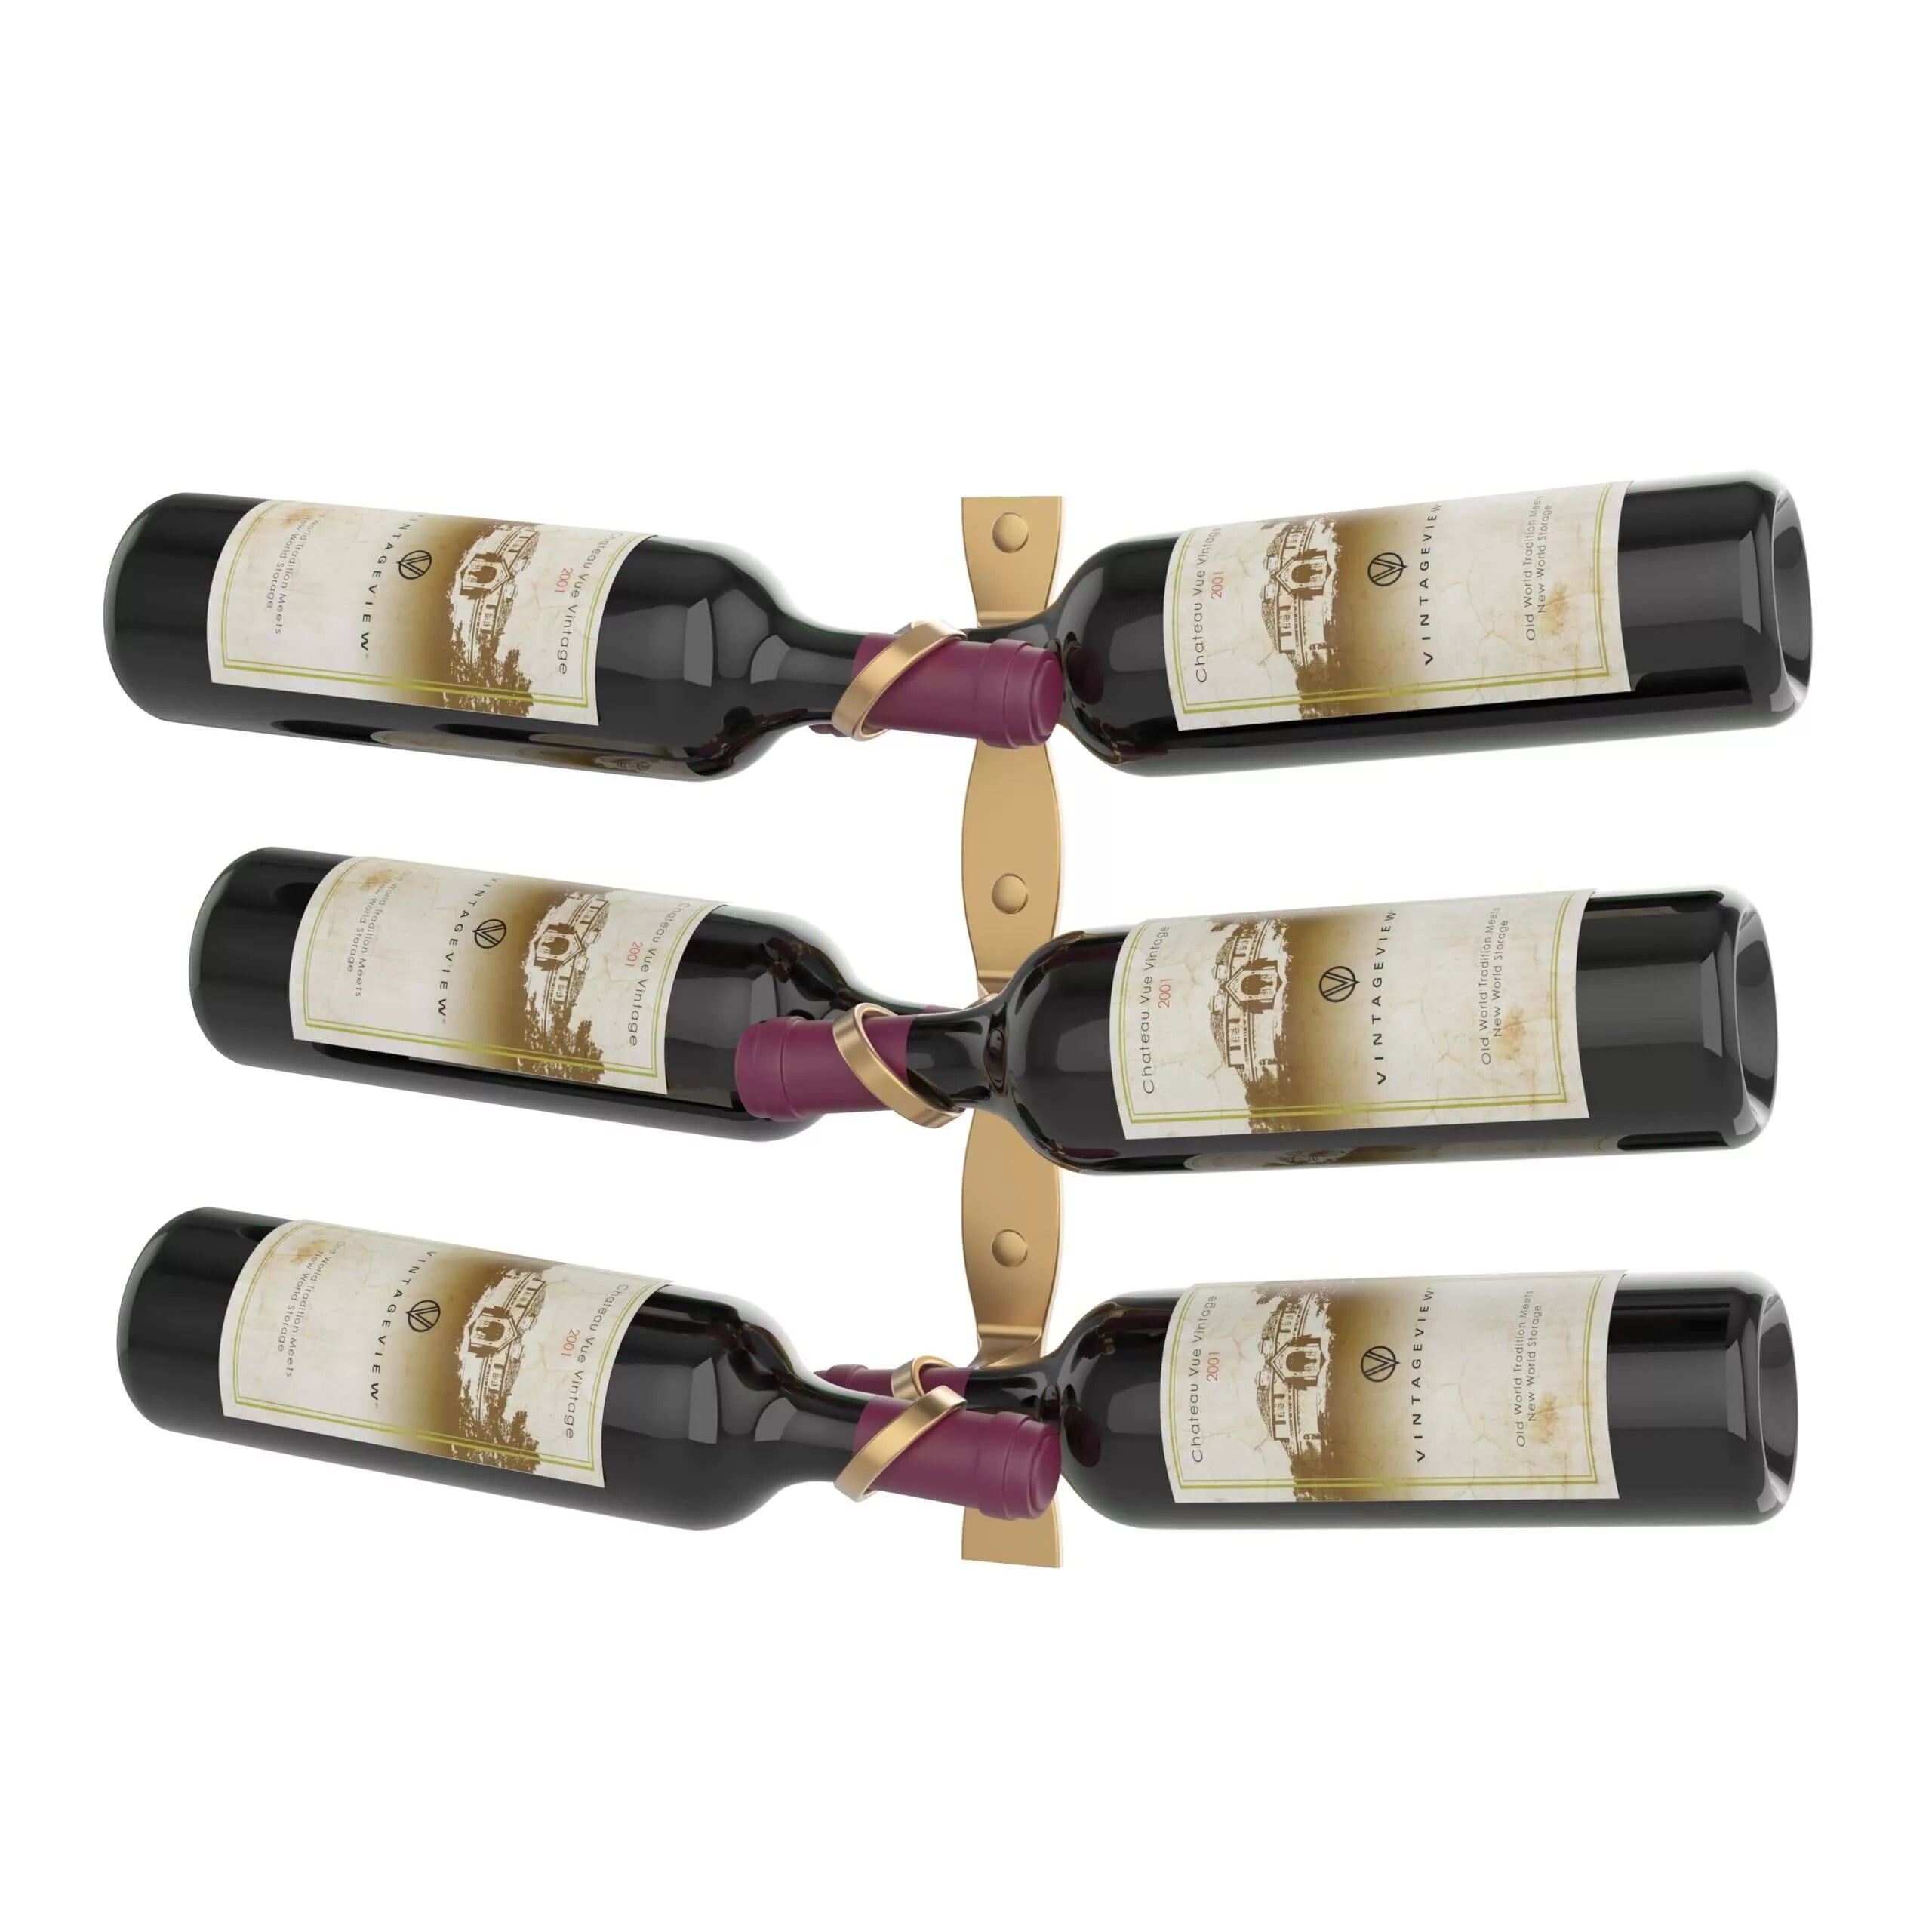
Helix Dual 15’s compact 5 ¼ in (13.5 cm) depth preserves valuable walkway clearance, while its 15 in (38 cm) height stacks neatly under standard upper cabinets. Choose Matte Black, Cool Gray, or Golden Bronze Luxe to complement modern, rustic, or luxe interiors; concealed fasteners keep the profile clean from every angle.
Key Features
- Six-bottle display shows labels in two directions for dynamic symmetry
- Universal cradle fits 750 ml and Champagne formats (up to 92 mm diameter)
- Slim footprint—just 5 ¼ in deep—ideal for tight corridors and feature walls
- R Series modularity integrates with Helix Single/15 R Series Posts for endless
- Commercial-grade build: powder-coated steel/aluminium alloy, lifetime warranty
Specifications
- Dimensions: 21 in W × 15 in H × 5 ¼ in D (53.5 × 38 × 13.5 cm)
- Bottle capacity: 6 (standard 750 ml or Champagne)
- Material: steel/aluminium alloy (Matte Black, Cool Gray, Golden Bronze Luxe)
- Mounting: direct to framed drywall or wood; all screws and anchors included
- Orientation: dual-direction display, single-depth format
- Series compatibility: R Series Helix Single/Dual racks and R Series Posts
- Warranty: VintageView limited lifetime
In the box
Comes complete with (1) Helix Dual steel and aluminum wine rack, easy-to-follow installation instructions, and hardware to mount to wood or drywall surfaces.
customize by modularity
With (2) standard heights and (2) bottle depths, custom results come as easily as working with our in-house CAD team.
durable material & distinct finishes
Built from a high-quality steel/aluminum alloy, backed by a lifetime warranty, and offered with a choice of matte black and golden bronze luxe finishes.
Maintenance and Care
Helix Wine Racks should be regularly inspected for secure wall attachment. Should any fastener be found to be loose, tighten it appropriately.
Helix Wine Racks may be cleaned with a dry cloth. Use rubbing alcohol for any difficult-to-remove stains. Avoid harsh chemicals and abrasive surfaces as they may damage the finish.
Shipping Information
Rosehill Reserves the right to contact you should shipping charges end up substantially higher than advertised on our website.You will have an opportunity to cancel your order at that time.
For CAD customers - Shipping Charges for importation, brokerage, duties are extra and might be charged extra, however you will be contact by a Rosehill Customer Service Representative to discuss it further.
PRODUCT MANUALS
Get in touch with our design specialists to start building your custom wine cellar today.