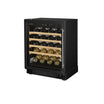
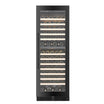
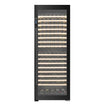
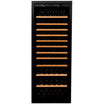
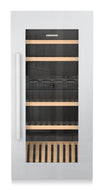
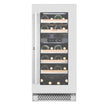



What if the best dual zone wine cooler temperature settings depend less on whether a wine is red or white, and more on whether you’re storing it or preparing to serve it? It’s easy to assume each colour needs its own fixed temperature, but long-term storage calls for a different approach than serving. For storage, a steady 55°F is a useful target for red, white, and sparkling wines alike.
If you’re unsure what to set in each zone, start by deciding how you’ll use them. The key is matching the settings to your collection and how you enjoy it. This guide explains when to keep both zones at a consistent storage temperature and when to set separate temperatures for wines you plan to serve. You’ll also find practical serving ranges for reds, whites, and sparkling wines, steps for checking your cooler’s readings, and guidance on responding to temperature variations. With a clear framework, you can make adjustments without treating every bottle as if it needs a different storage climate.
Key Takeaways
- Set each zone according to its role: steady storage, serving readiness, or a combination of both.
- Use wine-style serving guidance as a reference, not a rigid rule for every bottle.
- Choose whether to split storage and serving or dedicate both zones to storage based on your collection and drinking habits.
- Follow a simple setup process: take inventory, assign zone purposes, set temperatures, allow them to stabilize, then review the readings.
- Use the appliance manual for its controls and operating limits, and consider a single-zone cooler if your collection shares one storage target.
Dual-zone wine cooler temperature settings: start with storage or serving
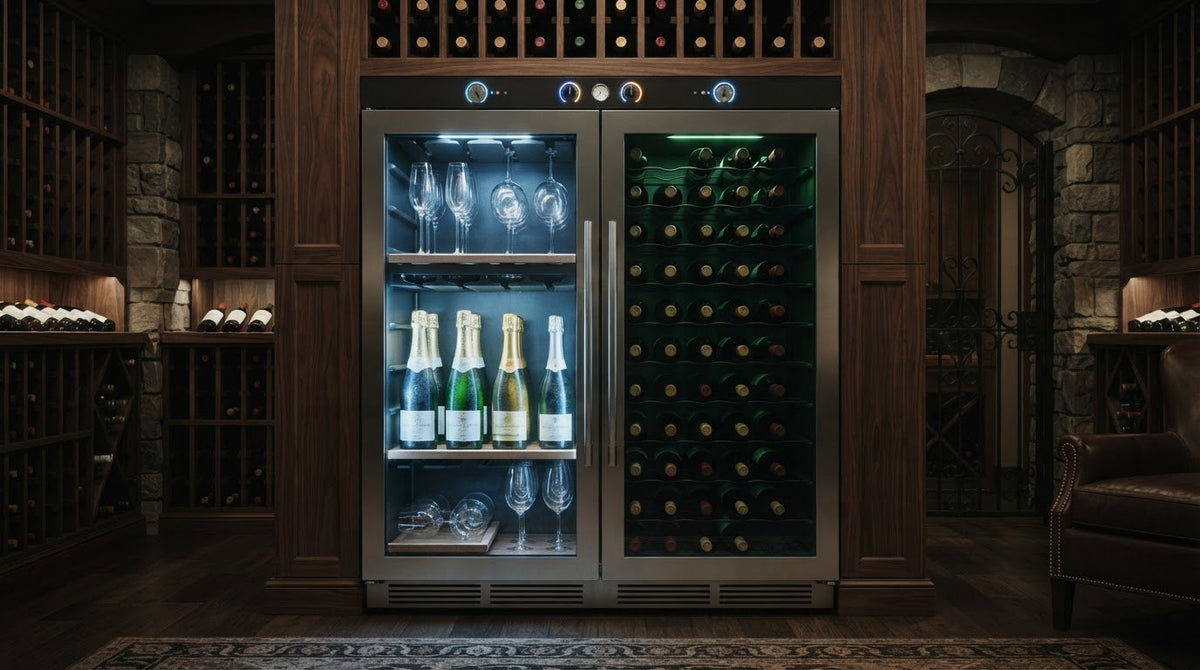
Assign each zone according to whether you’re storing wine or preparing it for serving, not simply by colour. A dual-zone wine cooler has two independently controlled temperature areas. That lets you dedicate one area to longer-term storage and use the other for bottles you expect to open soon. The best arrangement depends on your collection, how often you serve wine, and the operating guidance for your cooler.
Think of the zones as separate tools, rather than fixed categories labelled “red” and “white.” If most of your bottles are being held for later, using both areas for storage may make more sense than reserving one for serving. If you regularly pour different styles, separating stored bottles from those you plan to serve soon can make the cooler more useful day to day.
What does a dual-zone wine cooler setting control?
Each setting controls the target temperature for its designated compartment. The setpoint does not mean every bottle immediately reaches that temperature. Wine takes time to respond to its surroundings, and the display may show cabinet air rather than the temperature inside a particular bottle. Give the cooler time to stabilize after changing a setting, and avoid frequent adjustments based on a single reading.
Compartments, controls, and operating limits vary by model. Follow the appliance manual to set each zone and understand its layout. For broader context on storage conditions, see this overview of wine cellar temperature and humidity.
Should the zones be set by wine colour?
Colour can help when deciding which bottles may be served together, but it doesn’t account for every wine’s style or purpose. A collection of mixed-colour bottles held for aging may call for a shared storage approach. If you keep some bottles for near-term serving and others for longer-term storage, assigning zones by intended use may be more practical.
For example, a household that mostly stores bottles and opens them occasionally might use both compartments for storage. Someone who entertains often may prefer one zone for bottles held over time and another for wines intended to be poured soon. Consider the wines you keep, how quickly you drink through them, and whether having bottles ready for a meal or gathering matters more than separating reds from whites.
Let the bottle’s purpose guide its zone; colour is a helpful clue, not the whole setting strategy. If your collection shares one storage target, a single-zone cooler may also suit your routine. Rosehill’s Vantaggio V164 Single Zone Wine Cooler offers a useful point of comparison as you consider whether two separately managed areas fit the way you store and serve wine.
How storage and serving temperatures shape dual-zone settings
Choose zone targets by purpose, then use wine style to refine the serving zone. A long-term storage target is intended to stay steady for bottles being held over time. Serving temperatures, by contrast, are shorter-term preferences for wines you expect to pour soon. Confusing the two can lead to a cooler arranged around colour even when your collection would benefit more from consistent storage.
A shared storage target for reds and whites
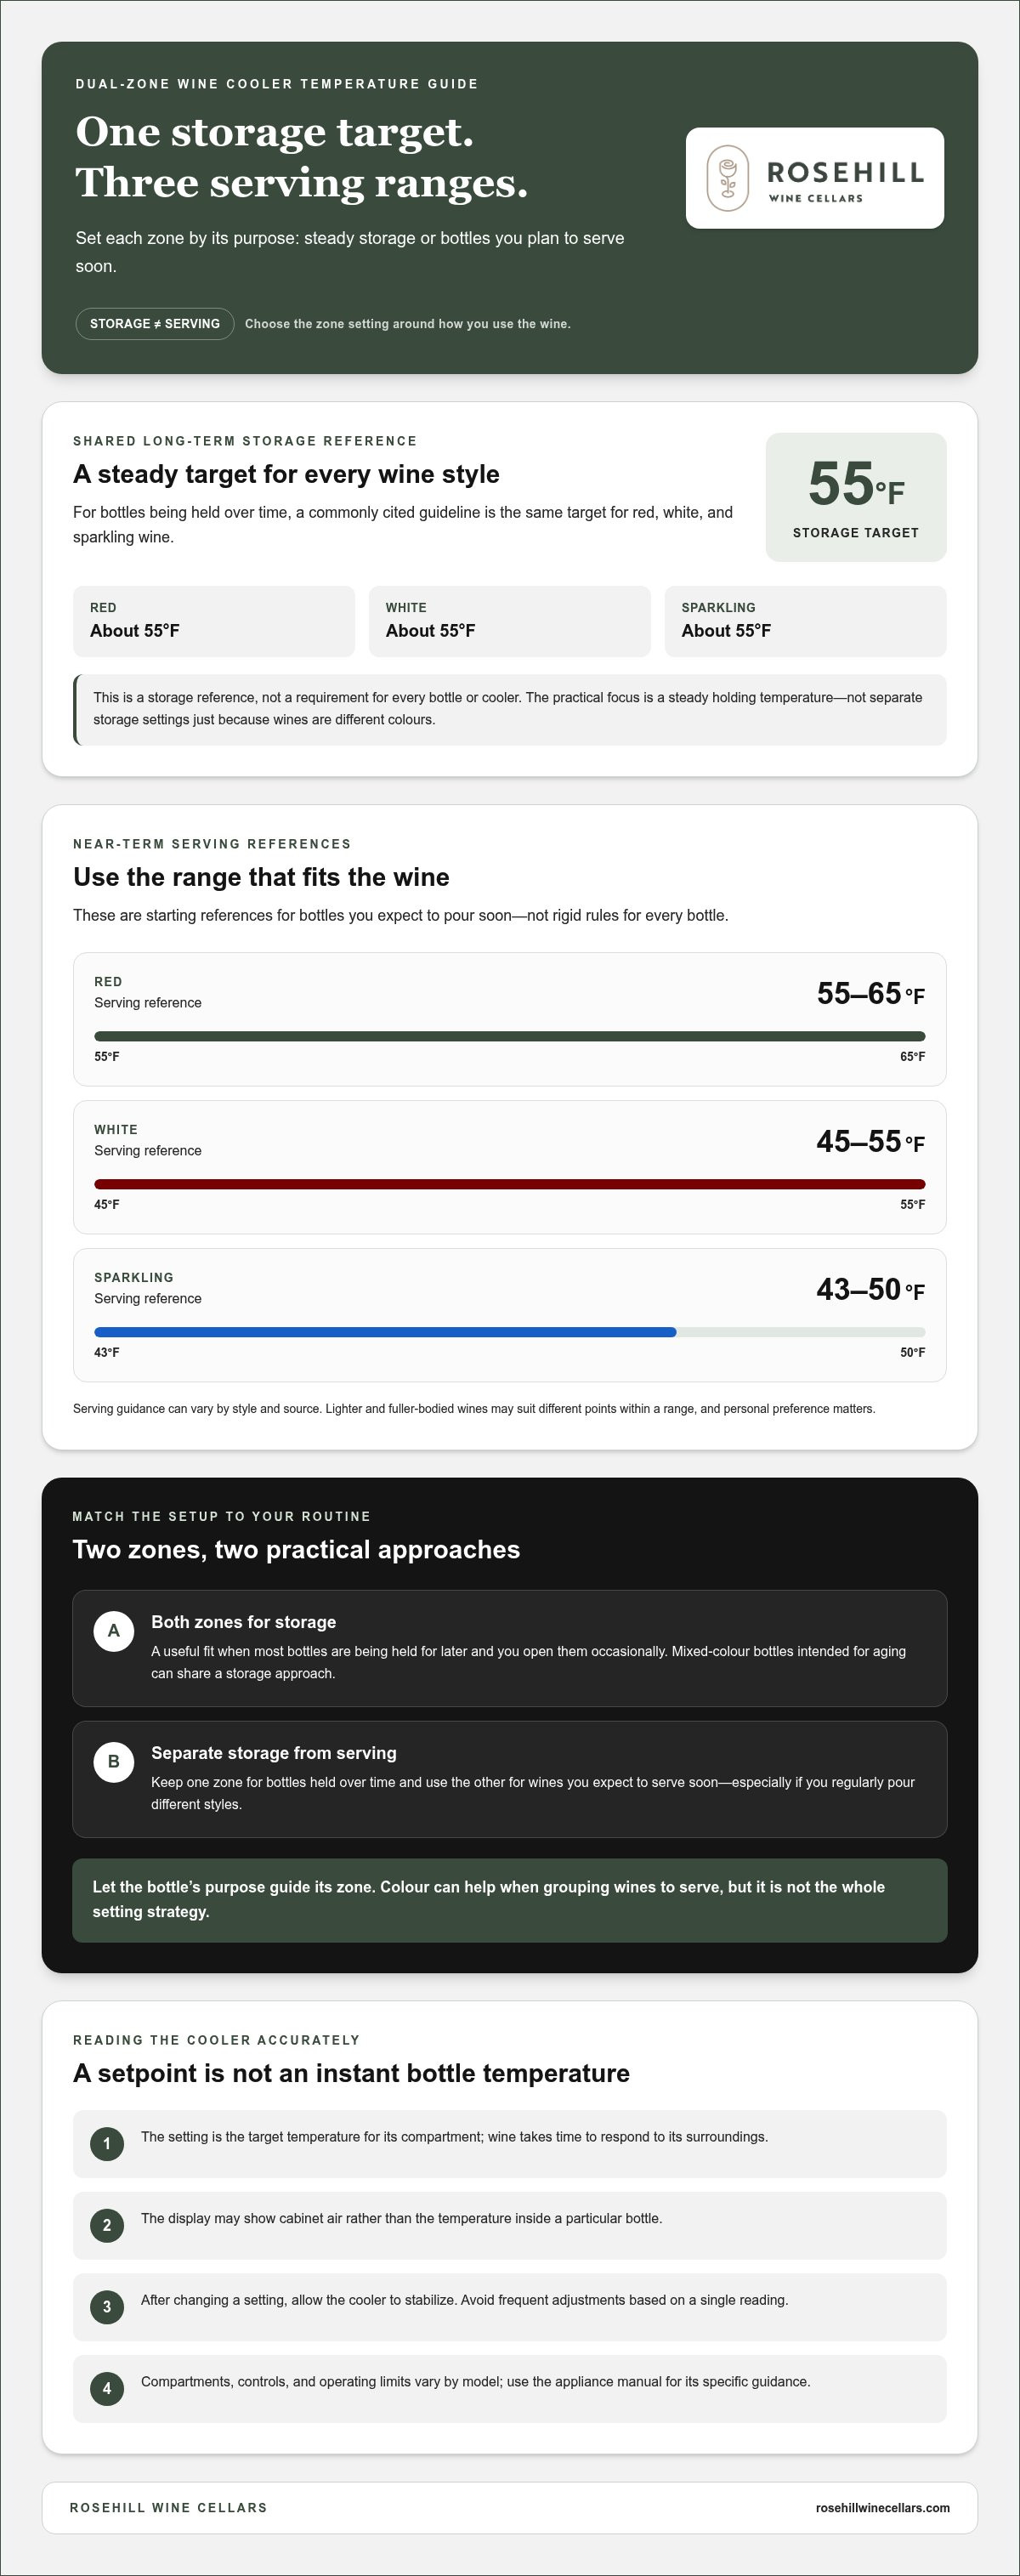
A commonly cited long-term storage guideline is a steady 55°F for red, white, and sparkling wine. Wine Spectator presents this as a standard storage reference, not a requirement for every bottle or cooler. The practical takeaway is that wine stored for aging generally doesn’t need separate temperatures just because it’s red or white. Consistency matters, though no single setpoint can guarantee preservation.
Use the figures below as starting references, not precise promises about the temperature inside each bottle. Serving guidance varies by style and source, and your appliance’s instructions describe its operating limits and compartment-specific use.
| Wine style | Long-term storage reference | Serving reference |
|---|---|---|
| Red | About 55°F | 55-65°F |
| White | About 55°F | 45-55°F |
| Sparkling | About 55°F | 43-50°F |
These ranges help you decide whether a zone is being managed for storage or near-term serving. If you hold mostly mixed-style bottles for later, a shared storage target may be more useful than dividing them by colour. If you keep bottles you plan to open soon, a separate zone lets you set serving preferences for that selection.
Serving wine at different temperatures
Wine Spectator offers 40-50°F as a serving reference for white or sparkling wine. Treat that as one published guide, not a universal setting. Lighter and fuller-bodied styles can suit different points within a range, and personal preference matters. Adjust thoughtfully rather than assuming every bottle in a colour category should be served at one exact temperature.
Storage temperature is a steady holding target; serving temperature is a style- and preference-led choice for bottles you expect to enjoy soon. If you’re arranging zones around these different roles, Rosehill’s dual-zone wine coolers offer options for managing separate temperature areas.
How to assign zones to your collection and drinking habits
The most useful setup reflects what your bottles are doing in the cooler and how often you reach for them. Before choosing dual zone wine cooler temperature settings, consider your collection mix, bottle turnover, entertaining habits, and how long you expect to store wine. A household that opens bottles regularly may benefit from a serving zone; a collection held for future occasions may be better managed with both zones set for storage.
When one zone for storage and one for serving makes sense
This arrangement suits households that regularly serve different styles and want some bottles ready for near-term enjoyment while others remain stored. It can simplify everyday choices: select from the serving area for dinner while leaving longer-held bottles in the storage zone. The balance depends on your habits, not a fixed ratio. If you host often, you may want more room for ready-to-serve bottles; if gatherings are occasional, a smaller serving selection may be enough.
Check the cooler manual before deciding which compartment will serve each purpose. Don’t assume the upper zone is warmer or colder than the lower one. Compartment layout and operating guidance vary by model, so use the manufacturer’s instructions to assign the zones appropriately.
When to use both zones for storage
If most bottles are being held for later and you rarely need a serving-ready selection, using both compartments for storage may suit your routine. Matching the settings can make the arrangement easier to manage, particularly when both zones hold similar wines for similar periods. It also avoids setting aside space for bottles you don’t expect to serve soon. Follow your cooler’s instructions and keep your storage approach consistent.
Use these questions to decide which setup is a better fit:
- Collection mix: Do you store a broad range of styles, or mainly bottles you plan to hold?
- Bottle turnover: Do bottles move from storage to the table regularly, or stay in the cooler for longer periods?
- Entertaining: Do you often want a choice of wines ready to serve?
- Storage duration: Are you prioritizing longer-term holding or near-term enjoyment?
Your answers can change over time. Revisit the arrangement as your collection grows, your drinking habits shift, or entertaining becomes more frequent. If a separate serving area would be useful, explore dual-zone wine cooler options as you consider a configuration for your routine. If both zones would serve the same storage purpose, compare your needs with the cooler’s instructions before dividing bottles by colour alone.
Set and check dual-zone wine cooler temperatures in five steps
Good dual zone wine cooler temperature settings begin with a clear plan and a careful check of the appliance. Use this sequence to match the zones to your collection, set each compartment correctly, and assess readings without reacting to every brief fluctuation. Your cooler’s manual is the authority for its controls, operating limits, and compartment-specific instructions.
- Inventory the wines. Note the styles you keep, which bottles are likely to be opened soon, and which you intend to store for longer. A simple list helps you see whether you need a serving zone or whether both compartments will have the same storage purpose.
- Choose each zone’s purpose. Decide whether one zone will hold bottles for storage and the other will prepare wines for serving, or whether both will support storage. Use the manual to identify which physical compartment corresponds to each control; don’t assume the upper or lower section is warmer.
- Set the temperatures. Use the controls described in the manual and confirm that each displayed setpoint belongs to the intended compartment. Follow the appliance’s stated operating limits. There isn’t a universal button sequence or temperature range that applies to every model.
- Allow conditions to settle. After adjusting a setting, give the unit time to respond before making another change. Loading bottles or opening the door can affect observed conditions, so avoid judging performance immediately after either event.
- Review and record readings. Check the display consistently and note any pattern, including when you checked it and whether the door had recently been opened or the cooler loaded. A brief variation may not signal a persistent issue; repeated readings help distinguish a passing change from a pattern worth investigating.
Use the cooler’s controls and manual
Before changing settings, locate the controls for both zones in the model’s instructions. Confirm that the display you’re adjusting corresponds to the compartment you intend to manage, then refer to the manual for the allowable range and any specific operating guidance. This avoids relying on assumptions drawn from another cooler’s layout or control system.
Monitor before adjusting again
Give the appliance time to respond, then check readings consistently rather than making repeated adjustments after a single observation. If the temperature continues to vary, review basic operating conditions described in the manual, such as whether the door closes properly and whether anything is interfering with normal operation. Follow the manufacturer’s scheduled care guidance. For ongoing cooling-system care, Rosehill offers annual maintenance plans that include scheduled inspections and preventative care.
Once you know how you’ll use each zone and monitor it, compare configurations that suit your routine. Explore Rosehill’s dual-zone wine coolers to consider a setup for your collection.
Choose a dual-zone cooler setup that suits your wine routine
The right cooler configuration supports the way you store and serve wine. Two independently managed zones can help if you want to keep some bottles for longer-term storage while setting others aside for near-term enjoyment. But a dual-zone arrangement isn’t essential for every collection. If your bottles share one storage target and you rarely need a separate serving area, a single-zone cooler may be a more straightforward fit.
Dual-zone versus single-zone: which fits your collection?
Start with your collection mix and bottle turnover. If you keep a variety of styles and regularly open bottles or entertain, separate zones can give you room to manage storage and serving purposes at the same time. The benefit is practical: bottles intended for an upcoming meal can be managed separately from those you’re holding for later.
If your collection is mostly stored for future occasions, or you tend to open bottles soon after bringing them home, two different temperature targets may not add much value to your routine. A shared storage approach can be simpler to manage. Consider how frequently bottles move through the cooler, how much space you’d dedicate to ready-to-serve selections, and whether those needs change through the year.
There’s no universally superior configuration. Dual-zone wine cooler temperature settings are useful when you have distinct purposes for the two compartments; one storage target may be enough when your collection is managed as a whole. The Vantaggio V164 Single Zone Wine Cooler offers a useful comparison if you’re considering a single-zone approach.
Make temperature management part of a considered wine setup
Whichever configuration you choose, decide what each zone is meant to do before setting it. Follow the cooler manual for control instructions and compartment guidance, then monitor readings consistently instead of reacting to every brief variation. These habits make the setup easier to understand and maintain as your collection changes.
Revisit the decision as your wine routine evolves. A collection that once shared one storage purpose may later include more bottles intended for serving soon. Conversely, if a dedicated serving zone sits underused, a simpler arrangement may better reflect how you enjoy your wine. Let the collection, turnover, and storage duration guide your choice rather than selecting two zones simply because they’re available.
Rosehill Wine Cellars offers wine coolers for different storage approaches. If you’re weighing single-zone and dual-zone options, explore the wine storage solutions available and consider which arrangement suits the bottles you keep and the way you plan to enjoy them.
Shape your wine storage around what comes next
Your wine routine may change as your collection grows or the occasions you enjoy wine shift. Treat your setup as something you can revisit, rather than a permanent choice. The best dual zone wine cooler temperature settings are those that continue to suit the bottles you keep and the way you plan to enjoy them.
Rosehill Wine Cellars designs and builds custom wine cellars and offers wine storage solutions, with national customer support through a toll-free phone line and live chat. Whether you’re considering two independently managed zones or a simpler shared storage approach, explore the options that fit your collection.
Explore Rosehill Wine Cellars to discover wine storage solutions for your home. A considered setup can make storing and serving your wine easier, while helping you build a collection that reflects your taste.
Frequently Asked Questions
What temperature should each zone of a dual-zone wine cooler be set to?
There isn’t one ideal setting for every collection; choose each zone’s purpose first. One might hold bottles for longer-term storage while the other is used for wines you plan to serve soon. Wine Spectator cites about 55°F as a storage guideline and 40-50°F for serving white or sparkling wines. Use these as references, then check your cooler’s manual and consider how soon you’ll open the bottles.
Should red and white wine be stored at different temperatures?
Not necessarily. Storage guidance differs from serving preferences, and some wine experts recommend a shared storage target for reds and whites. Separate settings can still help if you want bottles ready to pour at different temperatures. For example, a household that stores mixed wines but opens them only occasionally may prioritize consistent storage. Base your arrangement on your collection and drinking routine, not colour alone.
Can both zones of a dual-zone wine cooler be set to the same temperature?
Some owners choose matching settings when both compartments are used for storage around a shared target. Whether your specific cooler allows identical settings, and which setpoints it supports, depends on the model. Consult its manual before adjusting controls. Matching setpoints can make a simple storage plan easier to manage, but continue checking the unit’s readings and follow its operating guidance, especially after adding bottles or changing how you use the compartments.
Is 55°F a good temperature for storing wine?
About 55°F is a commonly cited long-term storage guideline, including in Wine Spectator’s advice on dual-zone coolers. Treat it as a reference rather than a guarantee that every wine or appliance should use precisely that setting. Your cooler may have specific operating limits or instructions that shape the appropriate choice. Compare wine-storage guidance with your appliance manual, and distinguish storage conditions from your preferred serving temperature.
How should I set a dual-zone wine cooler for red and white wine?
First decide whether you’re mainly storing bottles or keeping some ready to serve. For storage, a shared target may suit red and white wines alike. If you regularly serve both, assign zones based on the wines’ intended serving needs and the cooler’s layout. Check the manual to identify each compartment: the upper zone isn’t automatically the colder one. These dual zone wine cooler temperature settings should reflect your use, not colour alone.
Why are the two zones in my wine cooler not showing the same temperature?
Different readings may be expected if the zones have different setpoints or are managing separate compartments. Door openings, newly added bottles, and normal unit operation can also affect what you observe. Confirm that you’re reading the display for the intended compartment and compare it with the setpoint. If a difference persists despite appropriate settings, review the manual’s operating guidance and consider whether the unit needs routine care.
Do I need a dual-zone wine cooler if I mainly store one type of wine?
Not always. If you manage your collection around one storage target and rarely prepare bottles for serving at different temperatures, a single-zone cooler may be a simpler fit. For instance, a collection that turns over slowly may not benefit from dedicating a compartment to ready-to-serve bottles. Dual zones can be useful when your styles, storage plans, or serving habits call for separate purposes. Let your routine decide.