


Helix Single Sided Wine Rack Post Kit 10 (modern floor-to-ceiling floating wine rack system)
Description
Additional Information
Includes one cut-to-fit Post, your choice of Helix Single or Dual racks pre-drilled for the Post, full mounting/assembly hardware, and illustrated instructions. Compatible with other Helix elements for future expansion and designed to secure into wood or concrete floors and ceilings.
Key Features
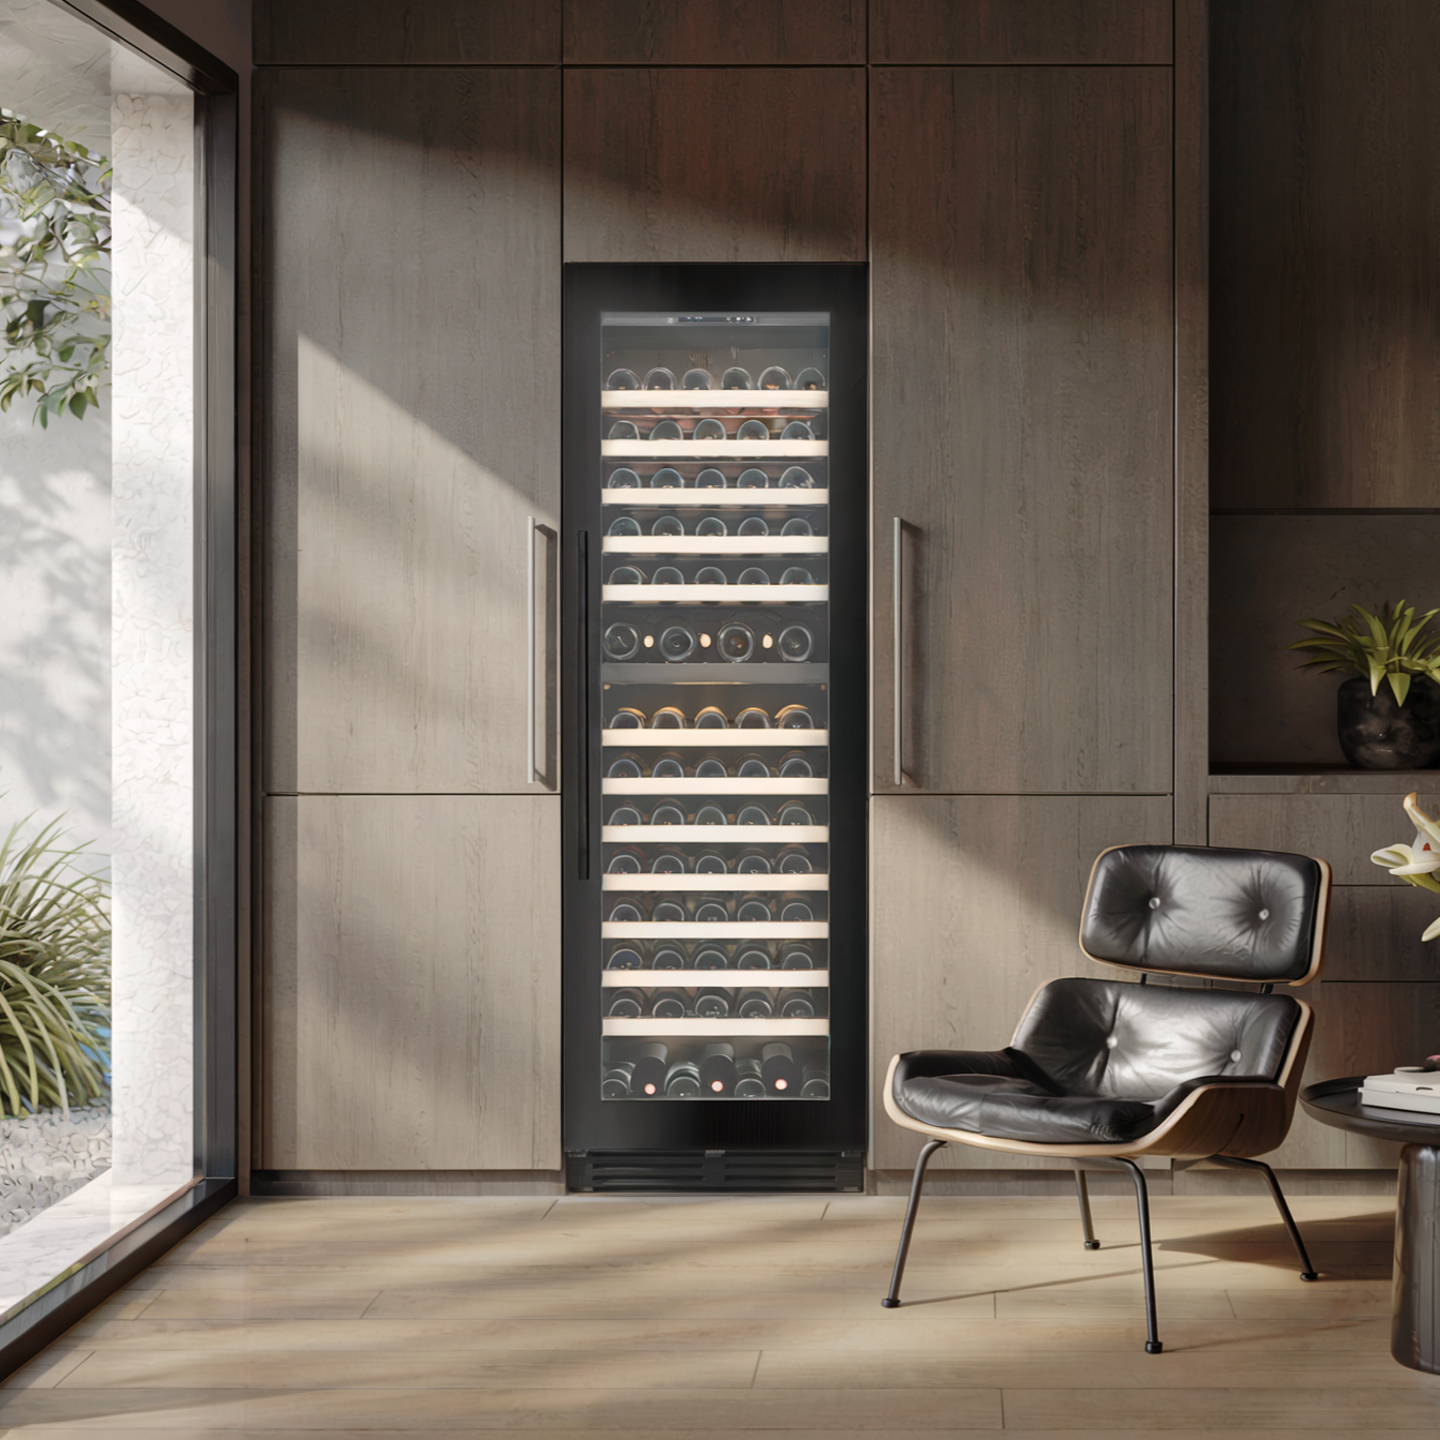
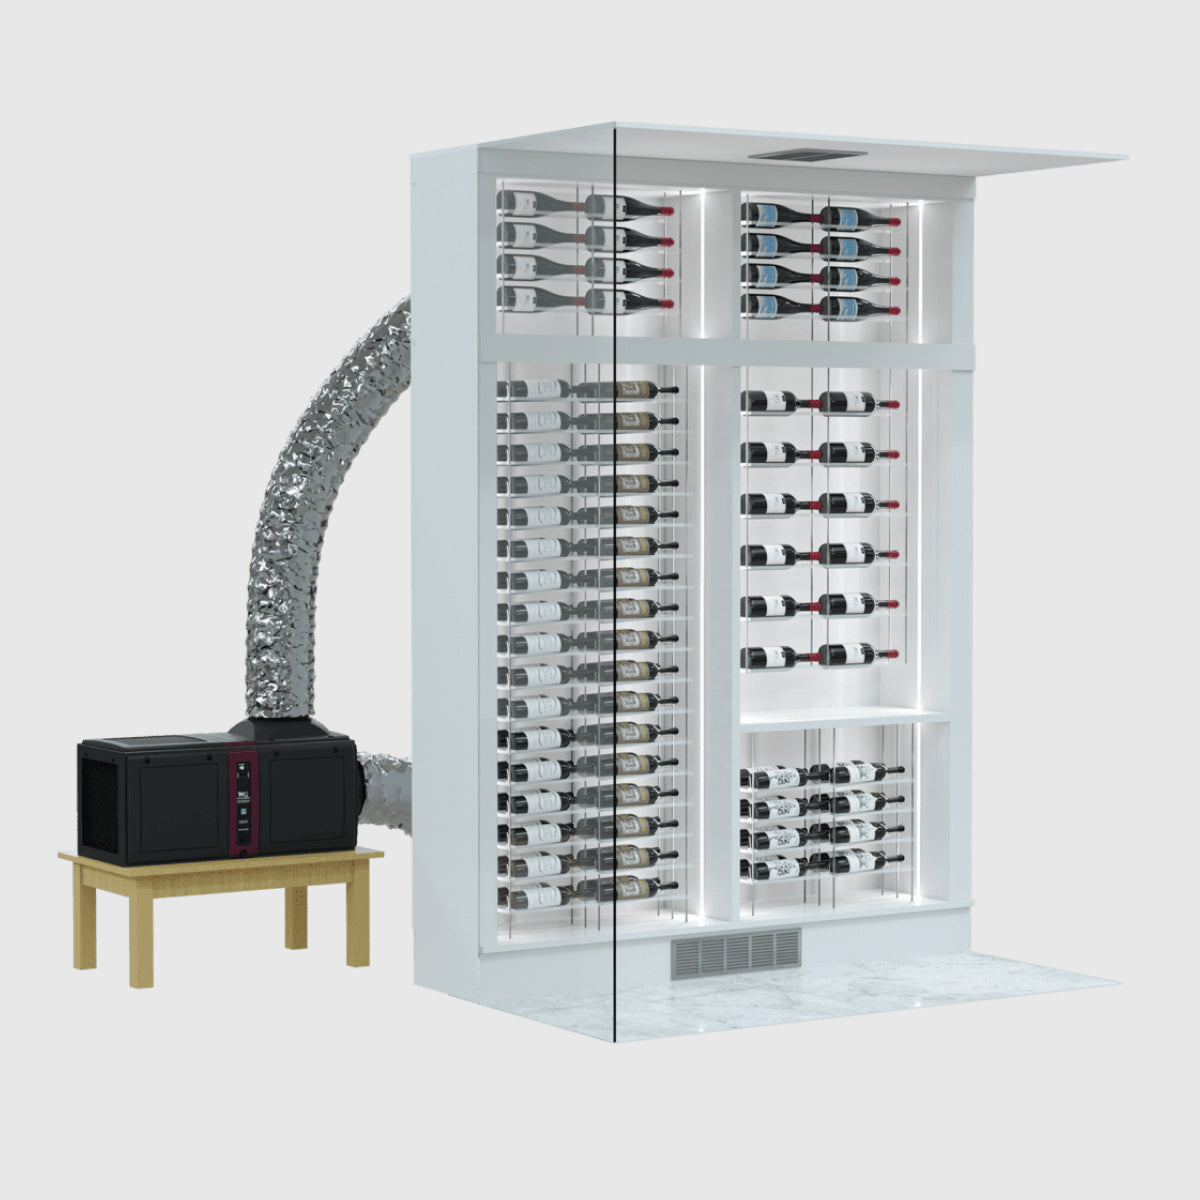
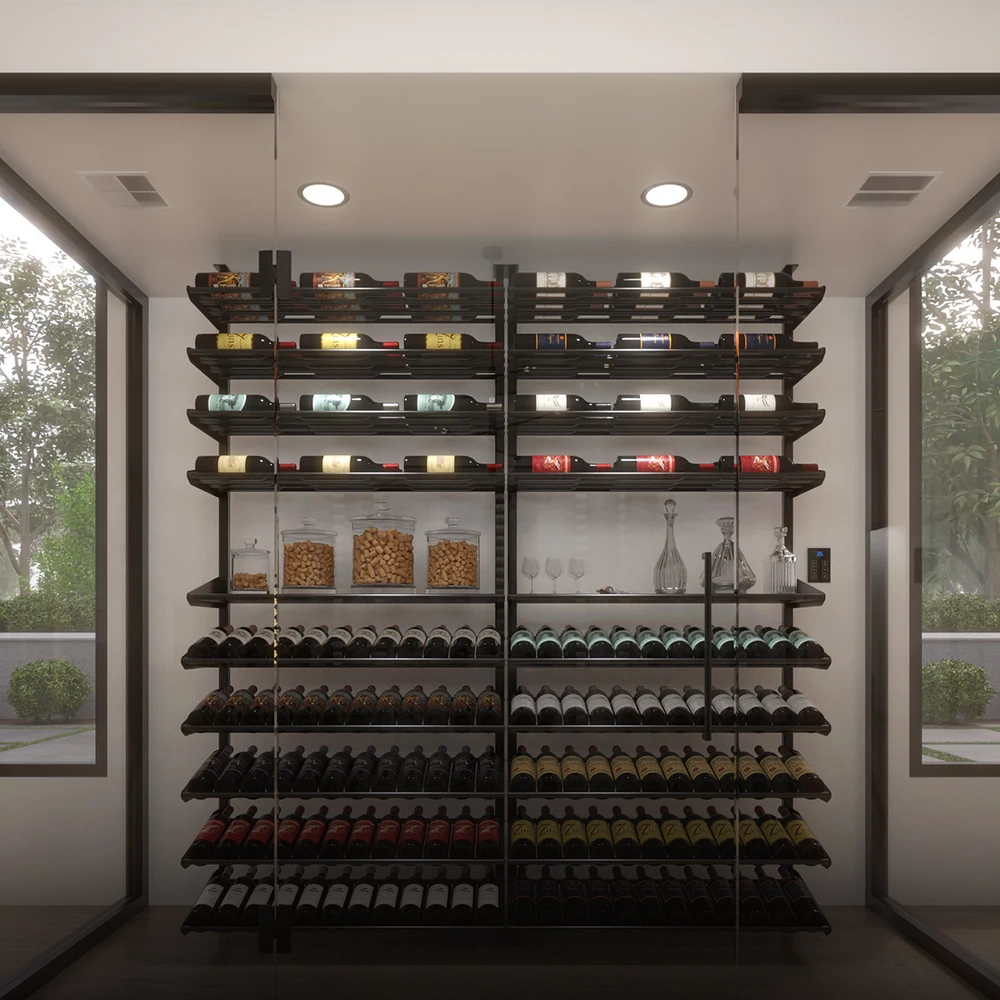
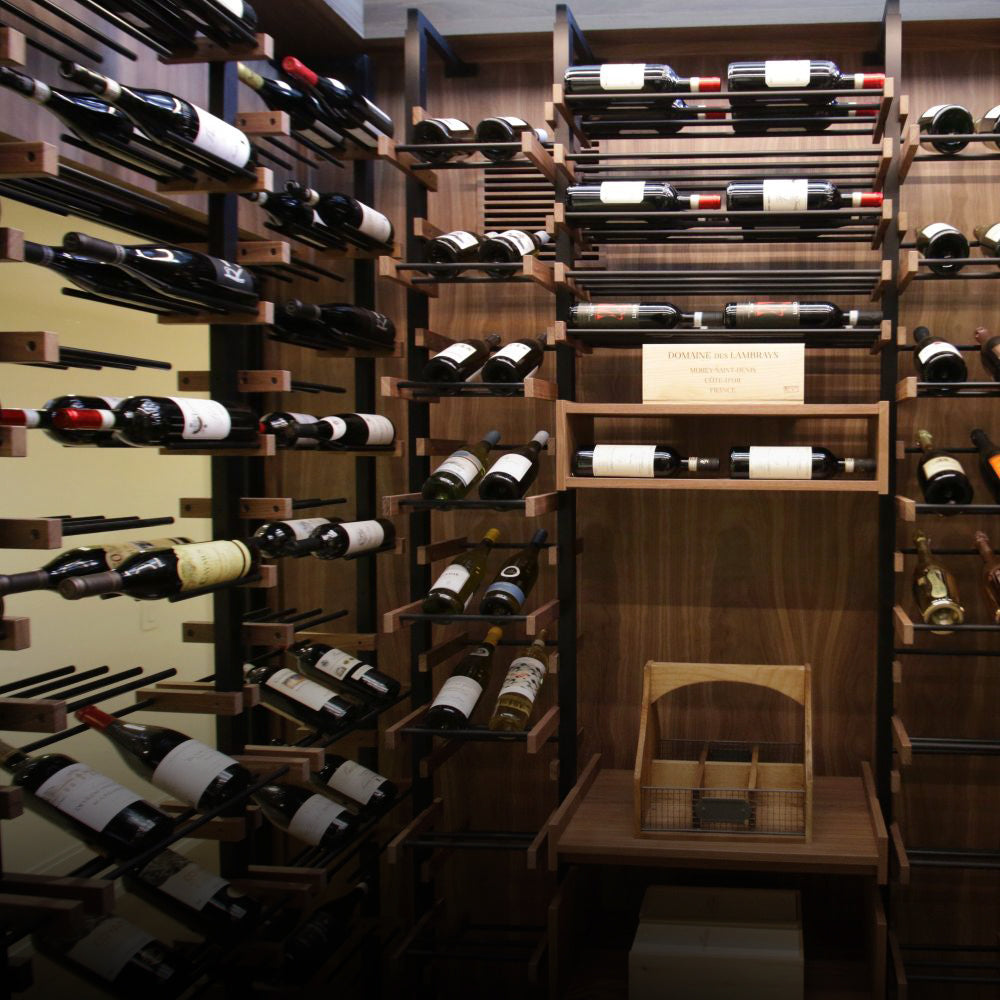
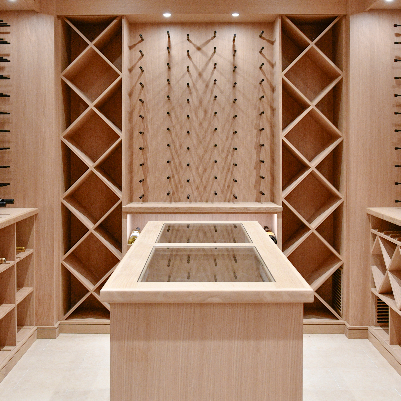
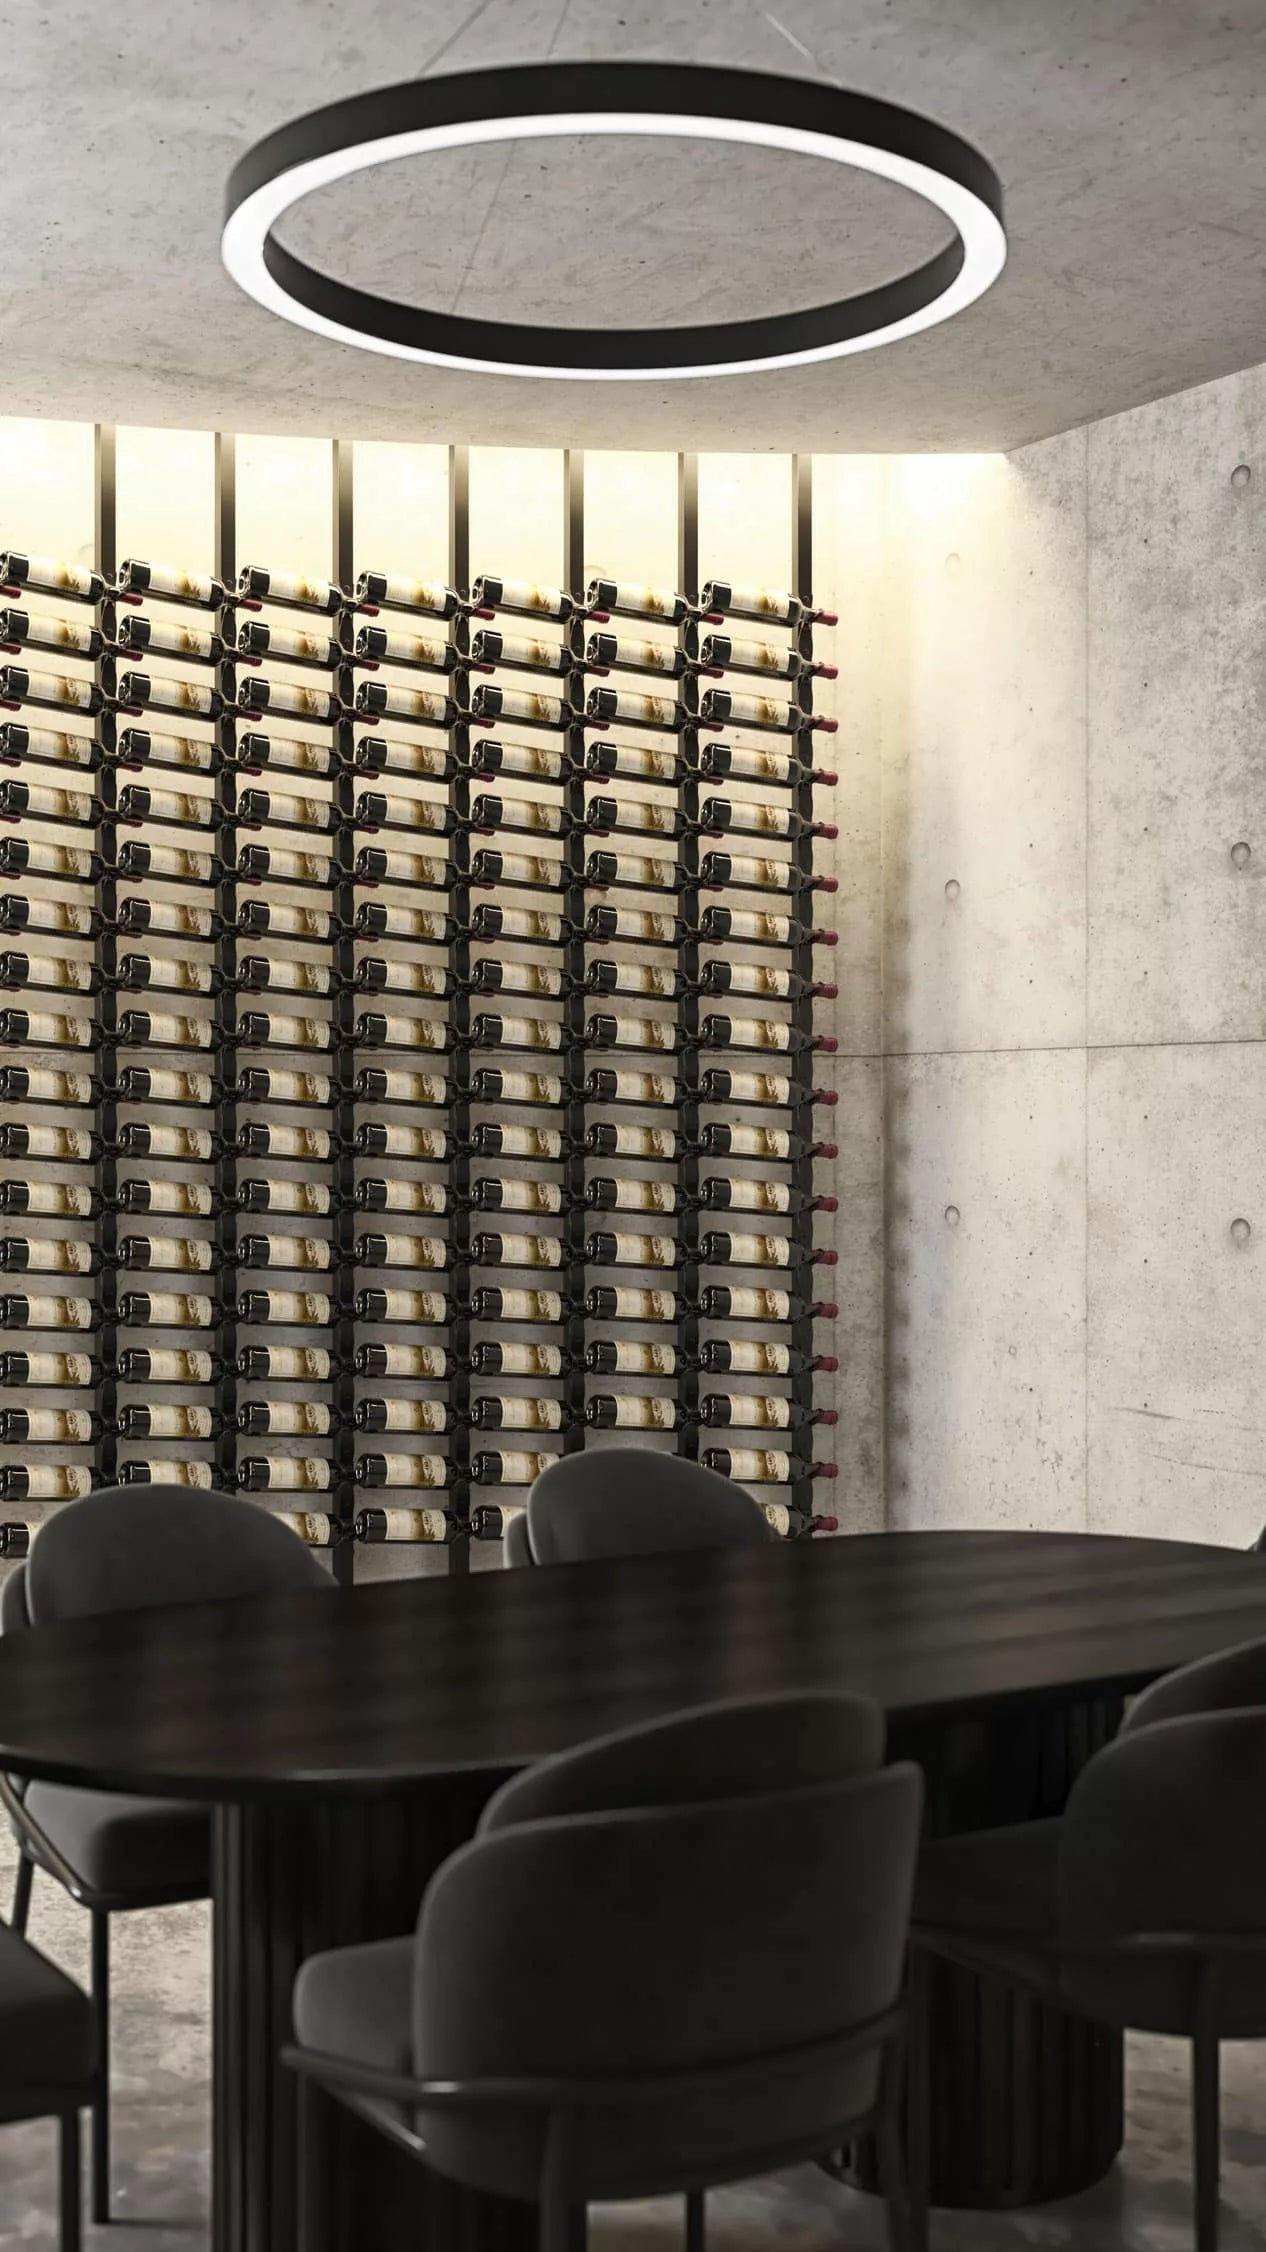
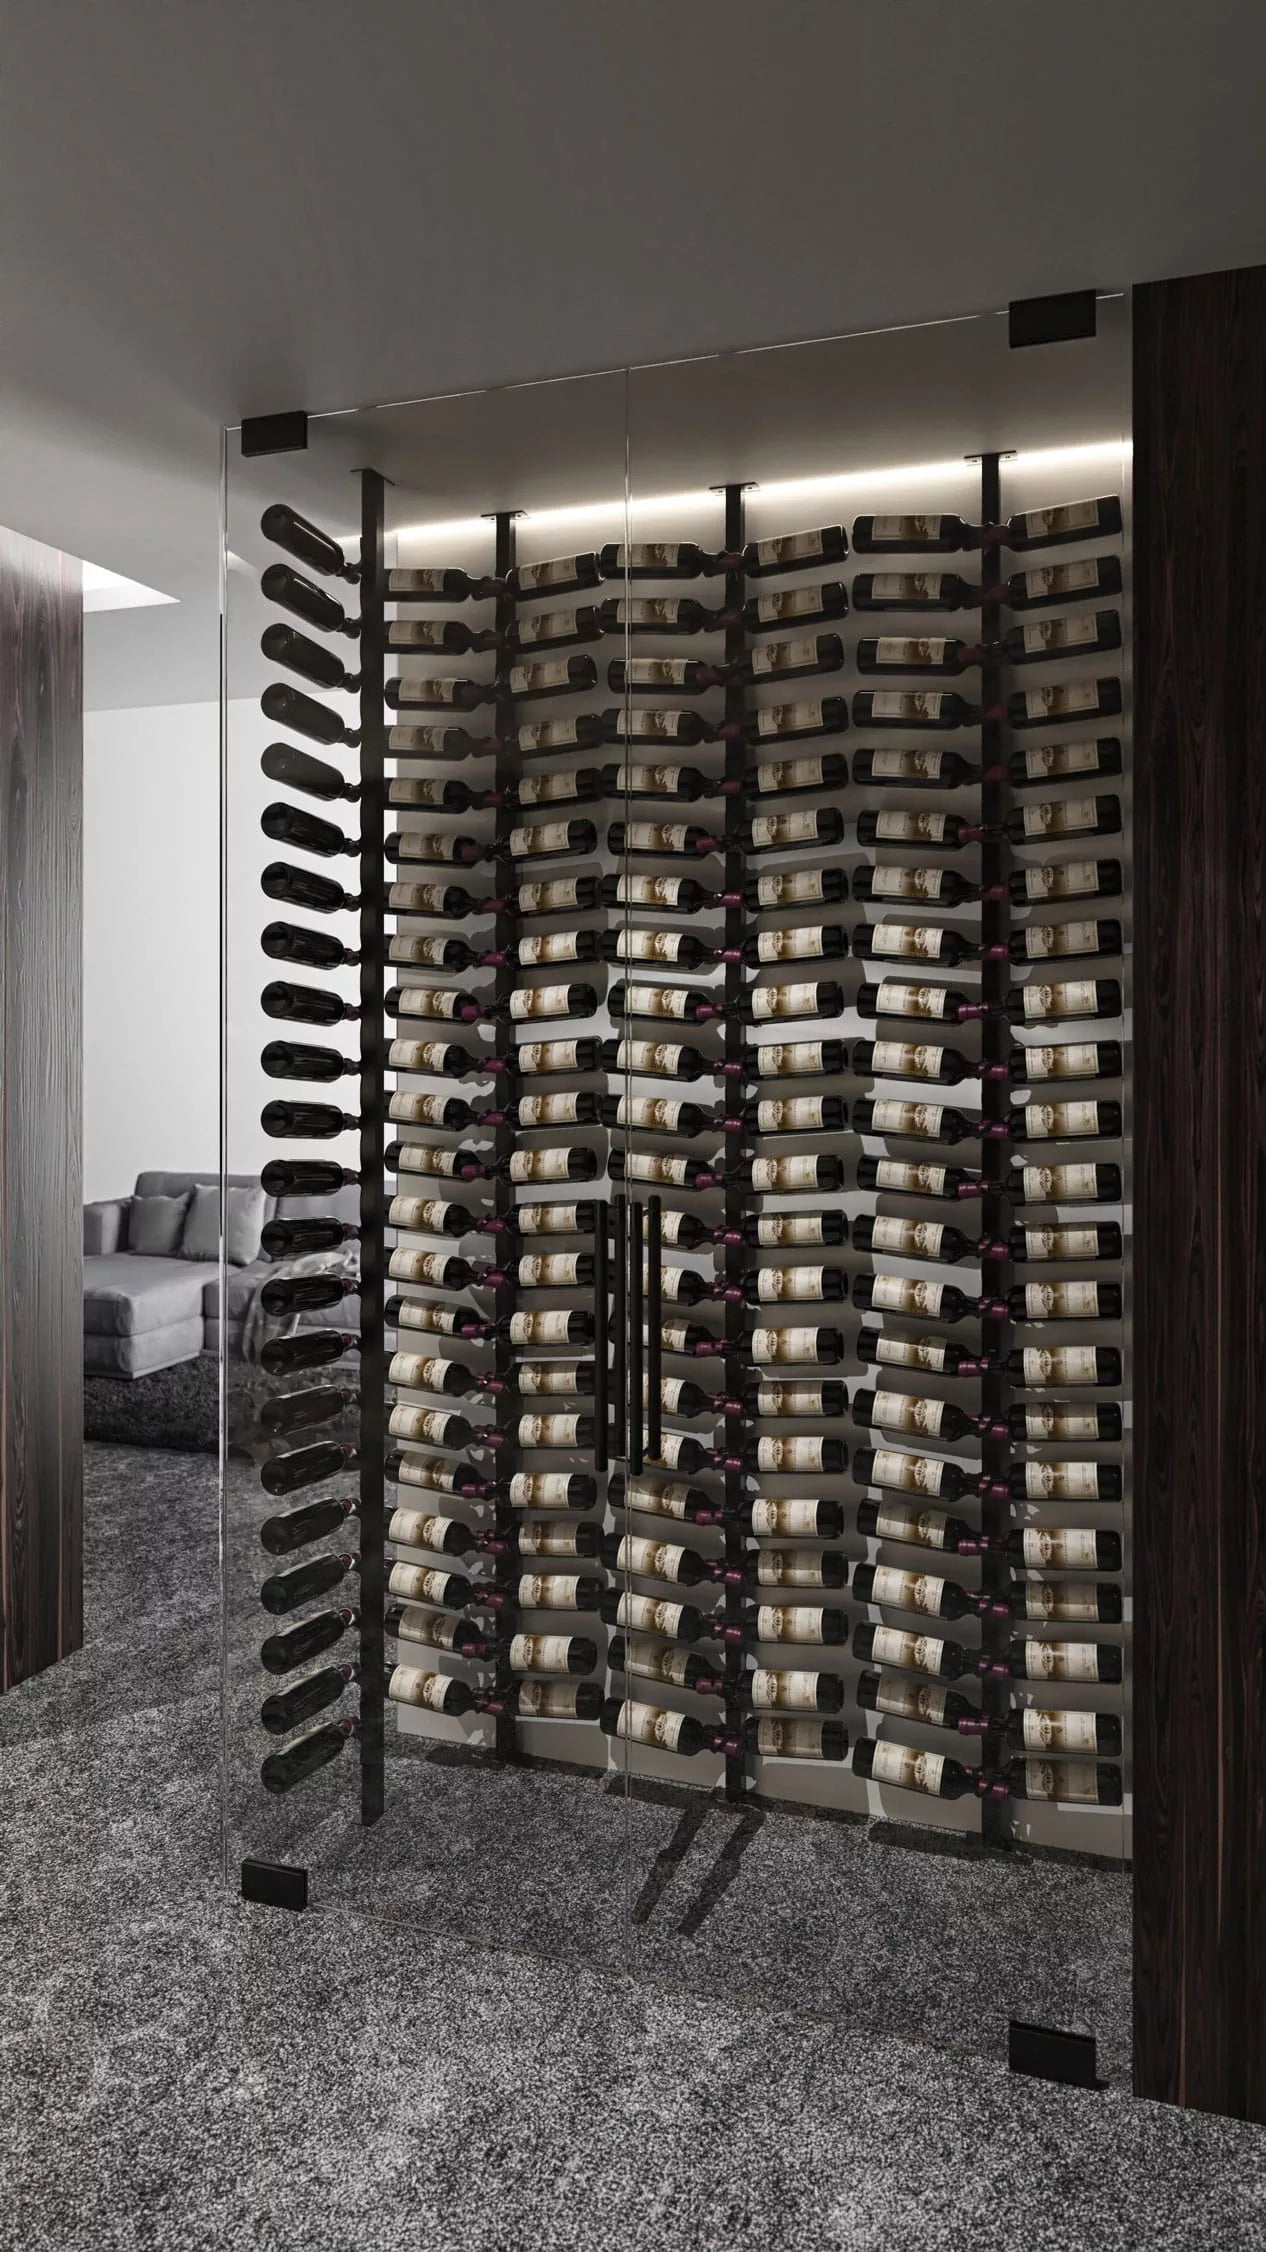
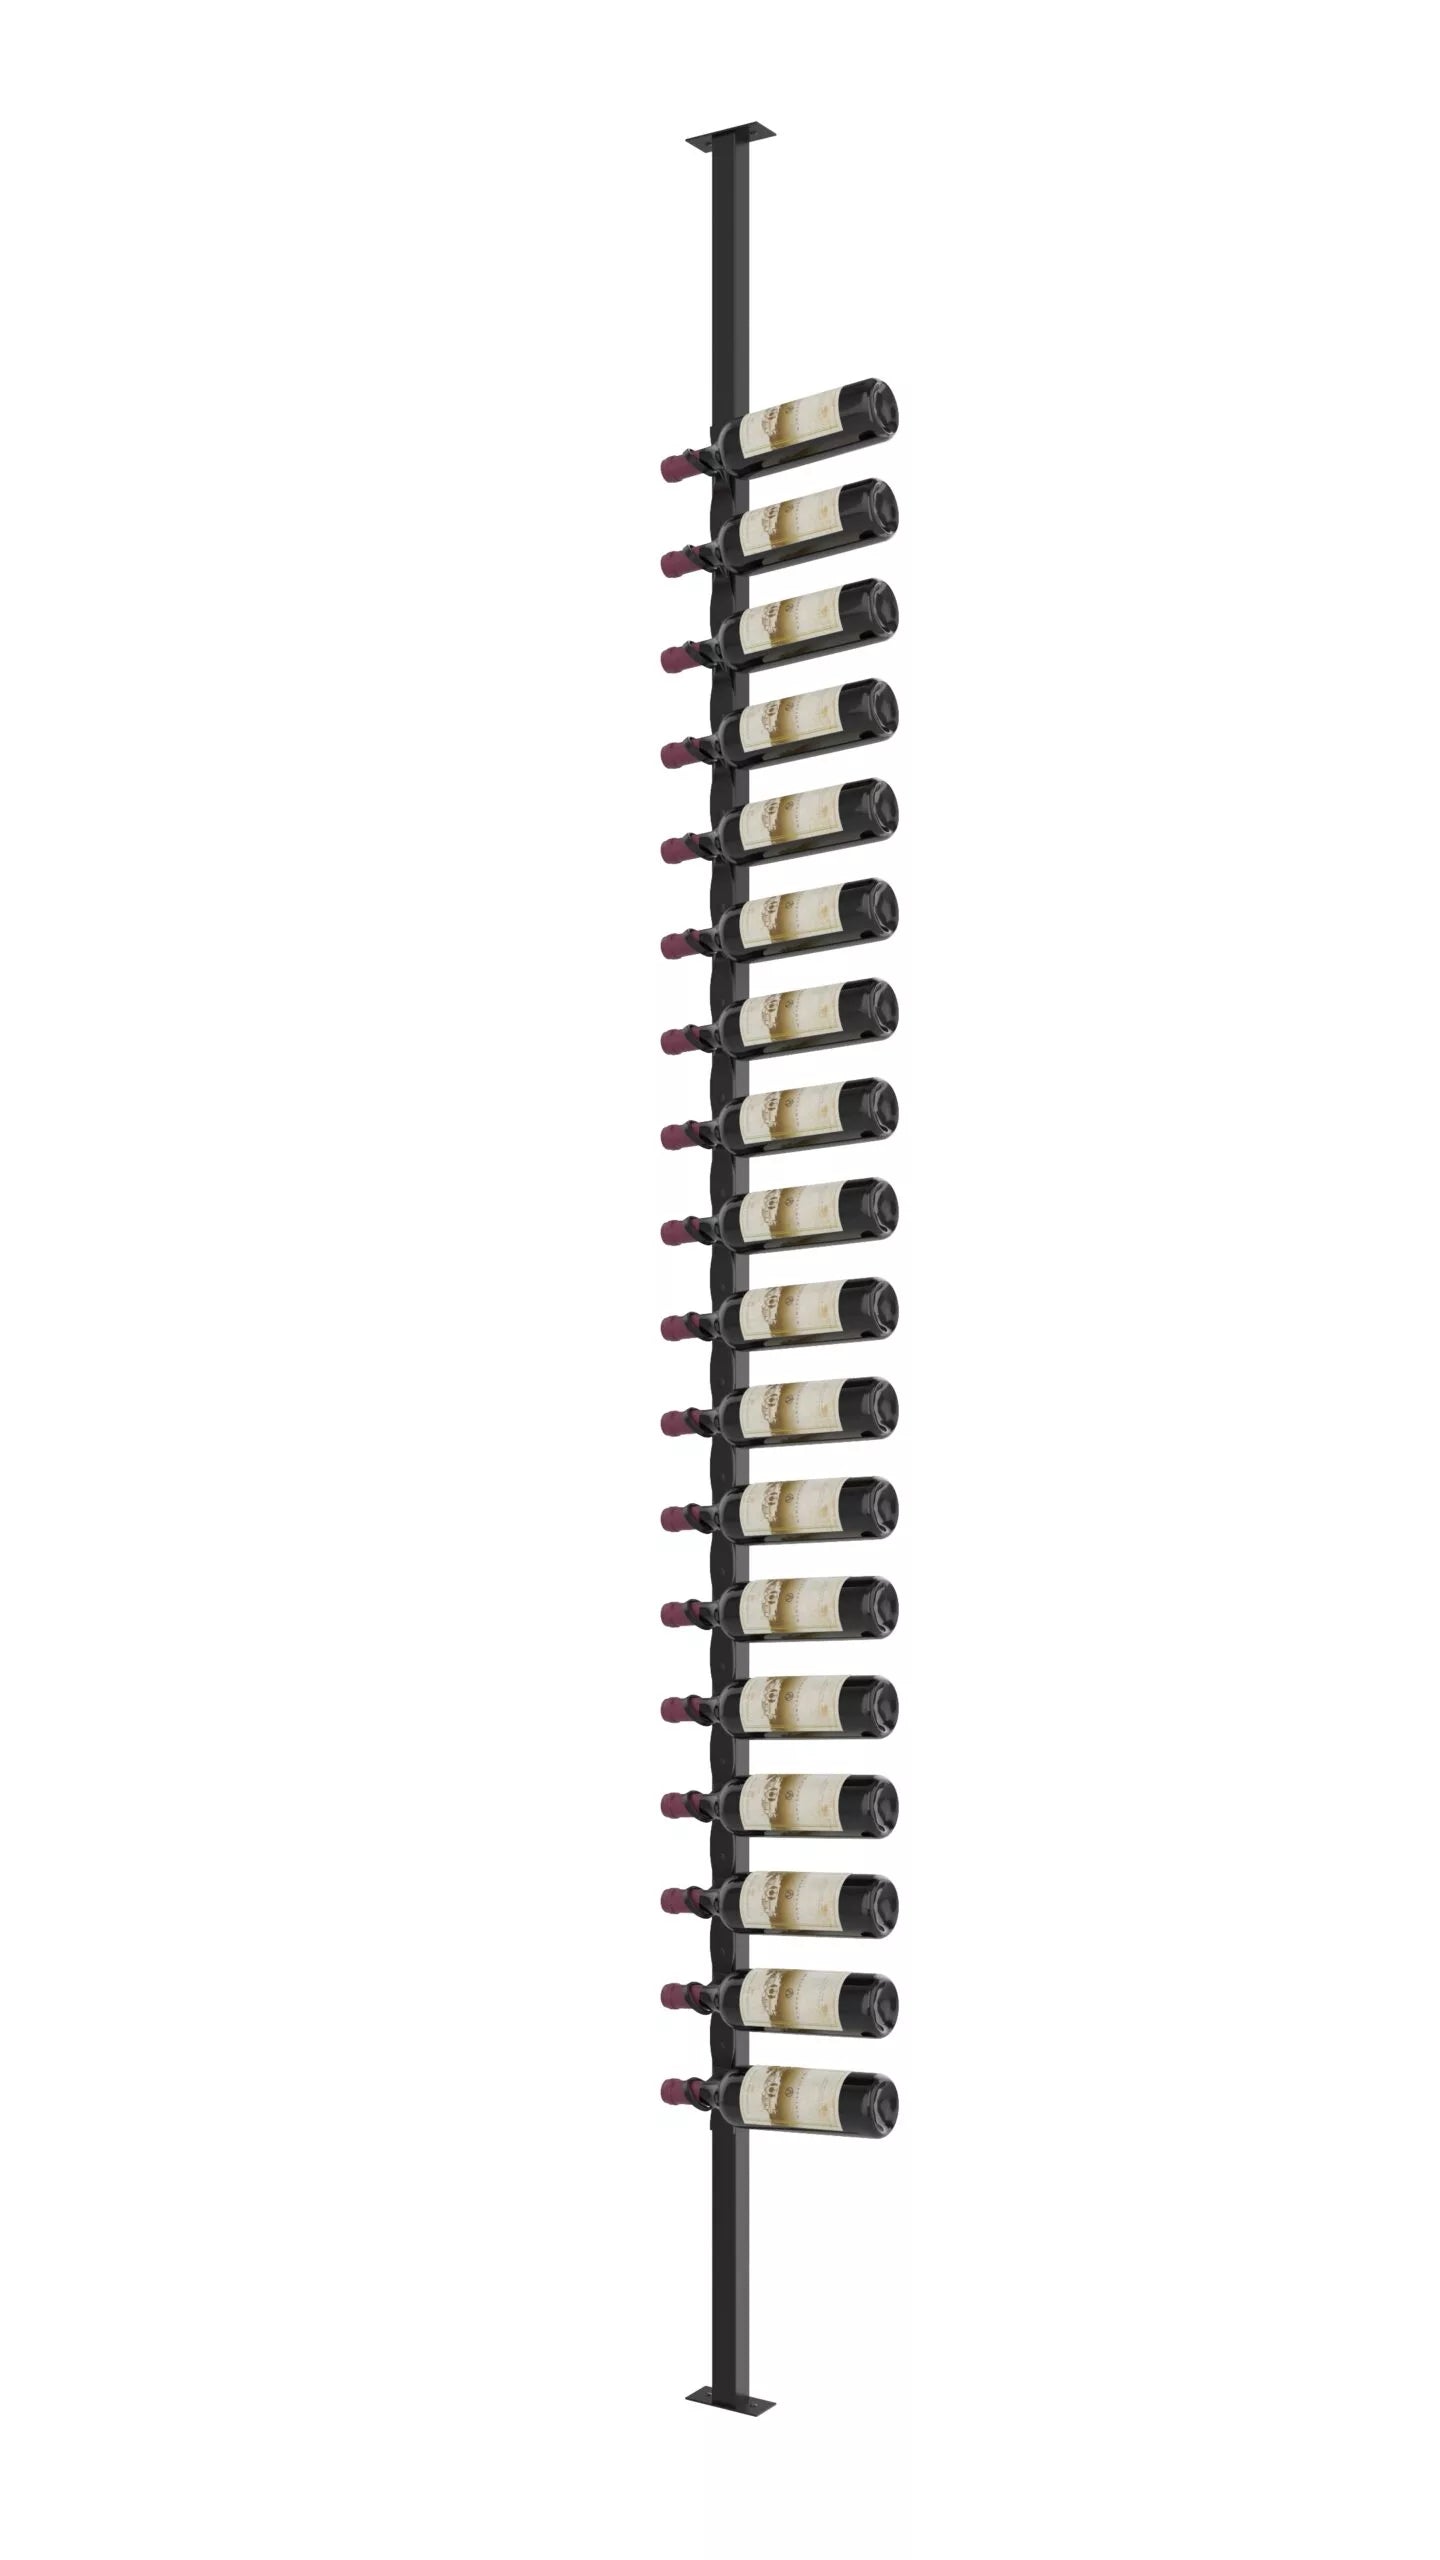
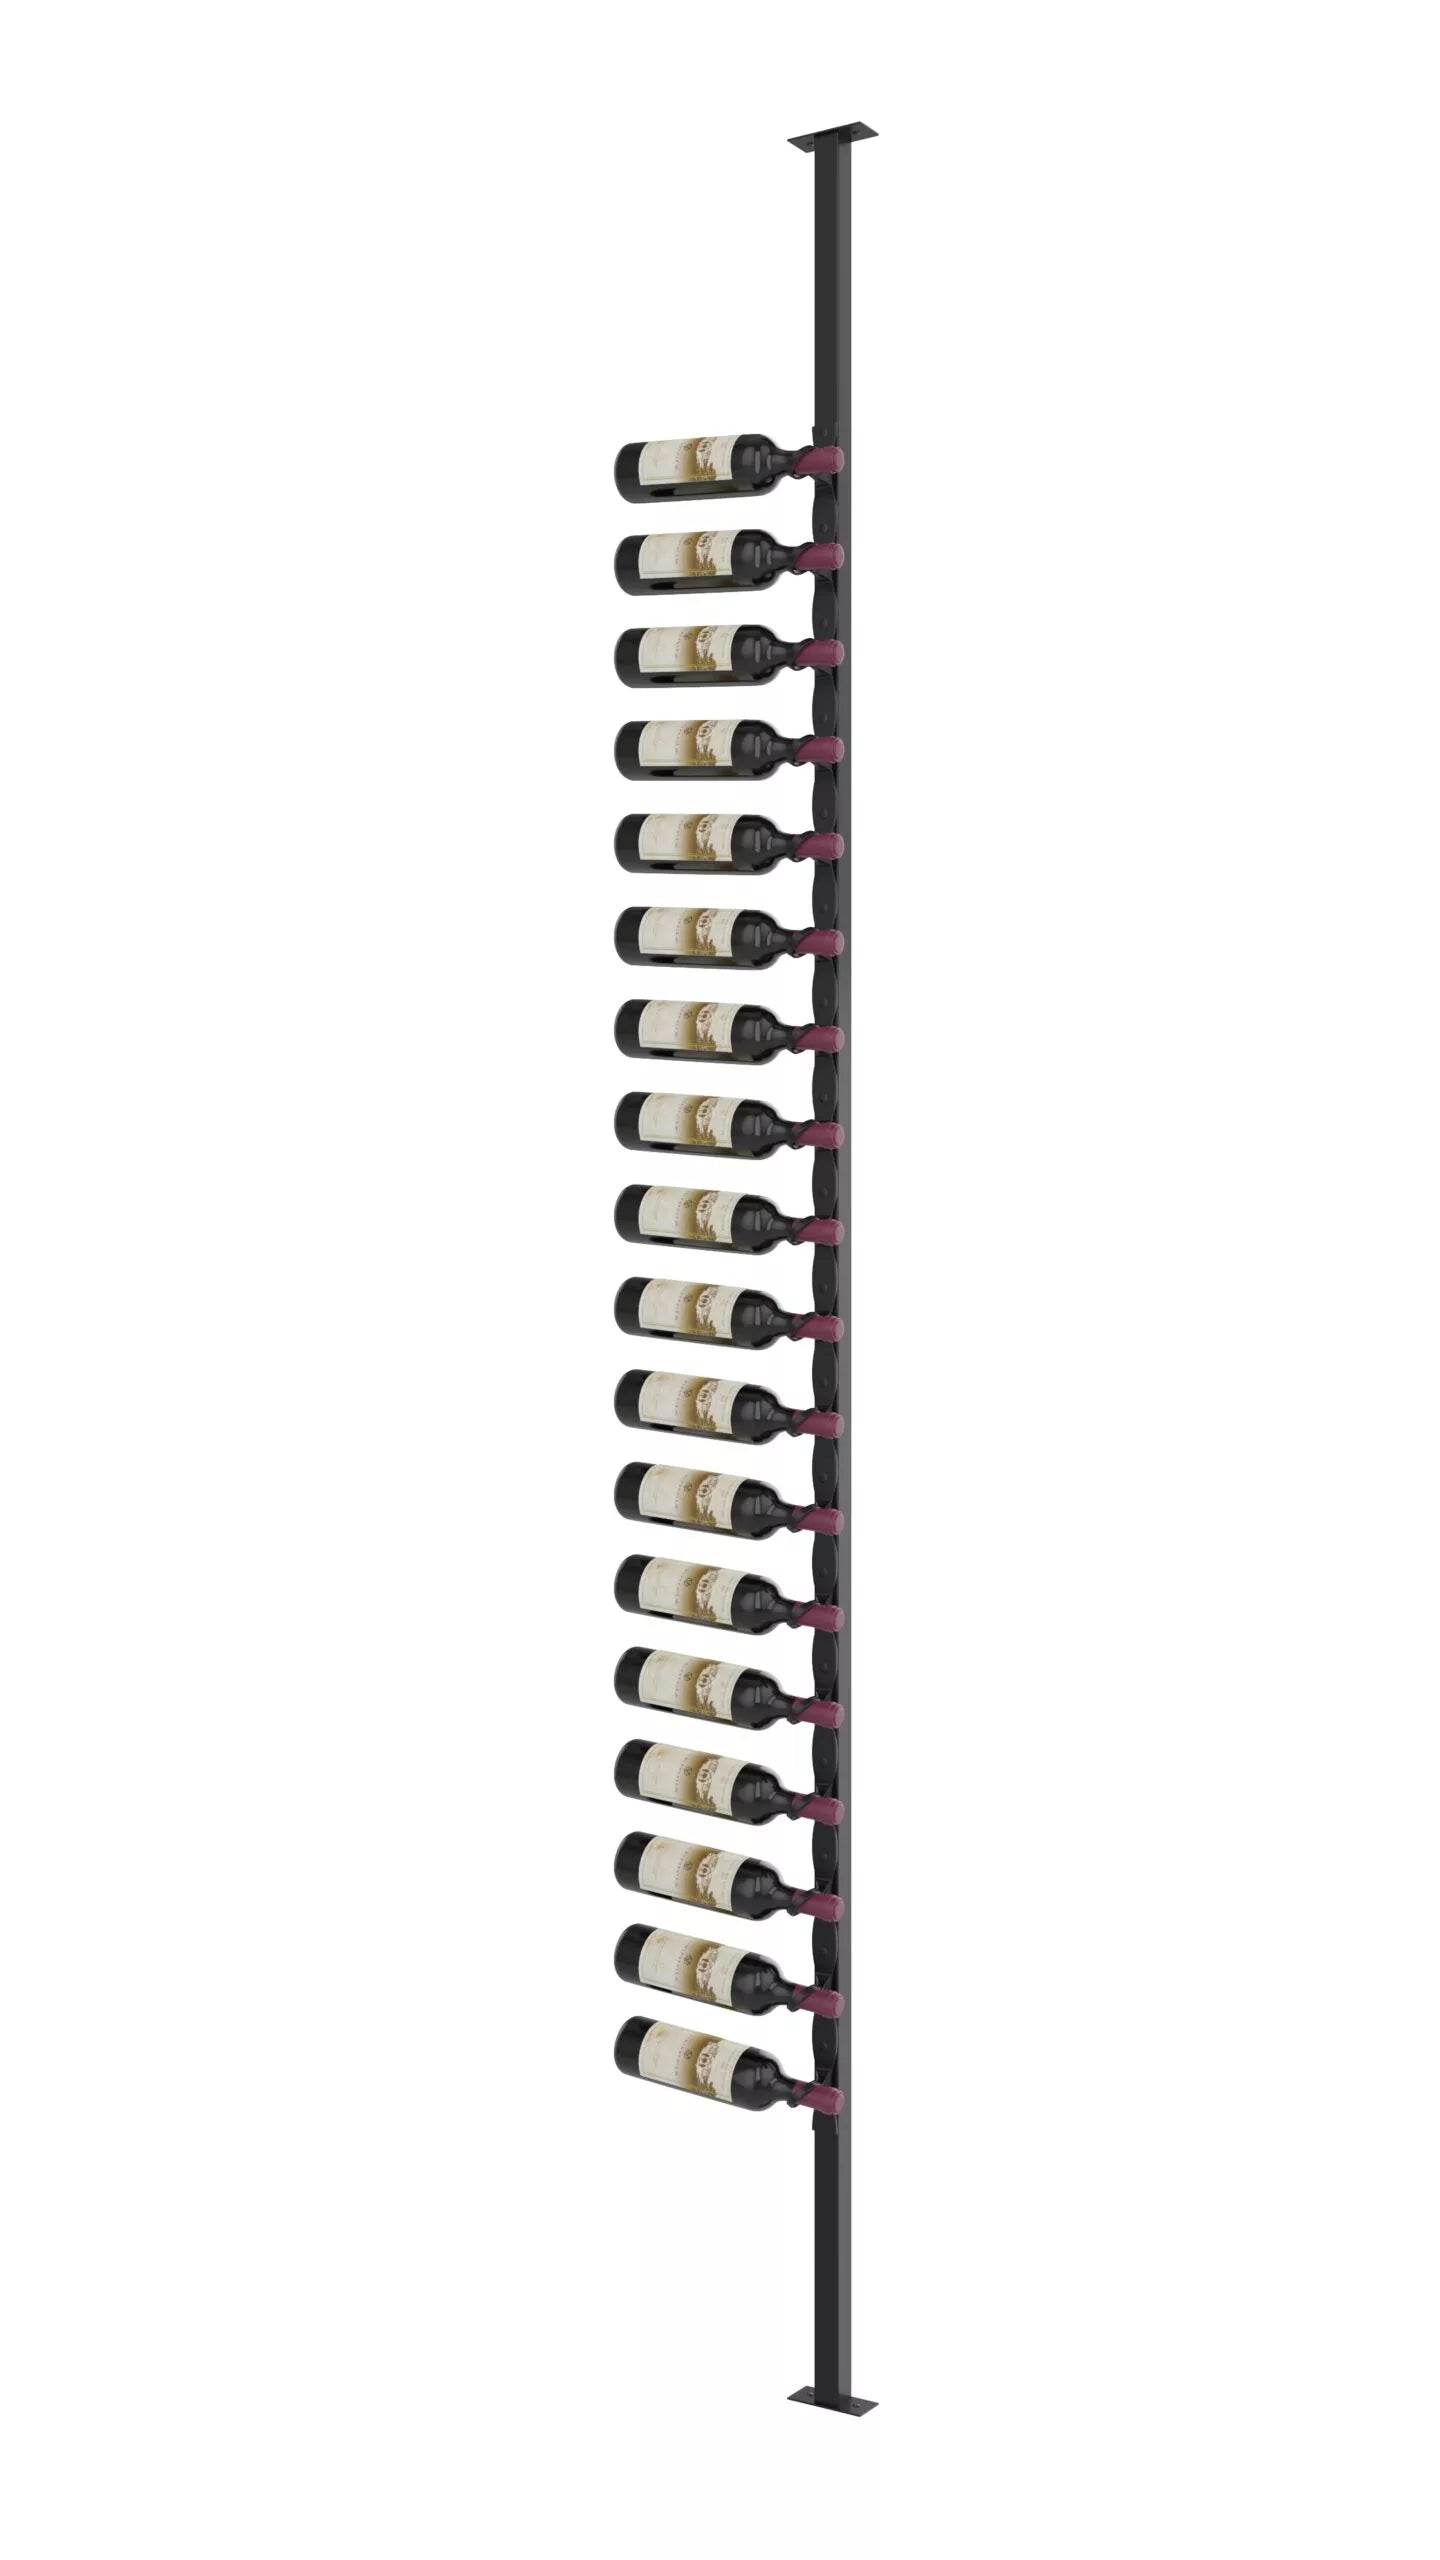
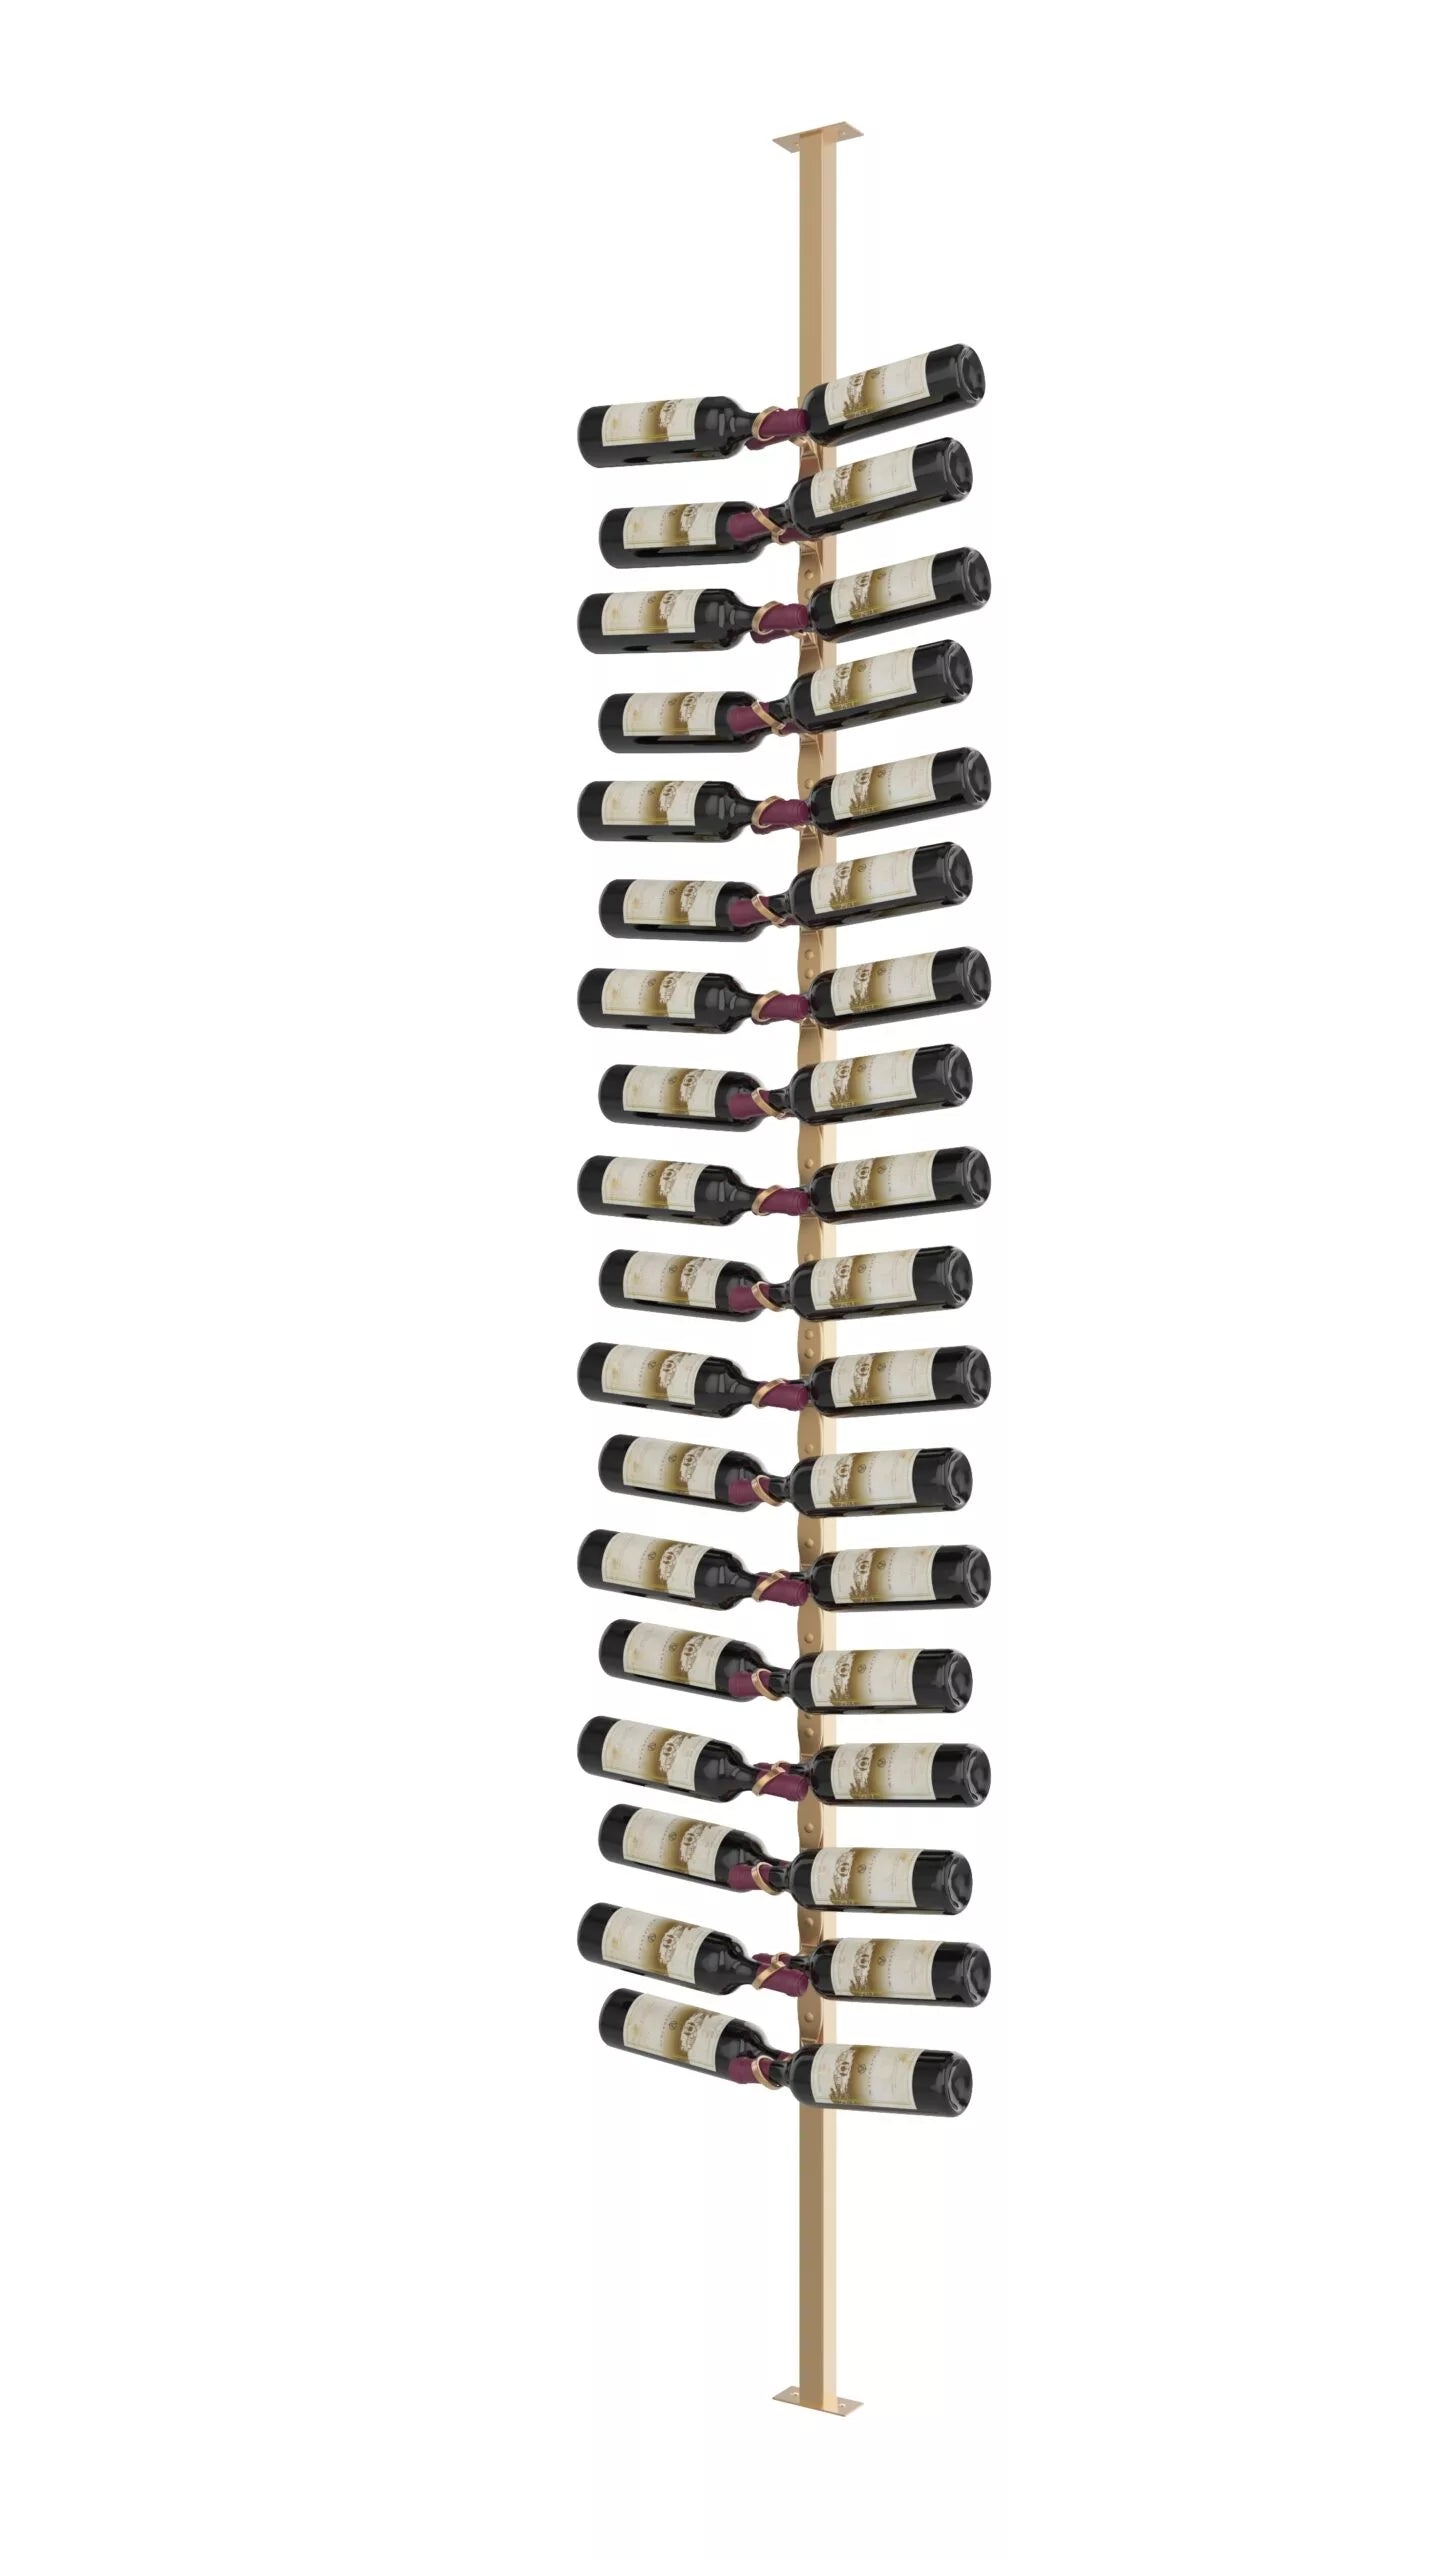
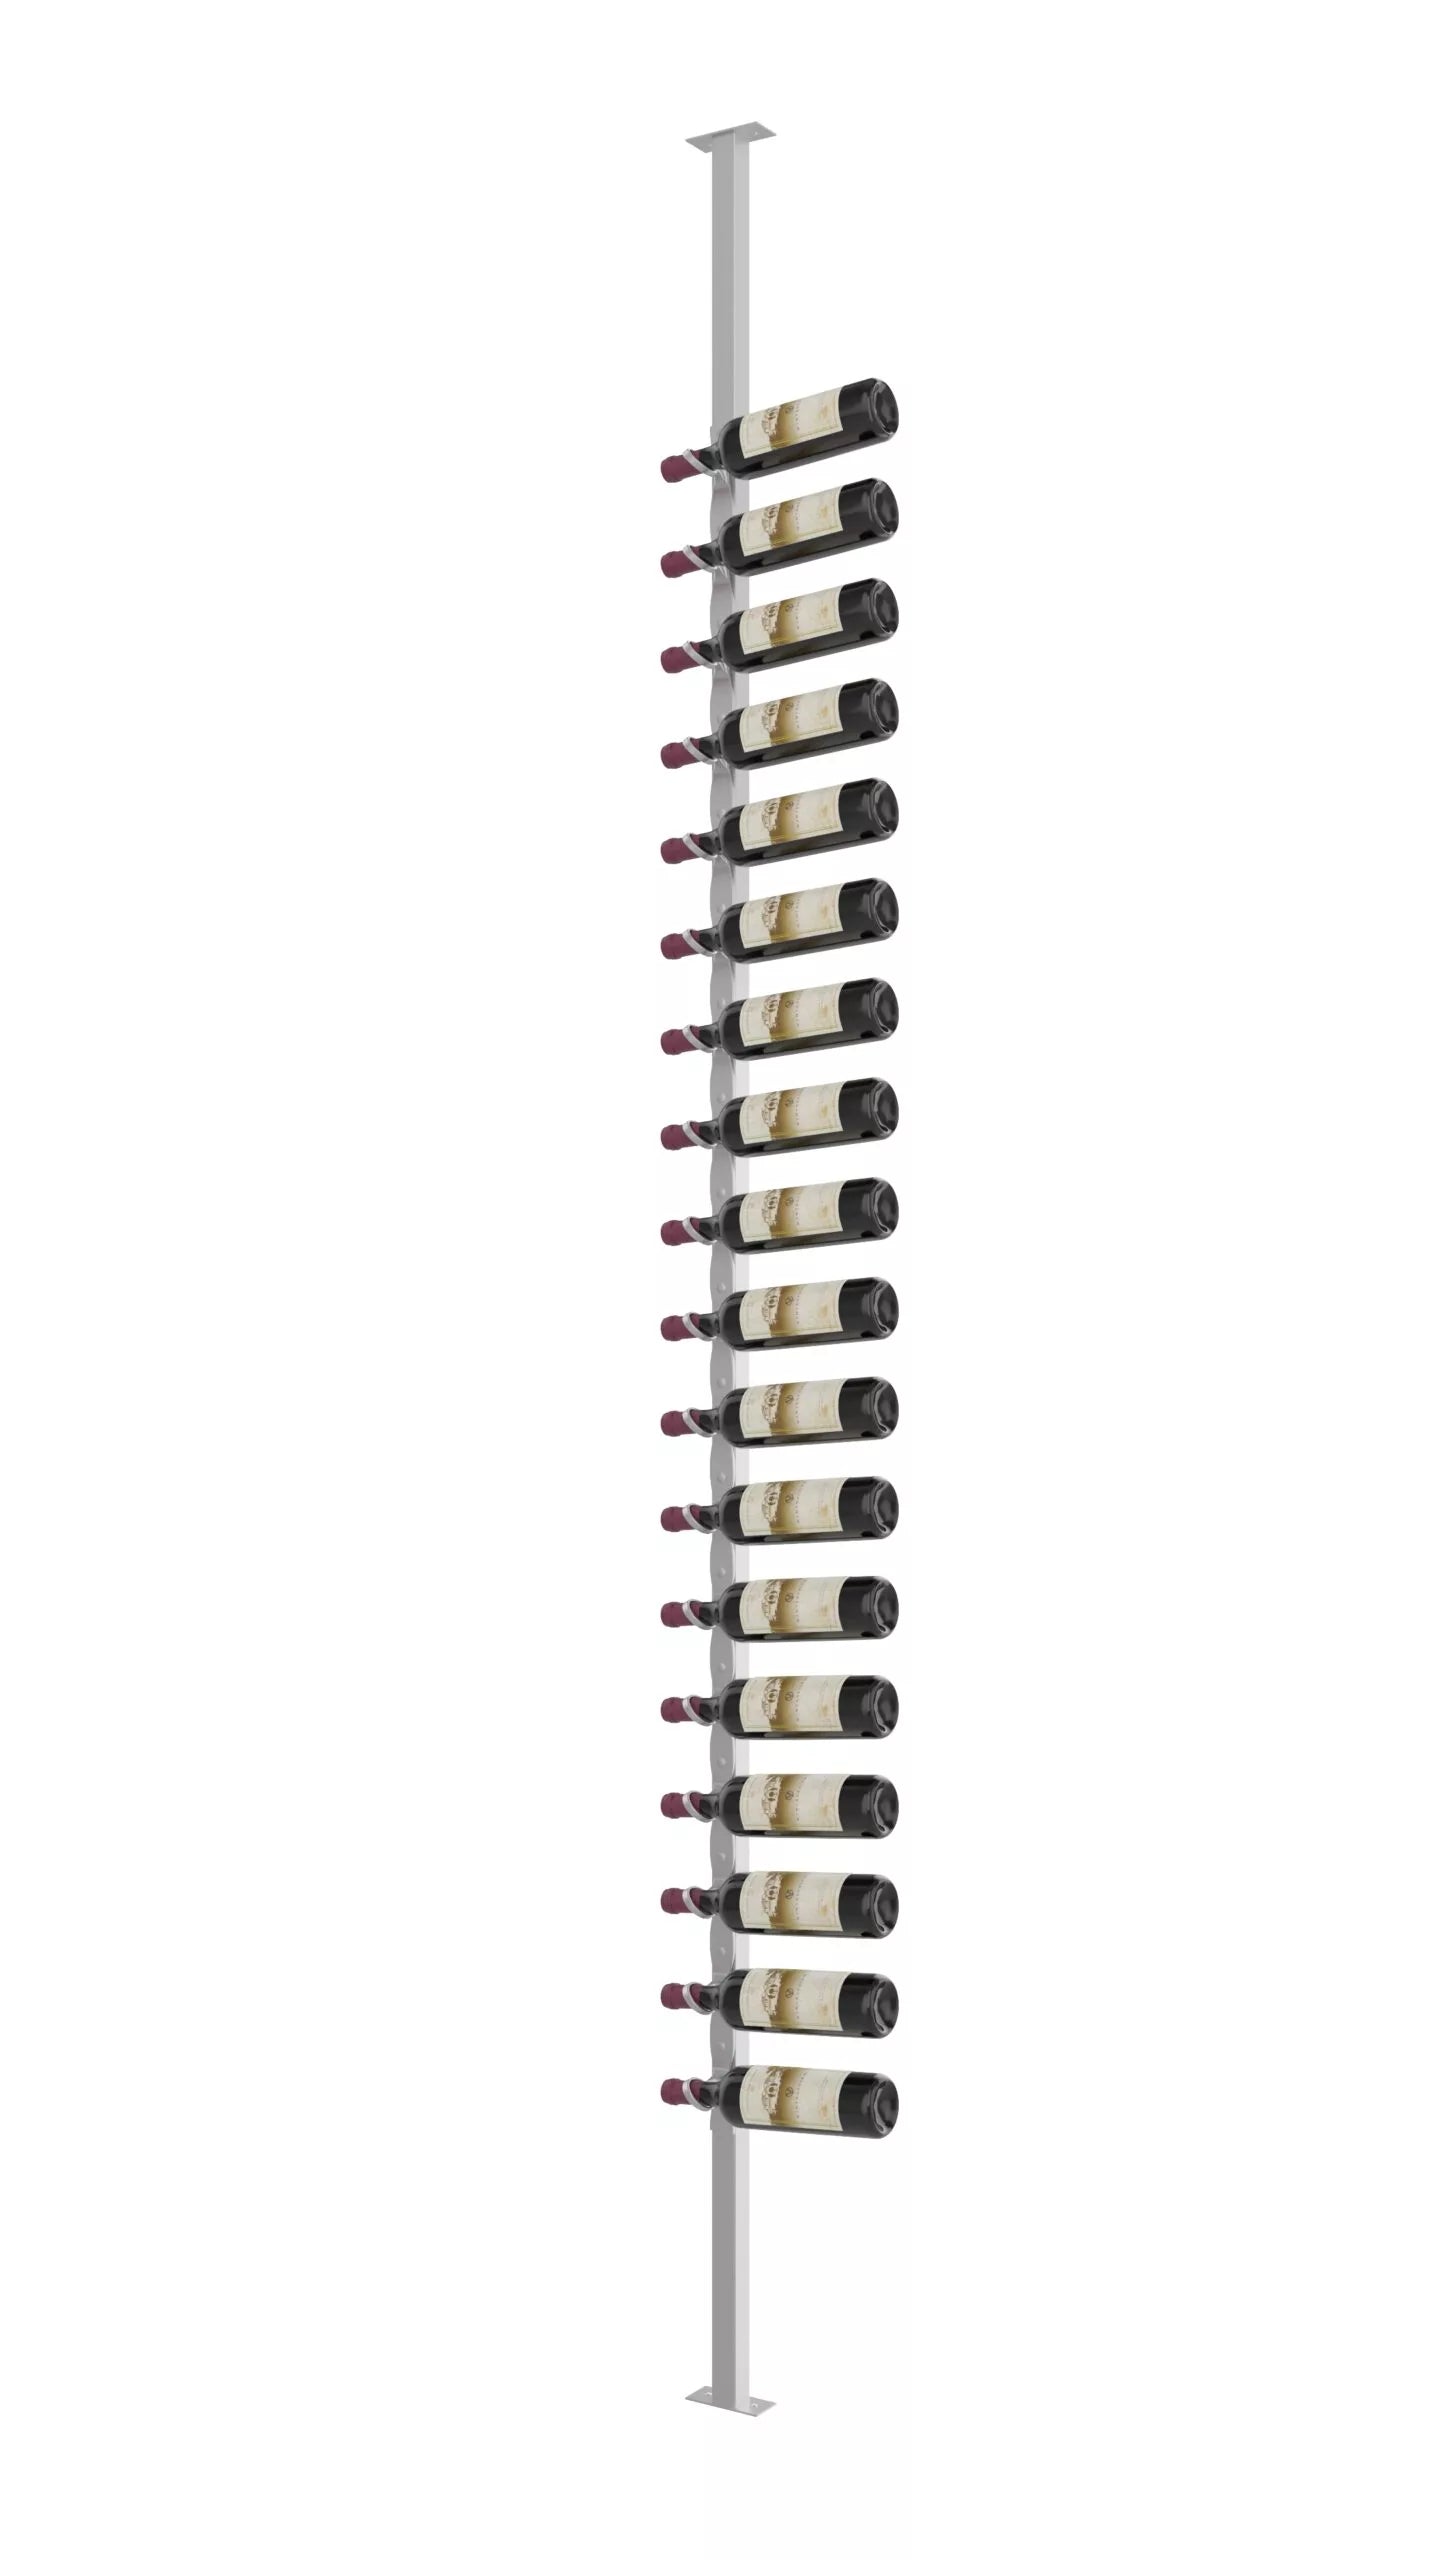
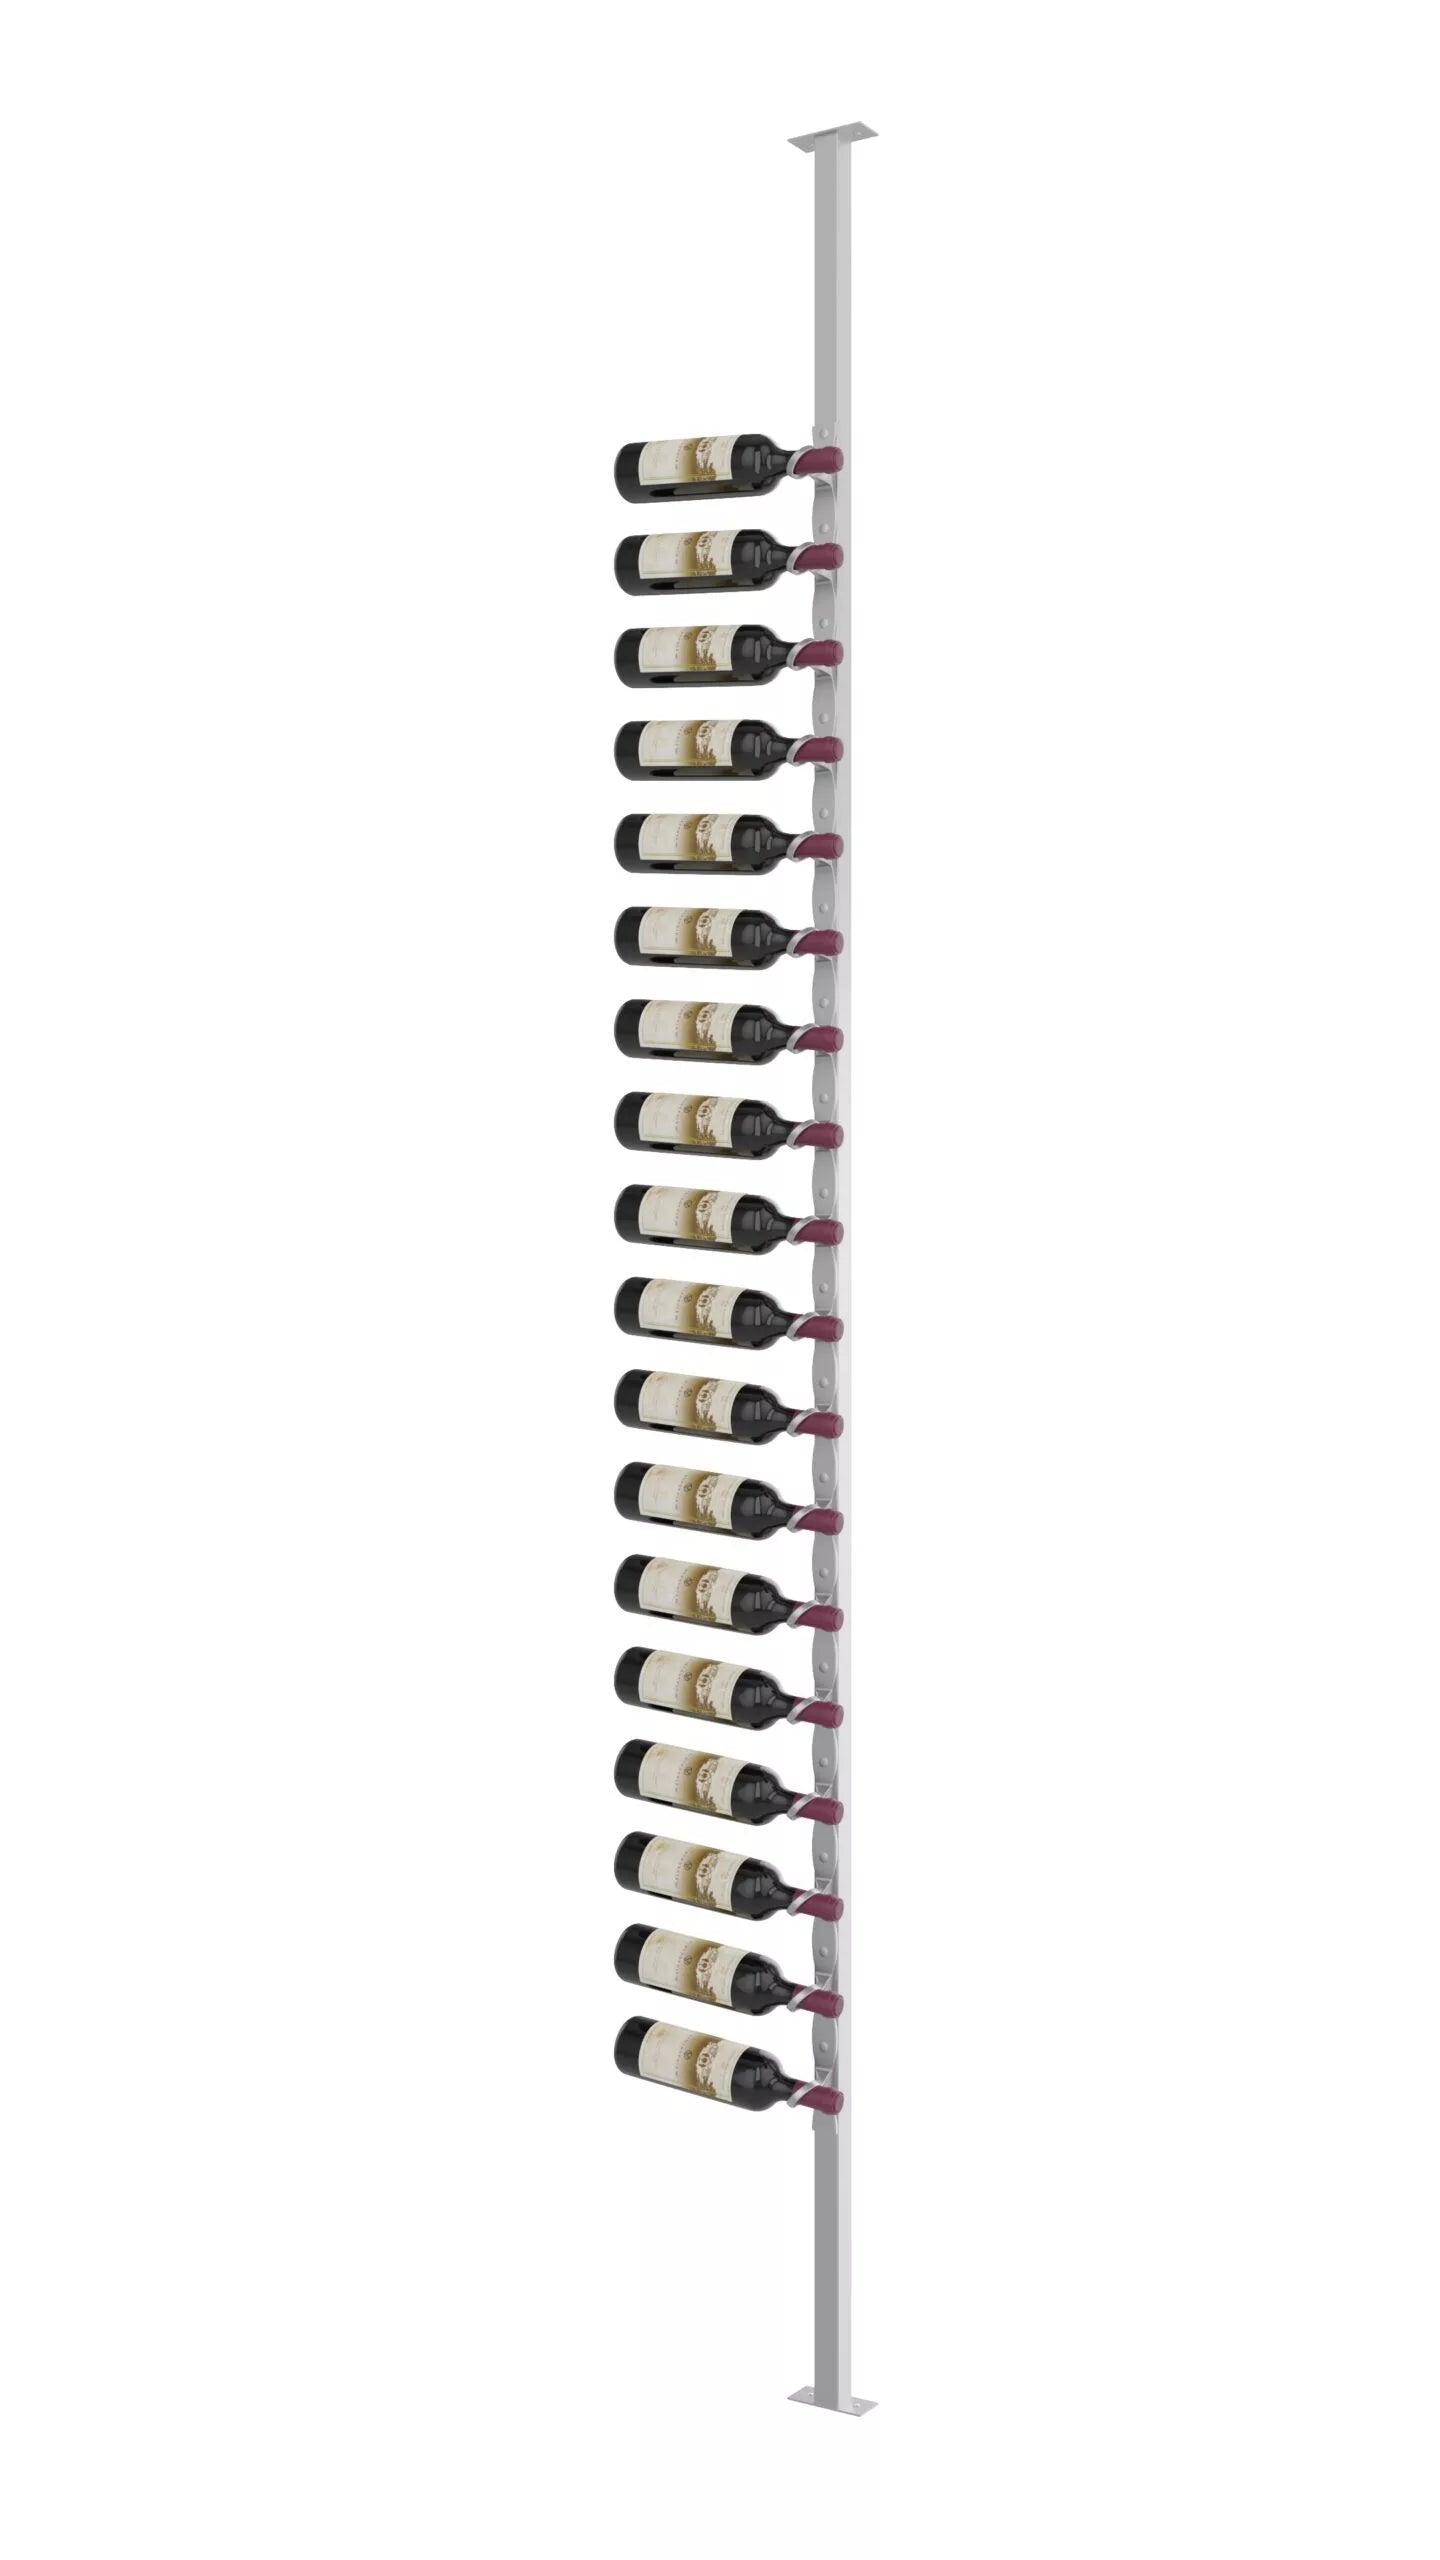
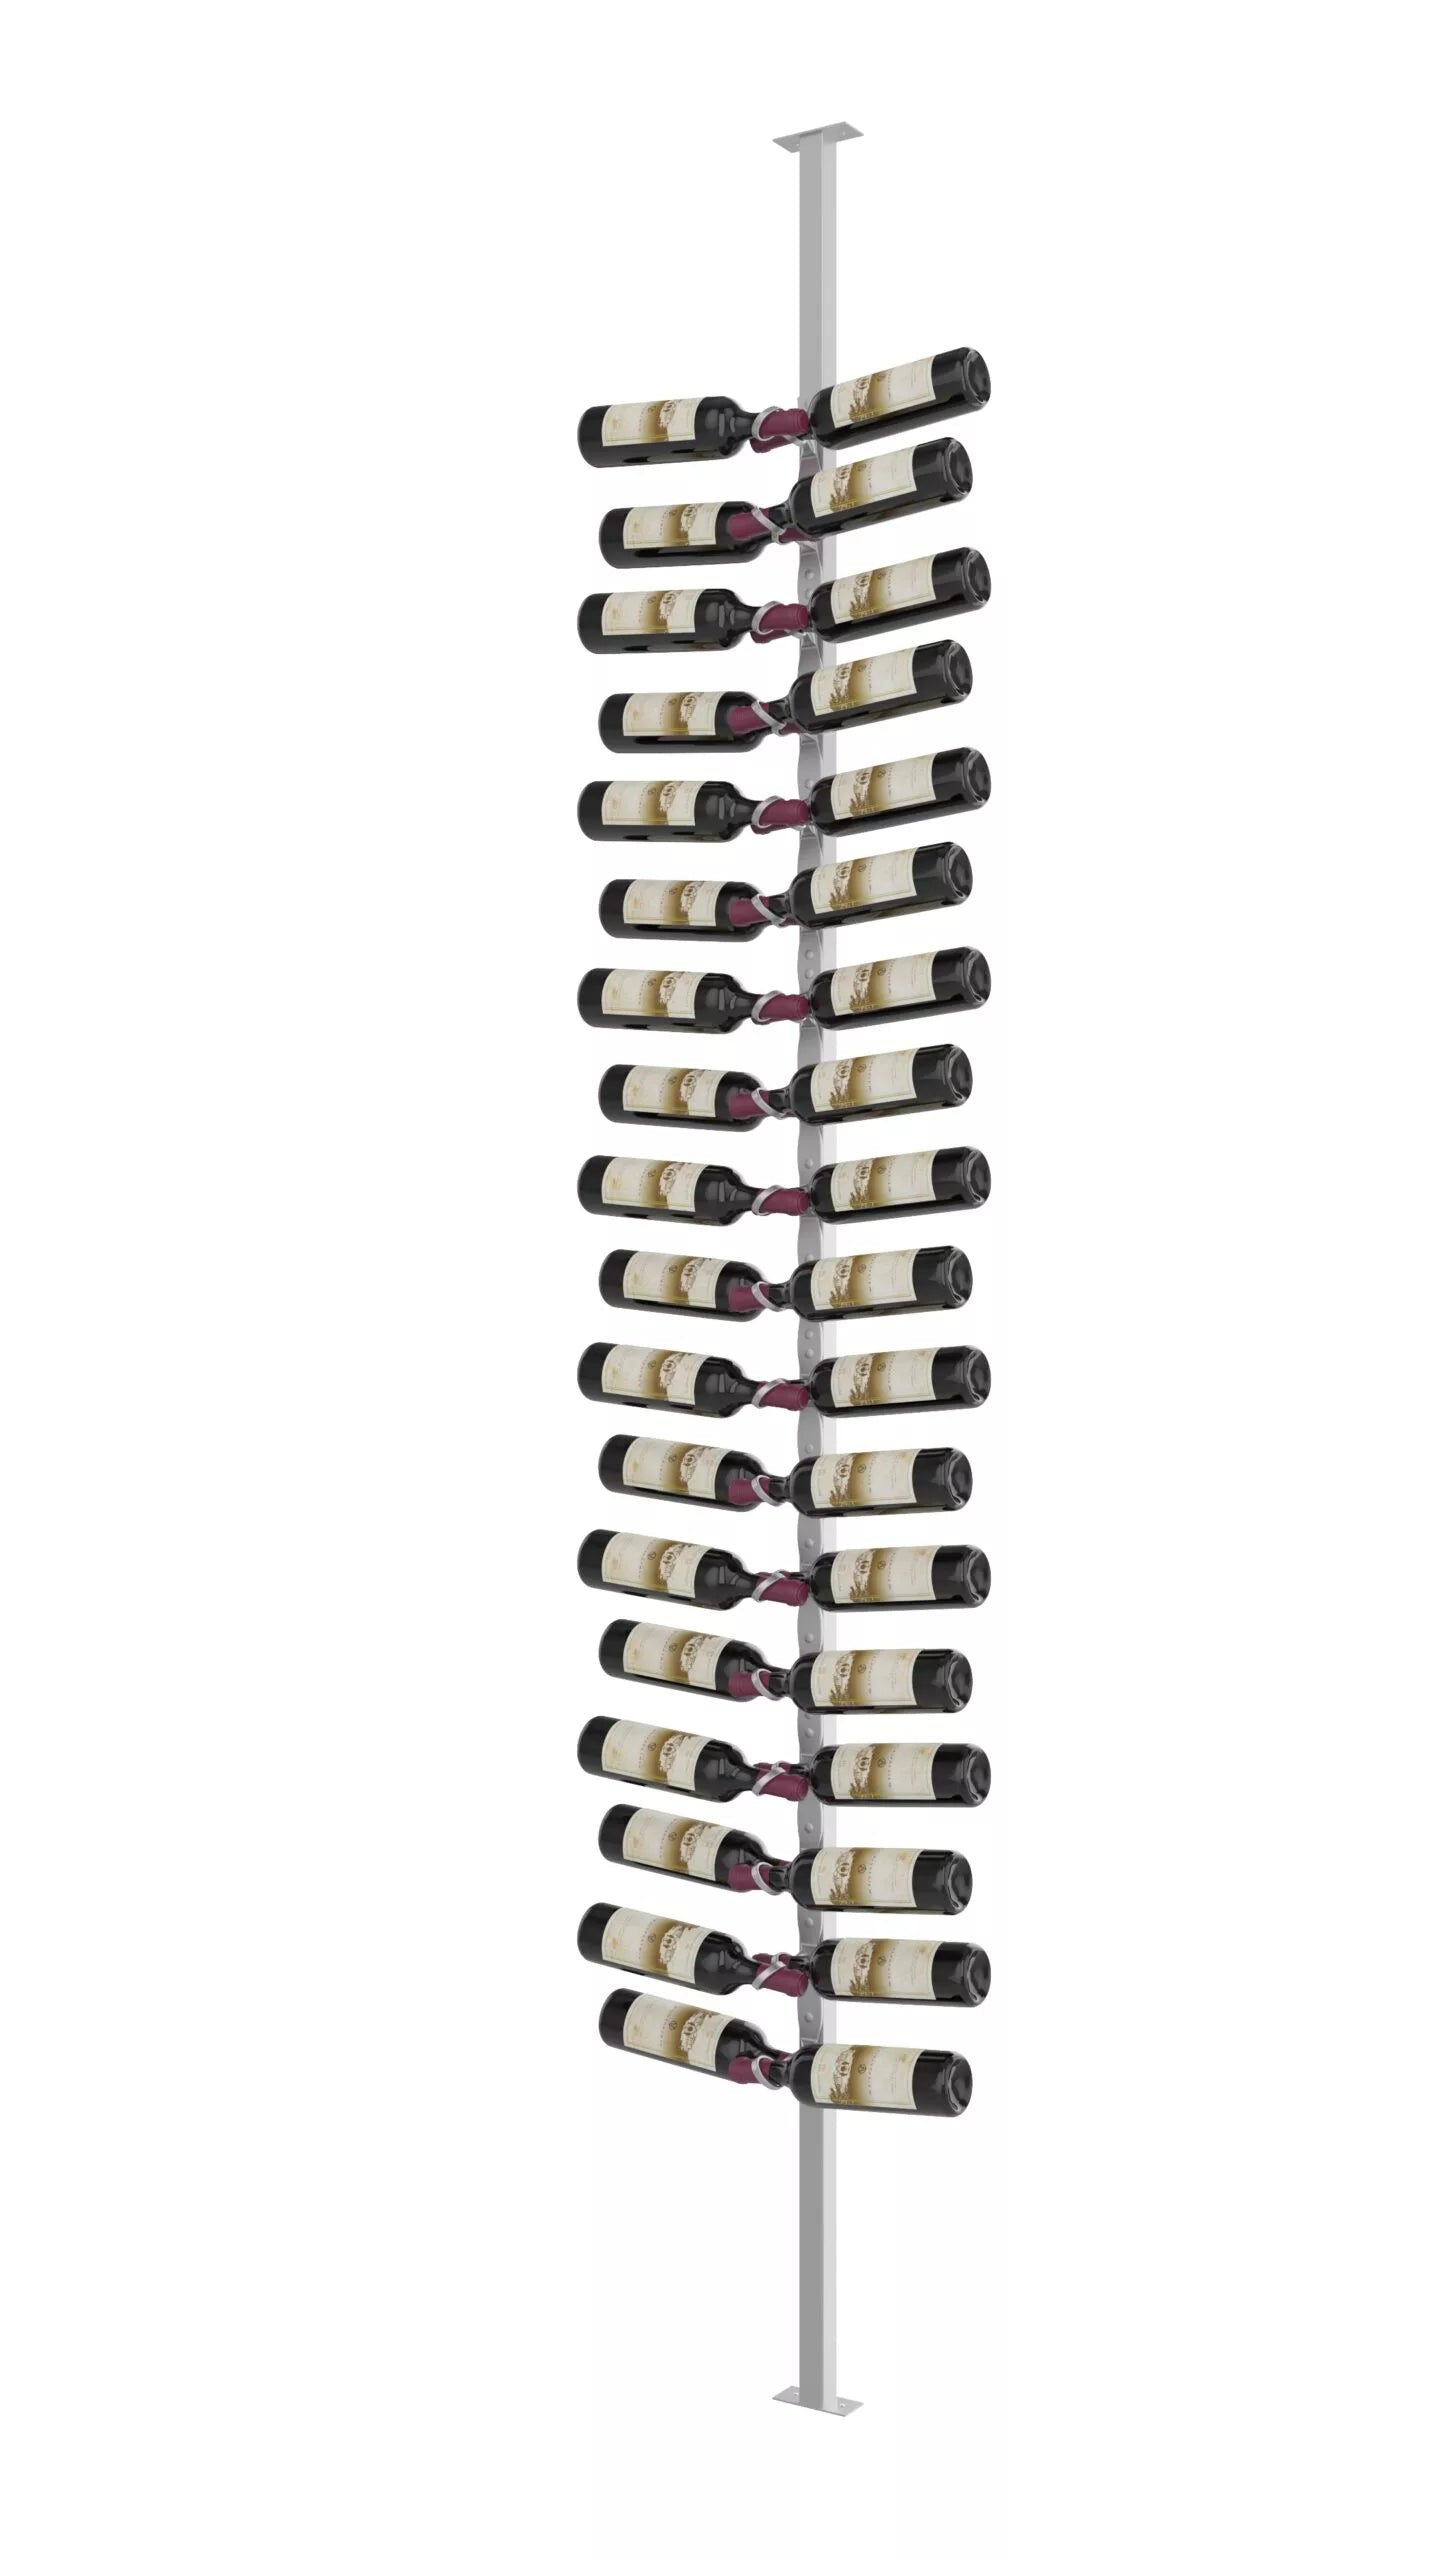
- Minimalist floor-to-ceiling column showcases bottles as if floating
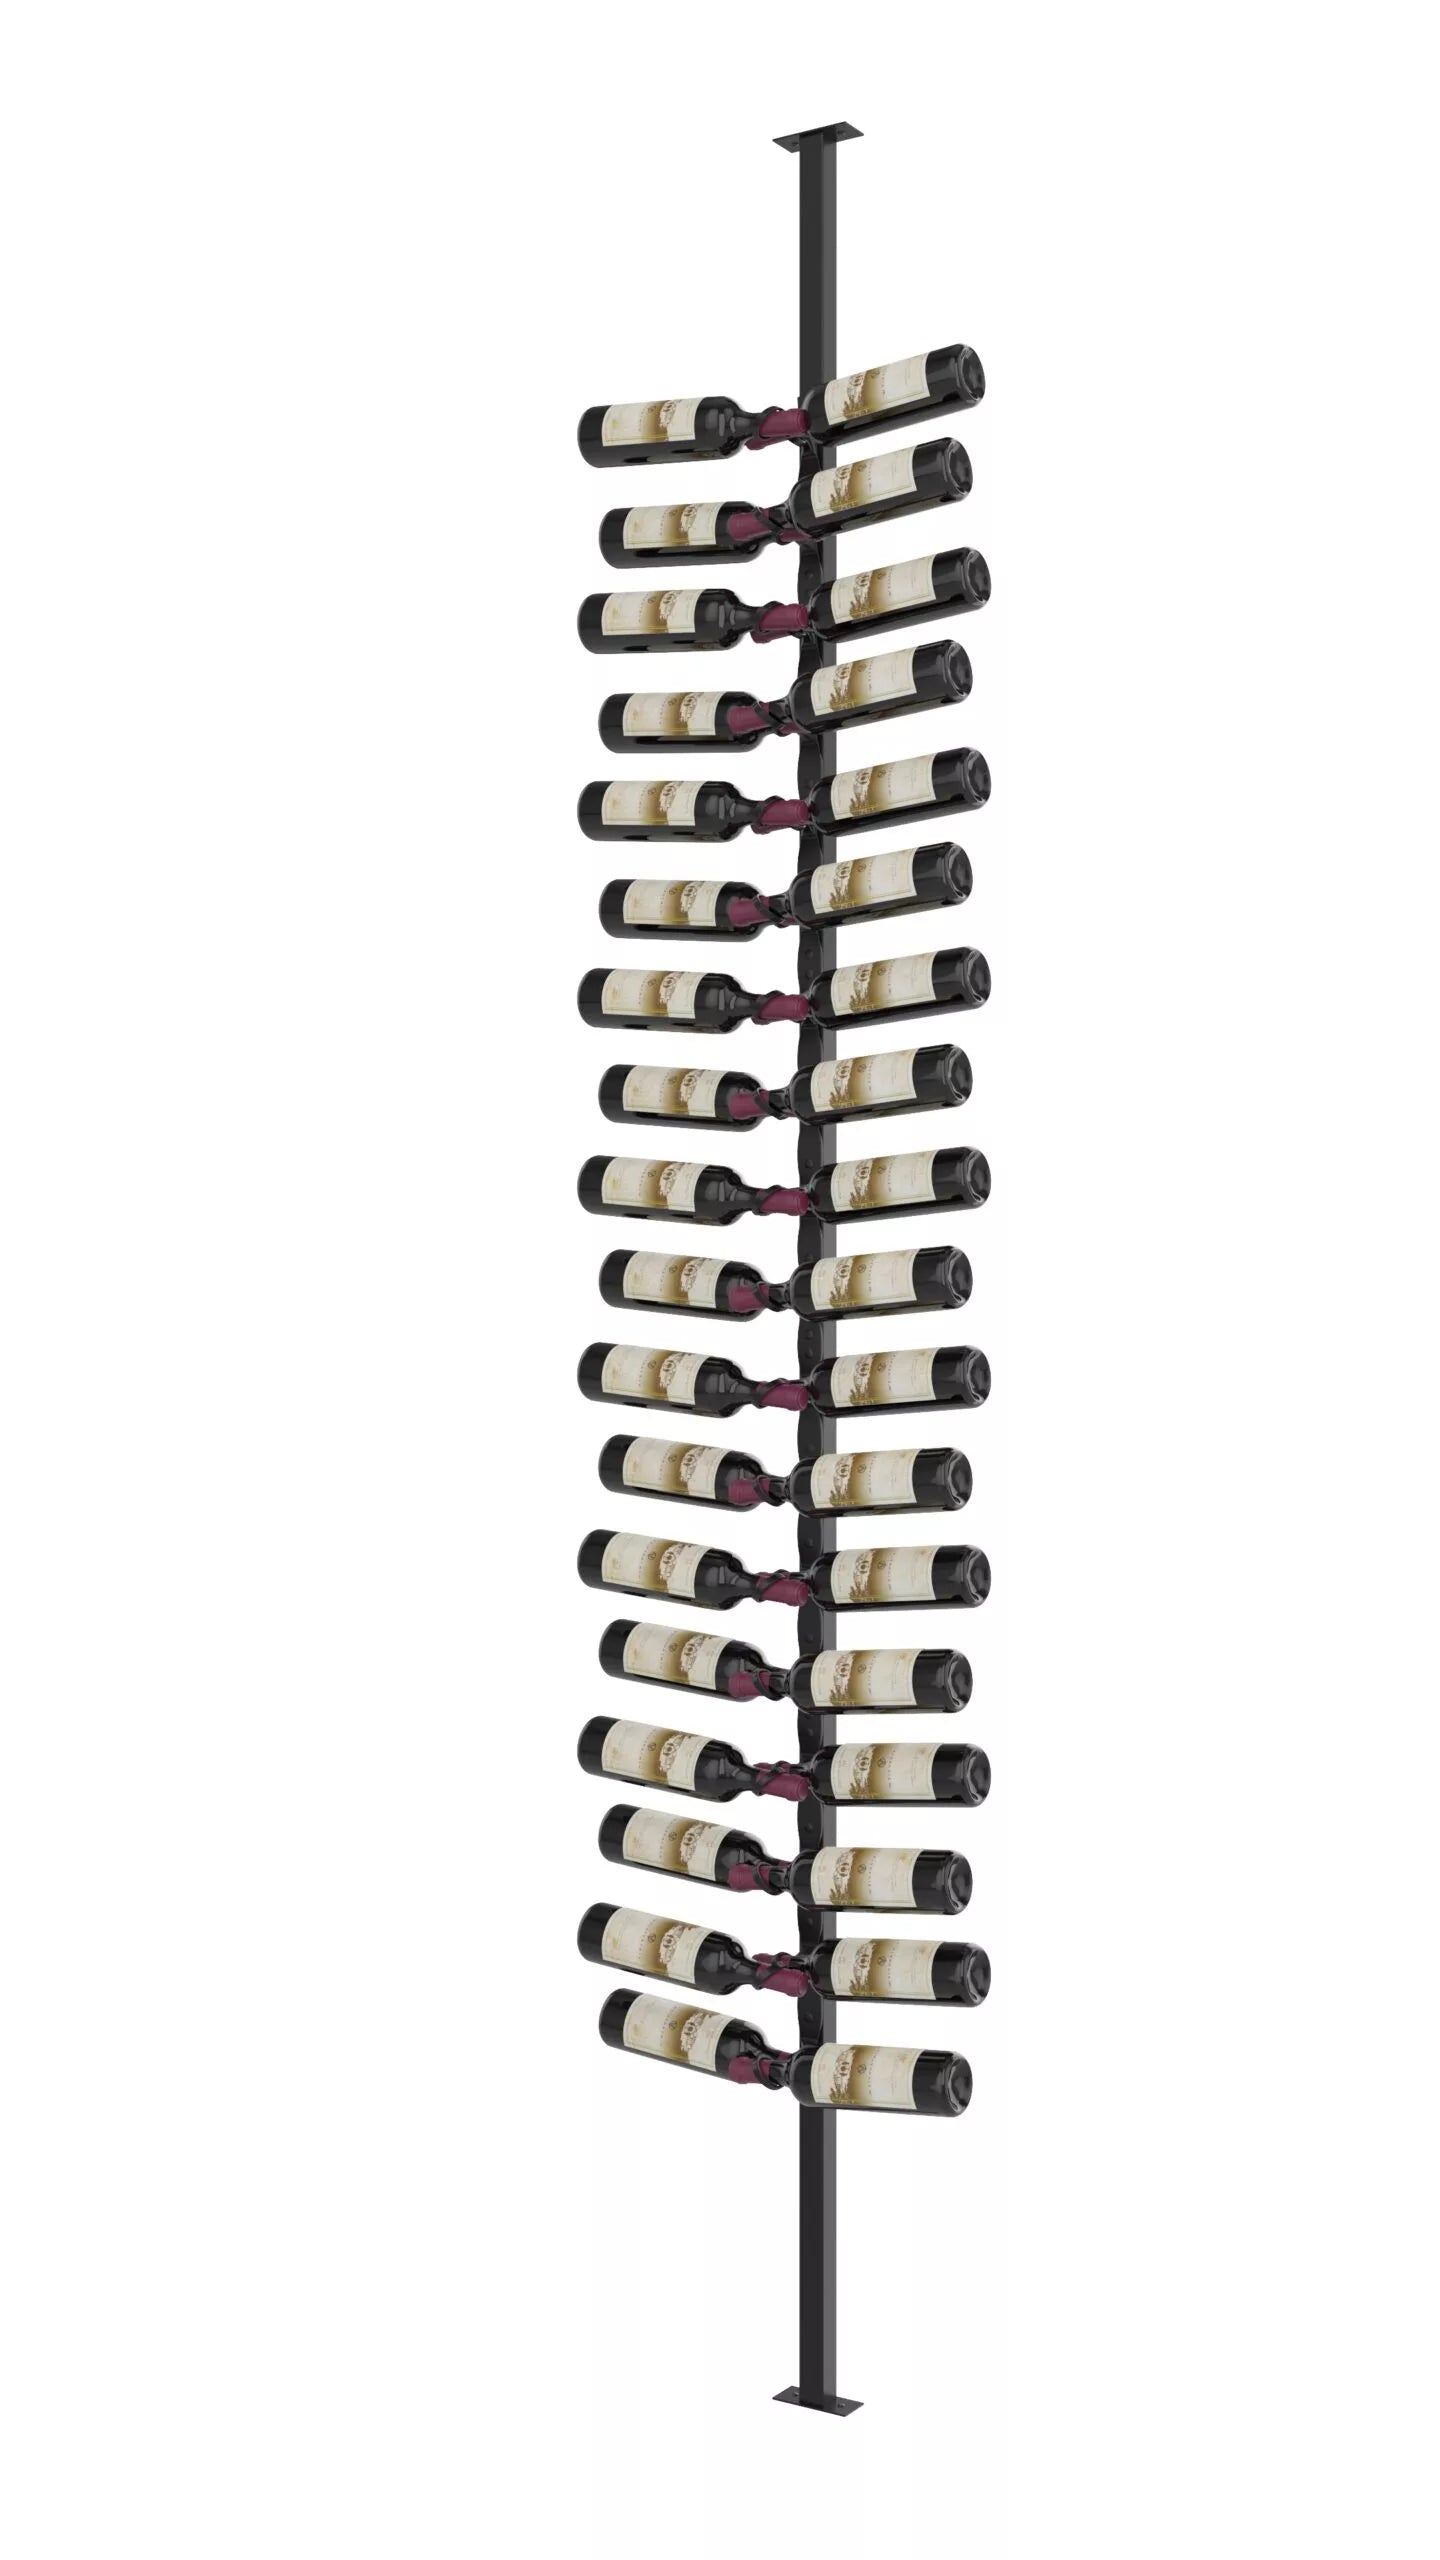
- Two capacity options: 18 bottles (Single) or 36 bottles (Dual)
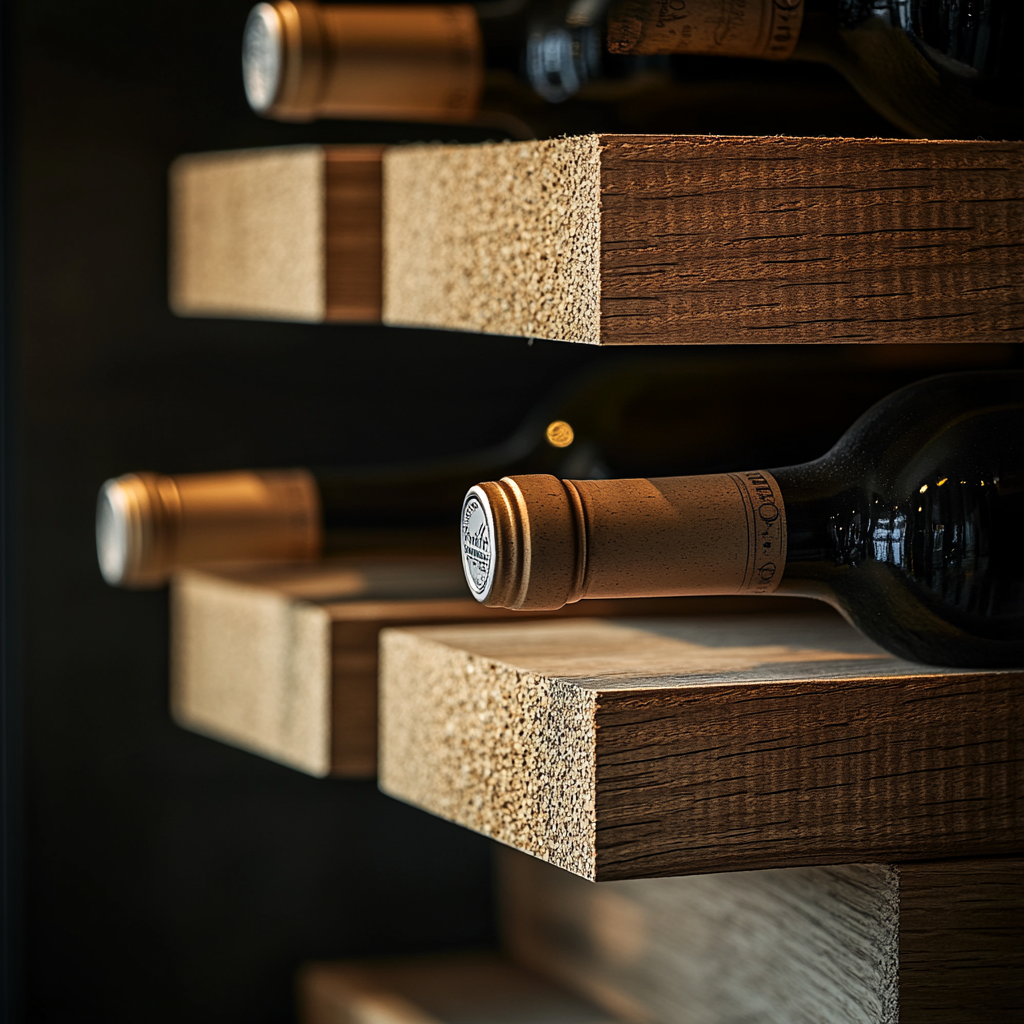
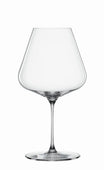
- Universal cradles fit 750 ml and Champagne formats
- Post cuts to exact ceiling height for seamless installation
- Powder-coated alloy construction with lifetime warranty
Specifications
- Width: 13 in (33 cm) Single | 21 in (53.5 cm) Dual
- Height: up to 122 in (310 cm) after on-site cut
- Depth: 4 ¾ in (12 cm) Single | 6 ¾ in (15.5 cm) Dual
- Bottle Capacity: 18 (Single) | 36 (Dual)
- Materials: Steel/aluminium alloy, powder-coated
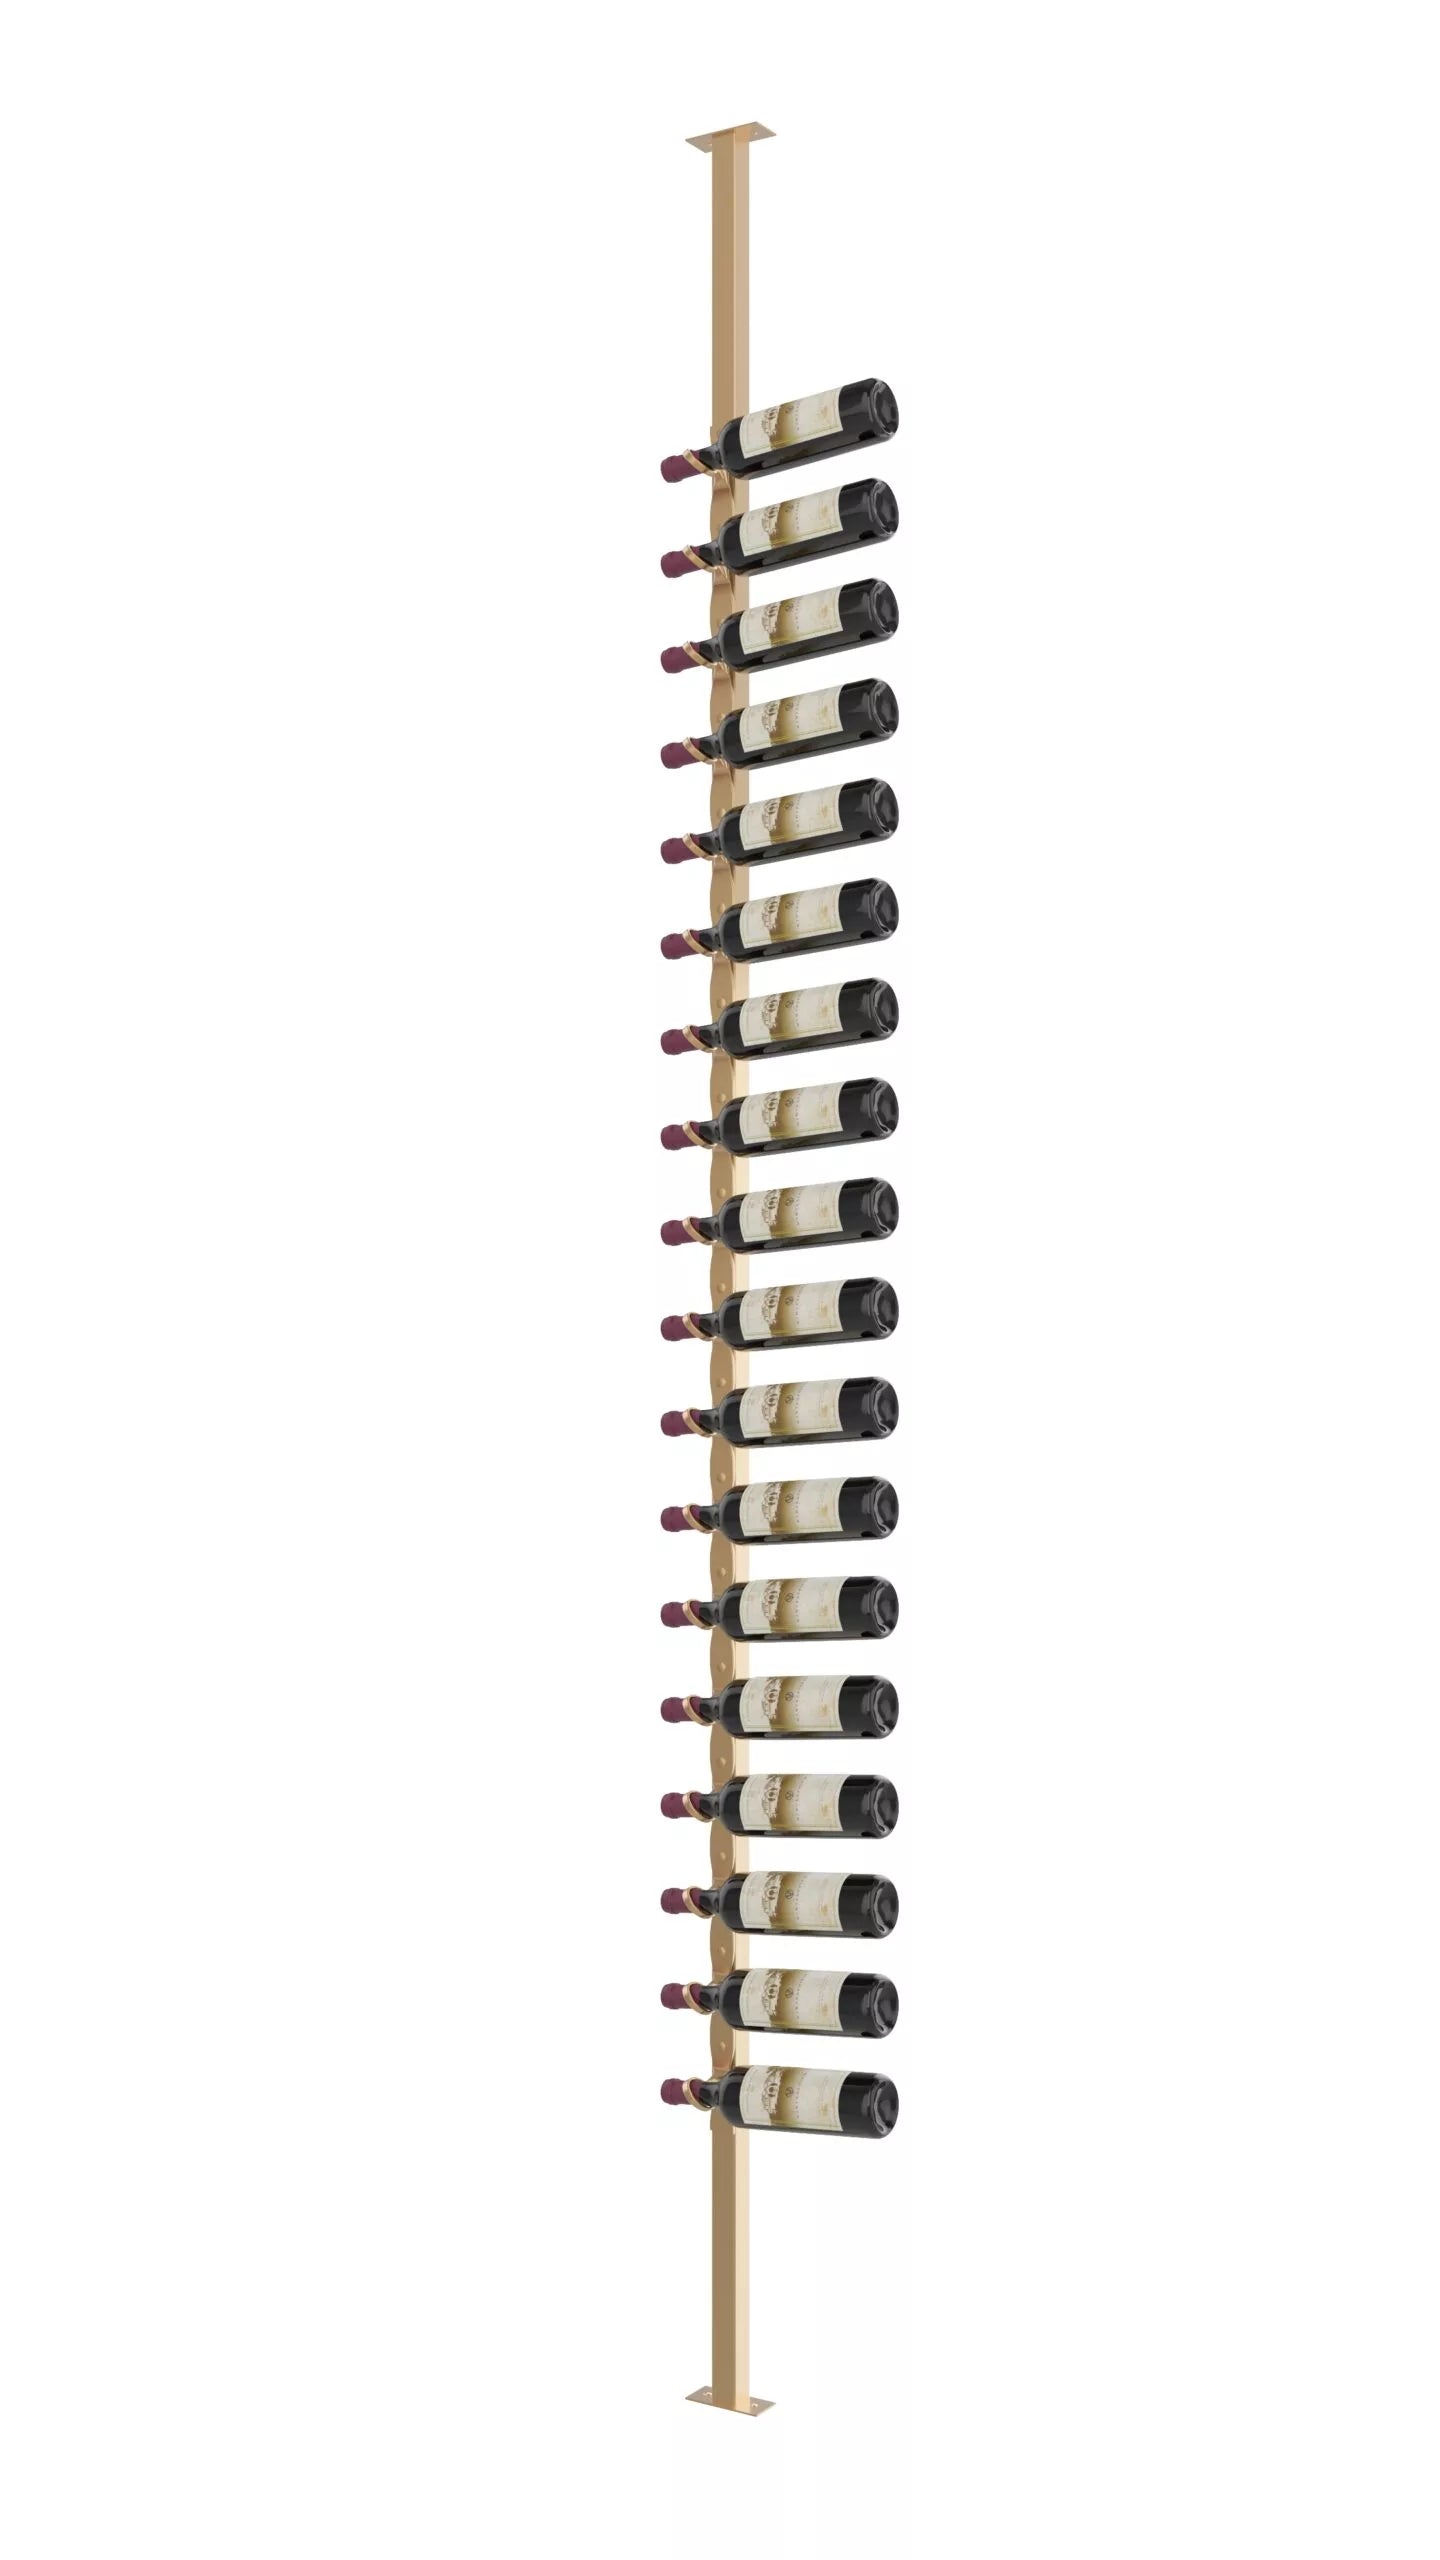
- Finish Options: Matte Black, Cool Gray, Golden Bronze
- Mounting: Floor-to-ceiling, hardware included
- Warranty: Limited Lifetime
Maintenance and Care:
The R Series Helix Wine Rack Post is covered by a; warranty against factory defects.
Helix Wine Racks should be regularly checked for tightness. Should any piece be found to be loose, remove mounting hole covers and tighten with a screwdriver until secure.
The R Series Helix Wine Rack Post may be cleaned with a dry cloth or compressed air. Use rubbing alcohol for stubborn stains or marks. Avoid household cleaners, chemicals, abrasive pads, or steel wool as they will damage the finish.
R Series Helix Wine Rack Post Install Guide
Helix Single Sided Wine Rack Post Kit 10 - L or R Spec Sheet
Helix Single Sided Wine Rack Post Kit 10 - Dual Spec Sheet
In the box
Comes complete with (1) Helix Wine Rack Post, choice of Helix Single or Dual Wine Racks, easy-to-follow installation instructions, and assembly hardware.
customize on site
Cut to fit the Helix Wine Rack Post, on site, to match perfectly to the ceiling height of your wine storage installation.
remarkable finishes
Built from a high-quality steel/aluminum alloy, backed by a lifetime warranty, and offered with a choice of matte black, cool gray, and golden bronze finishes.
Shipping Information
Rosehill Reserves the right to contact you should shipping charges end up substantially higher than advertised on our website. You will have an opportunity to cancel your order at that time.
For CAD customers - Shipping Charges for importation, brokerage, duties are extra and might be charged extra, however you will be contacted by a Rosehill Customer Service Representative to discuss it further.
PRODUCT MANUALS
Get in touch with our design specialists to start building your custom wine cellar today.