





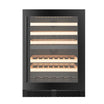
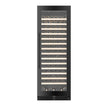
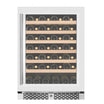
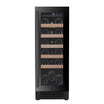





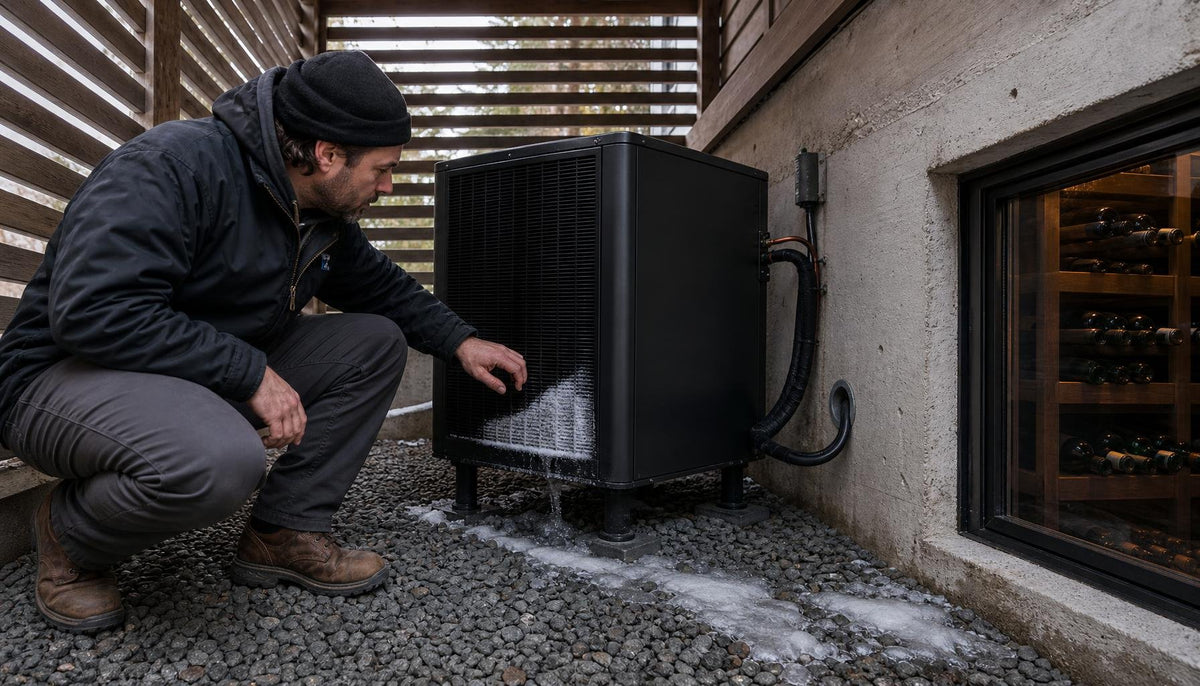
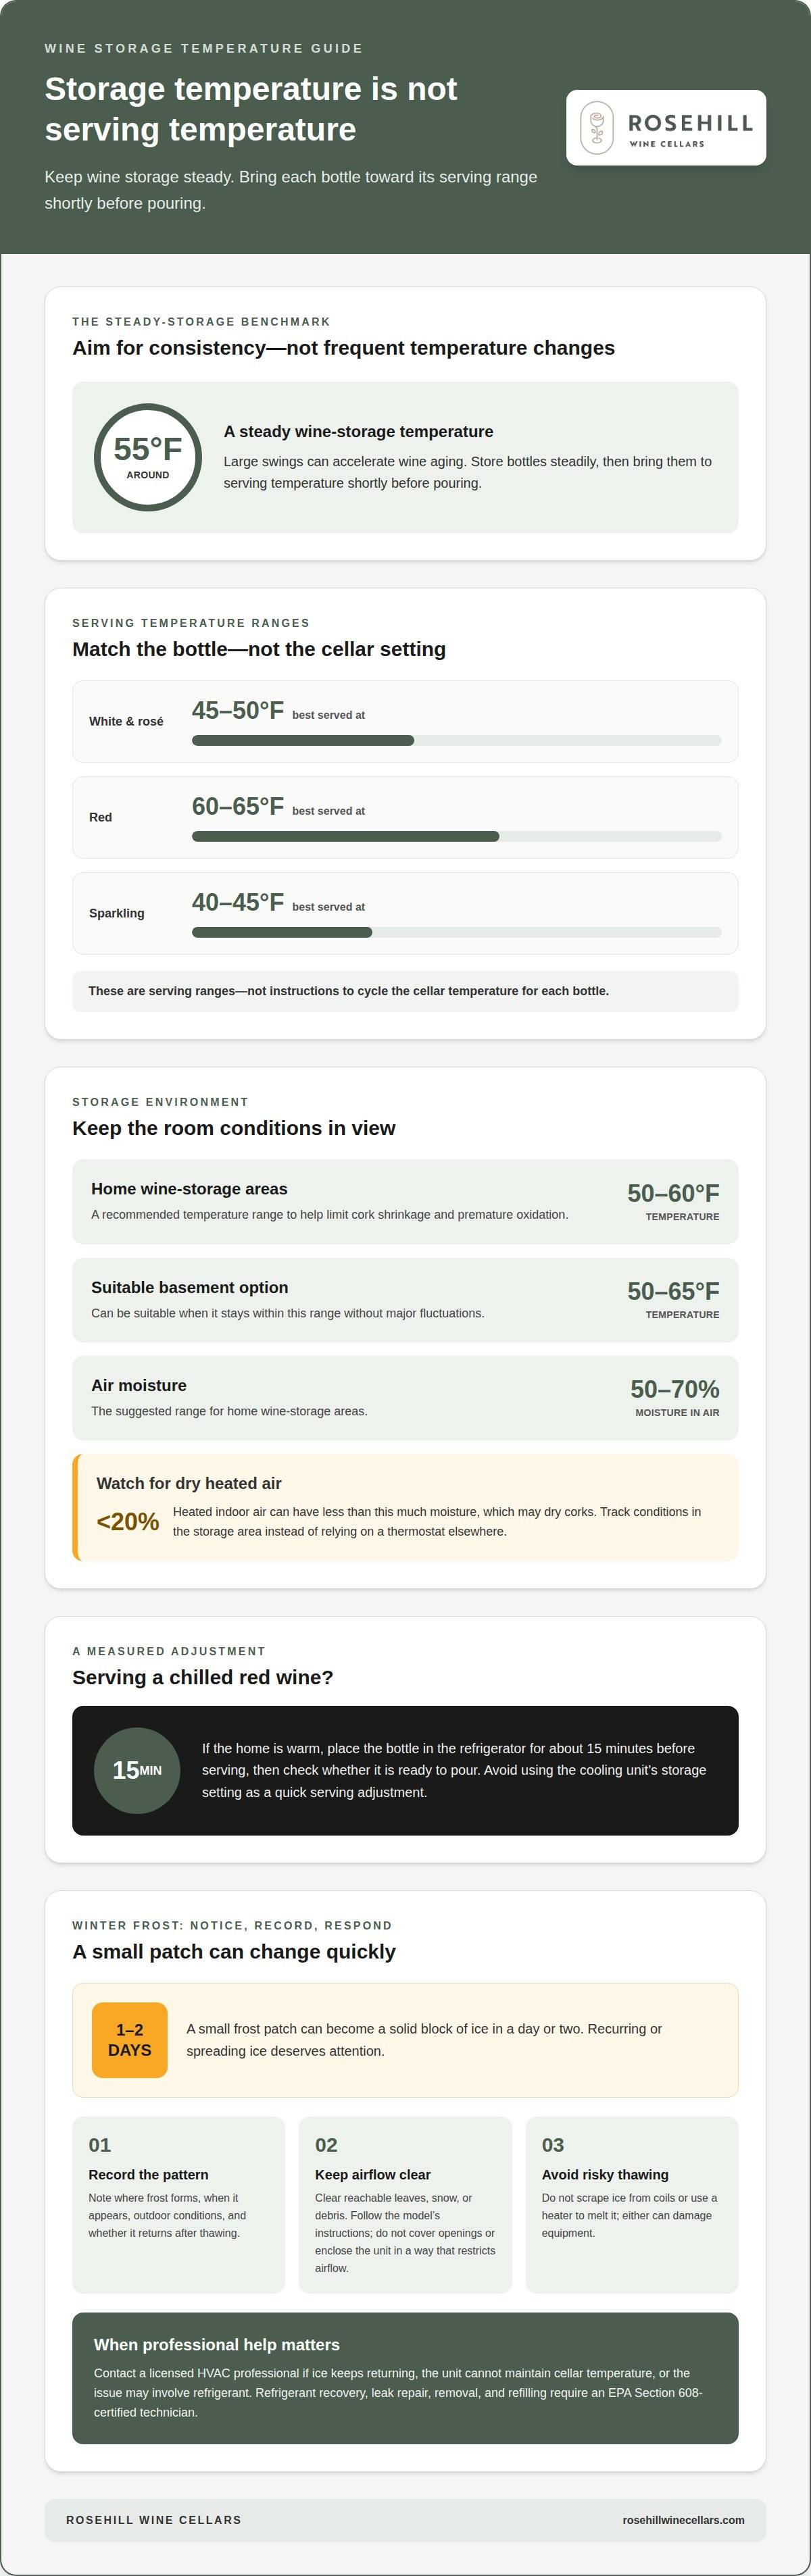
What if the frost on your outdoor wine cooling unit is a warning, not just a winter nuisance? Preparing the outdoor part of a wine cooling unit, the part that releases heat, for winter freezing starts with noticing where ice forms and whether it returns after thawing. A small frost patch can become a solid block of ice in a day or two, so recurring or spreading ice deserves attention.
It’s reasonable to want to protect both the unit and the wine it serves. Call a licensed heating and cooling (HVAC) professional if ice keeps returning, the unit can’t maintain the cellar temperature, or the problem points to work on the refrigerant, the fluid that helps cool the wine cellar. According to the U.S. Environmental Protection Agency, recovering, repairing leaks in, removing, and refilling refrigerant require a technician certified under EPA Section 608. This guide explains what different frost patterns may indicate, how to thaw and restart the unit carefully, and which maintenance steps can help prevent recurring icing.
Key Takeaways
- Use where frost forms and how it changes to narrow down possible causes before deciding on the next step.
- Look for signs that thawing water is not draining properly, since moisture can affect nearby surfaces and materials.
- Keep up with routine filter changes and scheduled unit maintenance to help reduce the chance of recurring ice.
- Thaw the unit safely, restart it carefully, and watch for frost to return before considering the problem resolved.
- Know when recurring icing or suspected refrigerant work calls for a licensed HVAC professional.
Why Is My Wine Cooling Unit Freezing Up?
Cold weather can affect how an outdoor heat-release unit operates, but frost patterns and wine temperatures matter too. Before changing settings, check the unit’s instructions, its surroundings, and the condition of the wine.
-
Check Outdoor Temperatures at the Heat-Release Unit
Record the outdoor temperature near the heat-release unit and compare it with the operating guidance for that exact model. Cold air affects how the unit releases heat, and temperatures outside the manufacturer’s stated range can disrupt normal operation. Keep airflow openings clear, and don’t wrap or enclose the unit unless its instructions specifically say to. Covering it may restrict airflow instead of protecting performance.
-
Understand Freezing Risks and Warranty Rules
Read the manufacturer’s winterization instructions and warranty terms for the model before adjusting or covering outdoor equipment. Guidance can differ by unit, so there is no single winterization rule to assume. Are there manufacturer-specific winterization instructions or warranty rules? Yes, follow the model’s own manual and warranty rather than applying a generic procedure. Wine can freeze in sufficiently cold conditions, and its freezing point varies with alcohol content. As liquid freezes, it expands and may push a cork out or damage a bottle.
- Compare storage temperatures with serving temperatures before changing the cellar setting. White wine and rosé are best served at 45-50°F; red wine at 60-65°F; sparkling wine at 40-45°F. These are serving ranges, not instructions to cycle the cellar temperature to suit each bottle. A steady storage temperature around 55°F is preferable to large swings, which can accelerate wine aging. Keep the bottle in stable storage, then bring it to serving temperature shortly before pouring.
- Use the wine and the equipment as separate clues. If a bottle becomes slushy or a cork moves, the wine may have been exposed to temperatures near its freezing point. If frost appears on the cooling system, note where it forms and whether it returns after thawing. In the United States, a certified technician must handle refrigerant removal, leak repair, system clearing, and adding refrigerant, according to the U.S. Environmental Protection Agency’s Section 608 rules. Don’t attempt that refrigerant work yourself.
- Bring a chilled red wine back toward serving temperature gradually. If the home is warm, place the bottle in the refrigerator for about 15 minutes before serving, then check whether it is ready to pour. Avoid using the cooling unit’s storage setting as a quick serving adjustment. For winter preparation, document outdoor temperatures, frost location, and any bottle damage; those details help distinguish a cold-weather operating issue from wine that was stored too cold.
How to identify freeze-up causes from frost location and behavior
Should an outdoor wine cooling unit be covered in winter? Follow the manufacturer’s instructions, and never cover it in a way that blocks airflow. Note where frost forms and how it changes over time. These clues can help describe the issue, but they don’t diagnose an internal fault.
- Photograph visible frost before disturbing the unit, then note its location and spread. A small patch in one area is different from frost covering an entire visible coil. Record whether it forms after a cold night, during operation, or after thawing. This helps show whether the pattern follows outdoor conditions or keeps returning during normal use.
Look for leaves, snow, or debris obstructing the area around the outdoor equipment. Clear only what you can safely reach without removing panels or touching internal parts. Blocked airflow can interfere with the transfer of heat. If frost keeps returning despite clear surroundings, the unit needs closer assessment.
- Compare the frost pattern with how the room feels and how the unit operates. A sudden loss of cooling alongside recurring frost is more concerning than a brief film that disappears. Don’t scrape ice off coils or use a heater to melt it; either can damage equipment. Note unusual sounds or water after thawing for later troubleshooting.
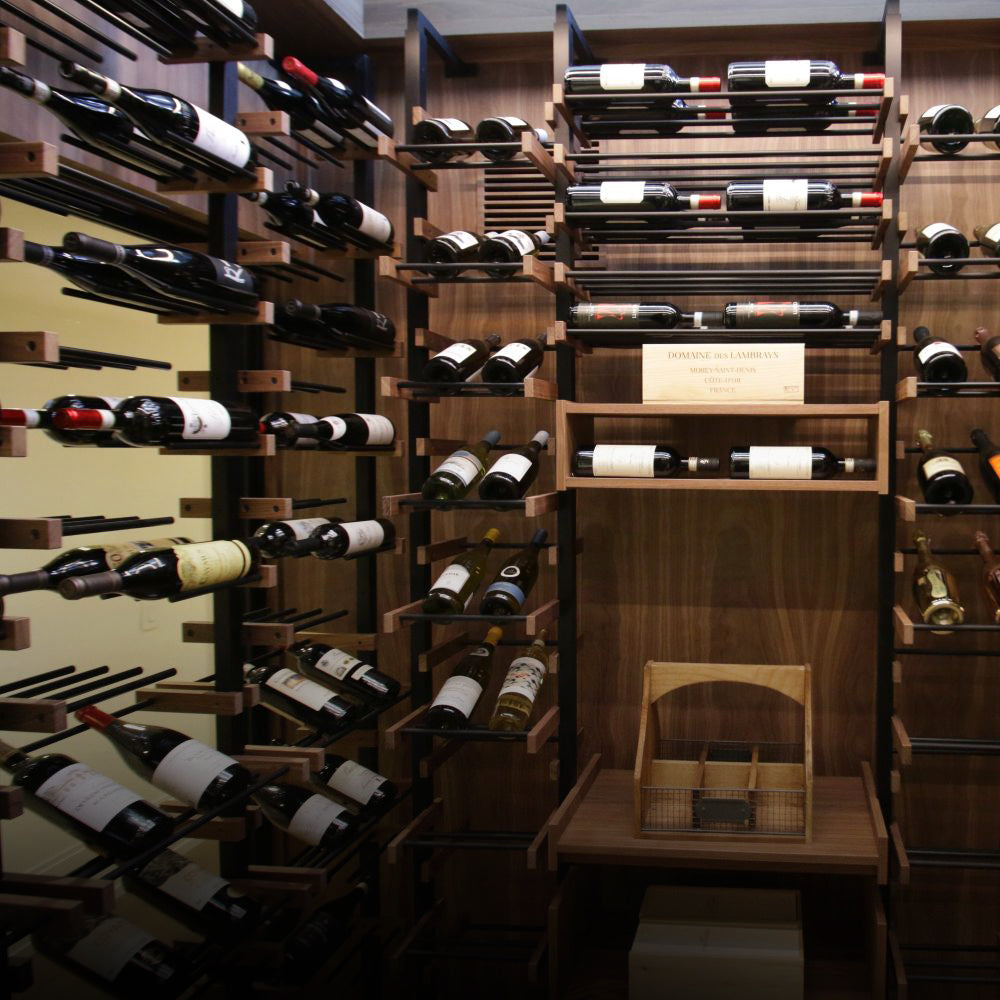
- Choose a stable indoor wine-storage location before winter conditions intensify. A steady temperature around 55°F is preferable to large daily swings. A basement that remains between 50-65°F without major fluctuations can be a suitable option. Keep bottles away from direct heat sources, since nearby warmth can undermine a consistent storage environment.
For a wine fridge, select a position away from sunlight, heating vents, and frequently opened exterior doors. Home wine-storage areas should stay between 50-60°F to help limit cork shrinkage and premature oxidation. Aim for 50-70% moisture in the air, since dry air can affect corks over time.
- Check whether central heating changes the cellar’s moisture levels or temperature through winter. Heated indoor air can have less than 20% moisture, which may dry corks. Track conditions in the storage area rather than relying on thermostat settings elsewhere. If the room repeatedly swings between cold nights and warm heating cycles, consider a more stable location or a dedicated wine fridge.
- Keep a simple frost log with dates, outdoor conditions, operating changes, and thawing results. Note, for example, whether frost returns after a cold night or appears when the surroundings are clear. This record can help distinguish a weather-related pattern from persistent icing and give a technician useful observations without requiring you to open the unit.
Drain water and water damage after thawing
Before winter, identify the system’s drain for water that forms as it cools the air, and follow the shutdown instructions for its model. If water has frozen, let it thaw safely before checking where it drains and whether nearby surfaces are damaged.
-
Drain Water Before Winter
Use the unit’s manual to locate the visible drain outlet, then check its path for leaves, dirt, or kinks. Remove loose debris from accessible openings without taking off panels or pushing tools inside. If the manual describes a drain procedure, follow it. Don’t pour liquid into the unit or disconnect a drain line without model-specific instructions.
- Check whether the unit has a collection tray or accessible collection point, then remove standing water only as the manufacturer directs. A dry cloth can absorb water from an accessible tray, but keep clear of electrical parts and wiring. If the outlet is concealed or blocked, don’t force the obstruction deeper. A service professional can inspect the line safely.
-
Check for Water Damage After Thawing
After the ice melts, check the floor, wall, and nearby storage for damp patches, staining, or softened materials. Look below the drain outlet and around the unit’s base, where water may collect unnoticed. Dry accessible surfaces and move stored items away from wet areas. If moisture returns or spreads, leave the unit off and arrange an inspection.
- After restarting, follow the model’s guidance and watch the first drainage. Check that liquid emerges from the expected outlet rather than pooling beneath the equipment. A blocked or misaligned drain can direct water toward flooring, shelving, or stored wine. Don’t run the unit if water reaches electrical connections or the source of a leak is unclear.
- Record what you observe before and after thawing. Note where water appeared, whether the drain outlet was obstructed, and which surfaces became wet. For example, a stain directly below the outlet suggests a different path than water spreading from the unit’s base. These details help a technician trace the drainage route without guesswork.
- Keep the drain route clear through winter by checking visible sections during routine outdoor inspections. Remove loose leaves and debris around the outlet, but don’t seal or cover it. If the manufacturer specifies another cold-weather procedure, follow it. A recurring puddle, odor, or damp patch calls for inspection, not just repeated mopping.
Cold-weather precautions can extend beyond the drain route. In cold weather, store water or canned goods near your body to help prevent them from freezing. Finding flowing water instead of melting snow for cooking and drinking can save fuel. Extra water can be boiled for cleanup and kept hot in a pot cozy while eating.
A windscreen can shield an outdoor stove and conserve heat, but trapping too much heat can damage fuel canisters. Unused fuel can be returned to the fuel bottle after the stove is extinguished. A forum member advised transferring wine off the crystals that form in it so they do not dissolve as the wine warms.
Maintenance to prevent recurring icing
Follow the manufacturer’s winter instructions, keep airflow paths clear, and plan routine care before seasonal temperature changes. A maintenance record can help distinguish a recurring equipment problem from an issue tied to winter conditions.
-
Prepare the Outdoor Cooling Unit Before Freezing
Follow the manual for your exact model before cold weather arrives. It explains whether the unit should keep running or be shut down, and how to protect it without restricting airflow. Preparing an outdoor wine cooling unit for winter starts with the unit’s instructions, not a cover or control change borrowed from another model. Record the steps you take and any existing damage or changes in operation.
-
Protect the Cooling Parts and Airflow Openings
Clear loose leaves and debris around the unit, and remove snow blocking its airflow openings. Keep the thin metal tubes that carry cooling fluid unobstructed, but don’t scrape them or chip away ice. Avoid placing a tarp, blanket, or other cover directly over the unit unless its manual permits it. Restricted airflow can make it harder for the unit to move heat and can contribute to operating problems.
-
Maintain the Unit Before Spring Restart
Before restarting in spring, inspect visible cooling parts, openings, wiring, and the drain area for debris or damage. Clean accessible surfaces only as the manufacturer directs, and leave internal repairs to a qualified professional. Check that water can drain freely and that no winter cover or debris remains in the airflow path. Then follow the unit’s restart instructions.
- Clean or replace the filter according to the model’s maintenance schedule. A general recommendation is to change it quarterly to help prevent icing. A clogged filter can restrict airflow, so record the service date and use the correct filter. Don’t operate the equipment without its filter unless the manufacturer’s instructions allow it.
- Arrange annual service to check the amount of cooling fluid in the system, the fan motor’s electrical use, and whether the controls are set and responding correctly. These checks help assess cooling performance and confirm whether the unit is operating as intended. If frost recurs after routine maintenance, share your observations with the technician.
- Keep a maintenance log with filter changes, annual service, winter shutdown steps, and spring restart observations. When preparing an outdoor wine cooling unit for winter, note whether frost returns after airflow openings are clear. Comparing seasonal records can reveal recurring patterns and give a technician useful history. Avoid repeatedly changing settings without investigating persistent ice.
Safe thawing and restart procedure
Let the unit thaw fully before restarting, then check for drainage issues and visible damage. Whether to disconnect power during winter depends on the manufacturer’s instructions and whether the unit will remain in operation.
- Use the controls to switch off the unit before inspecting ice or water. If the manual directs you to disconnect power for winter shutdown, follow that procedure. Don’t pull wiring or open electrical compartments. If the unit is running, use its instructions to shut it down safely before thawing. Keep it off while ice remains on accessible parts.
- Allow ice to melt gradually at room temperature. Don’t chip it away, scrape coils, or apply direct heat with a hair dryer or heat gun. These methods can damage components or nearby materials. Place towels beneath accessible drip points, and check that thawed water can reach the drain instead of pooling around the cooler.
- Wait for visible ice to melt before cleaning accessible surfaces. Use a soft cloth to remove moisture from the unit’s exterior and nearby floor. Don’t pour water into the equipment or insert tools through its openings. If water reaches wiring, a control panel, or an enclosed area, leave the unit off and arrange a professional inspection.
- Before restarting, inspect the drain outlet, filter, and airflow openings for debris. Refit any filter removed for cleaning, following the model’s manual. Check that leaves, snow, or a temporary cover aren’t blocking airflow. If a fan blade, coil, or internal part appears damaged, don’t restart the unit to test it.
- Restart the unit using the manufacturer’s sequence and normal operating settings. Avoid changing several controls at once, which makes results harder to interpret. Note the restart time, room conditions, and any unusual sound or water movement. If frost forms again or cooling remains inconsistent, switch off the unit and seek qualified help.
- Monitor the thawed, restarted unit for 24 to 48 hours and note whether frost returns. Check the same visible areas during this period, along with drainage beneath the equipment. A clean restart followed by recurring ice is a sign to investigate the cause rather than repeat thawing. Keep your observations and the model instructions together for a technician.
If recurring icing makes the unit’s condition uncertain, review wine cooling options as you plan the next step.
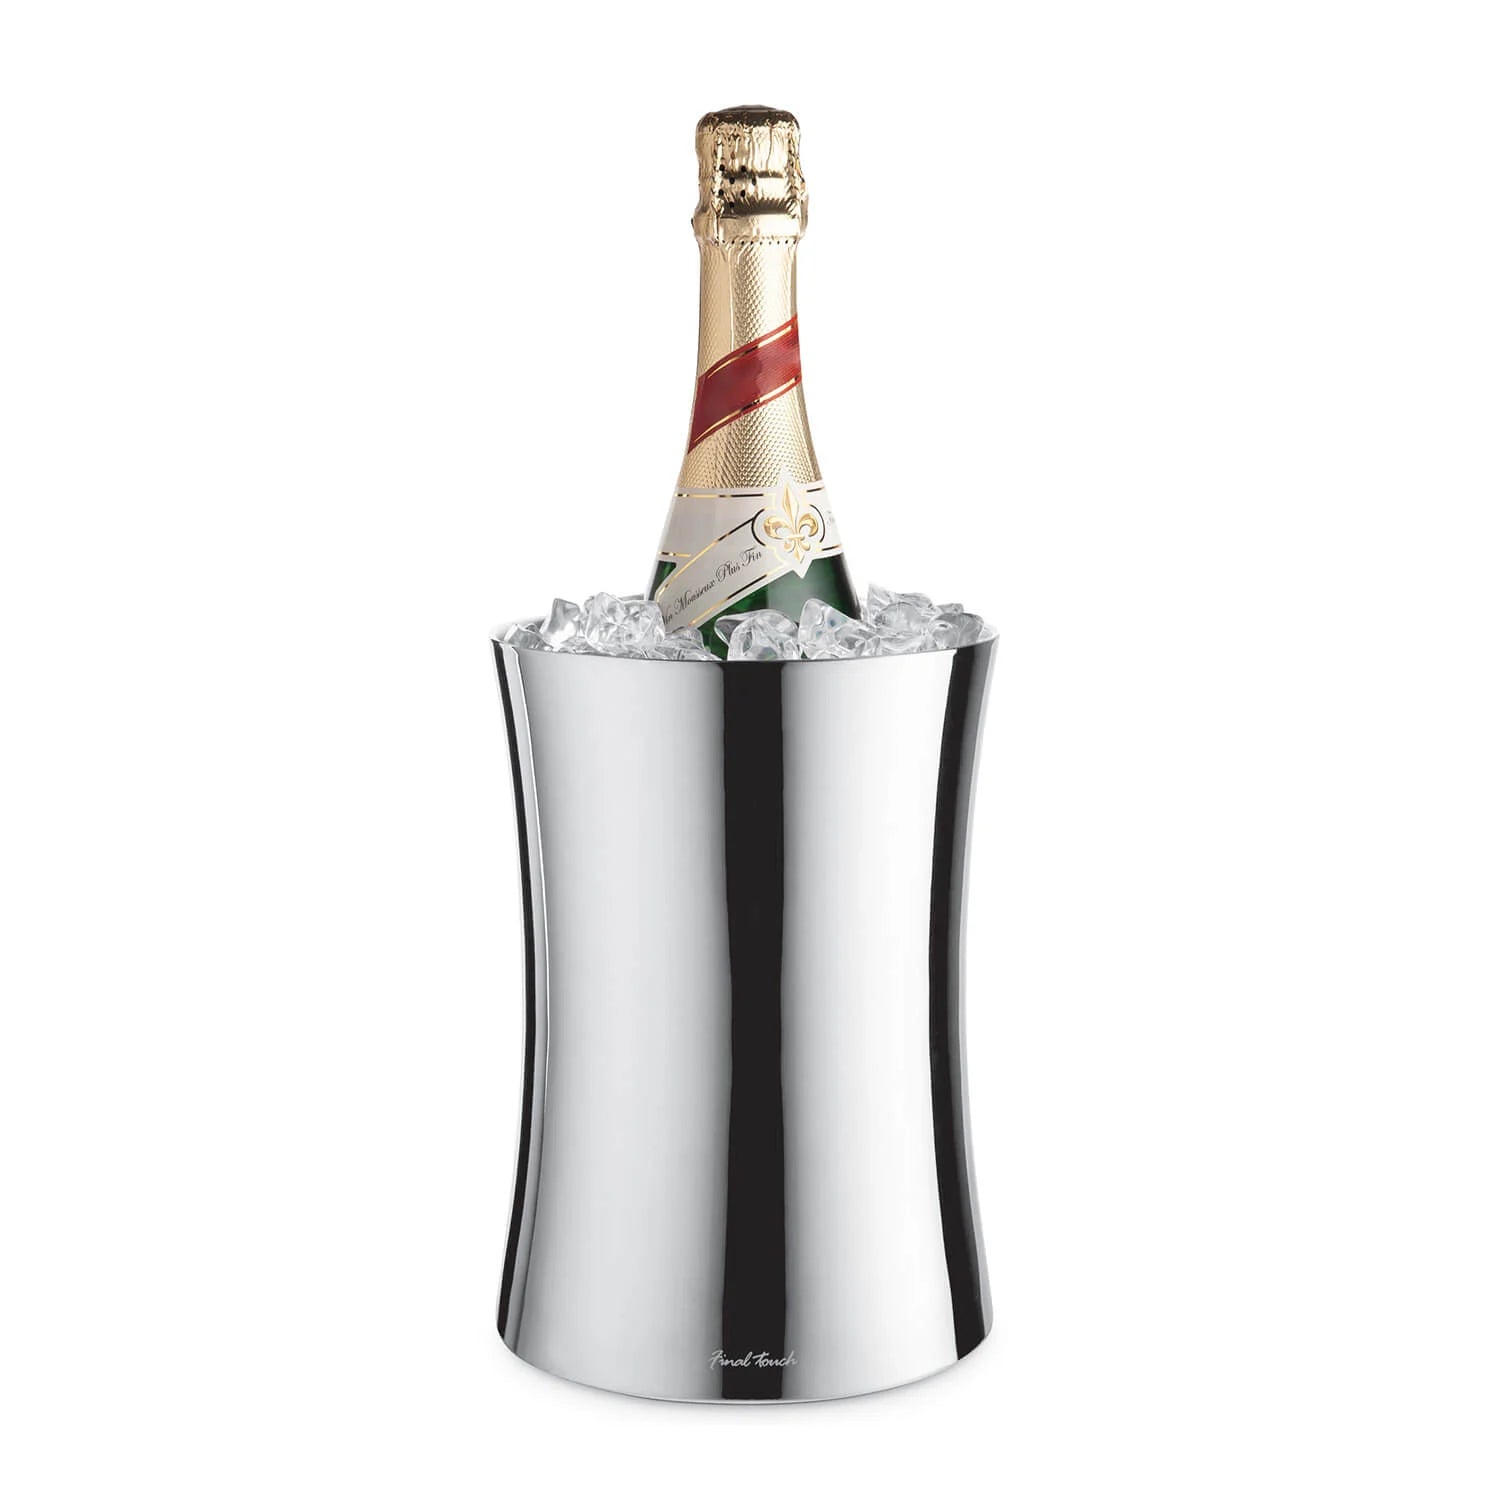
An ice bath is a separate method, not a way to clear ice from the cooler in place. One suggested ice-bath method fills a large pot at least half full with ice. An ice-and-water bath without salt cannot fall below 32°F. These details apply to the bath only; they do not set a thawing temperature for the cooler or replace its manufacturer’s restart instructions. Do not treat a pot or bath as a substitute for safely thawing the installed unit. If it is unclear whether an item is suitable for an ice bath, avoid using that method and follow the item’s instructions instead.
Rosehill Wine Cellars: Wine Cooling Units
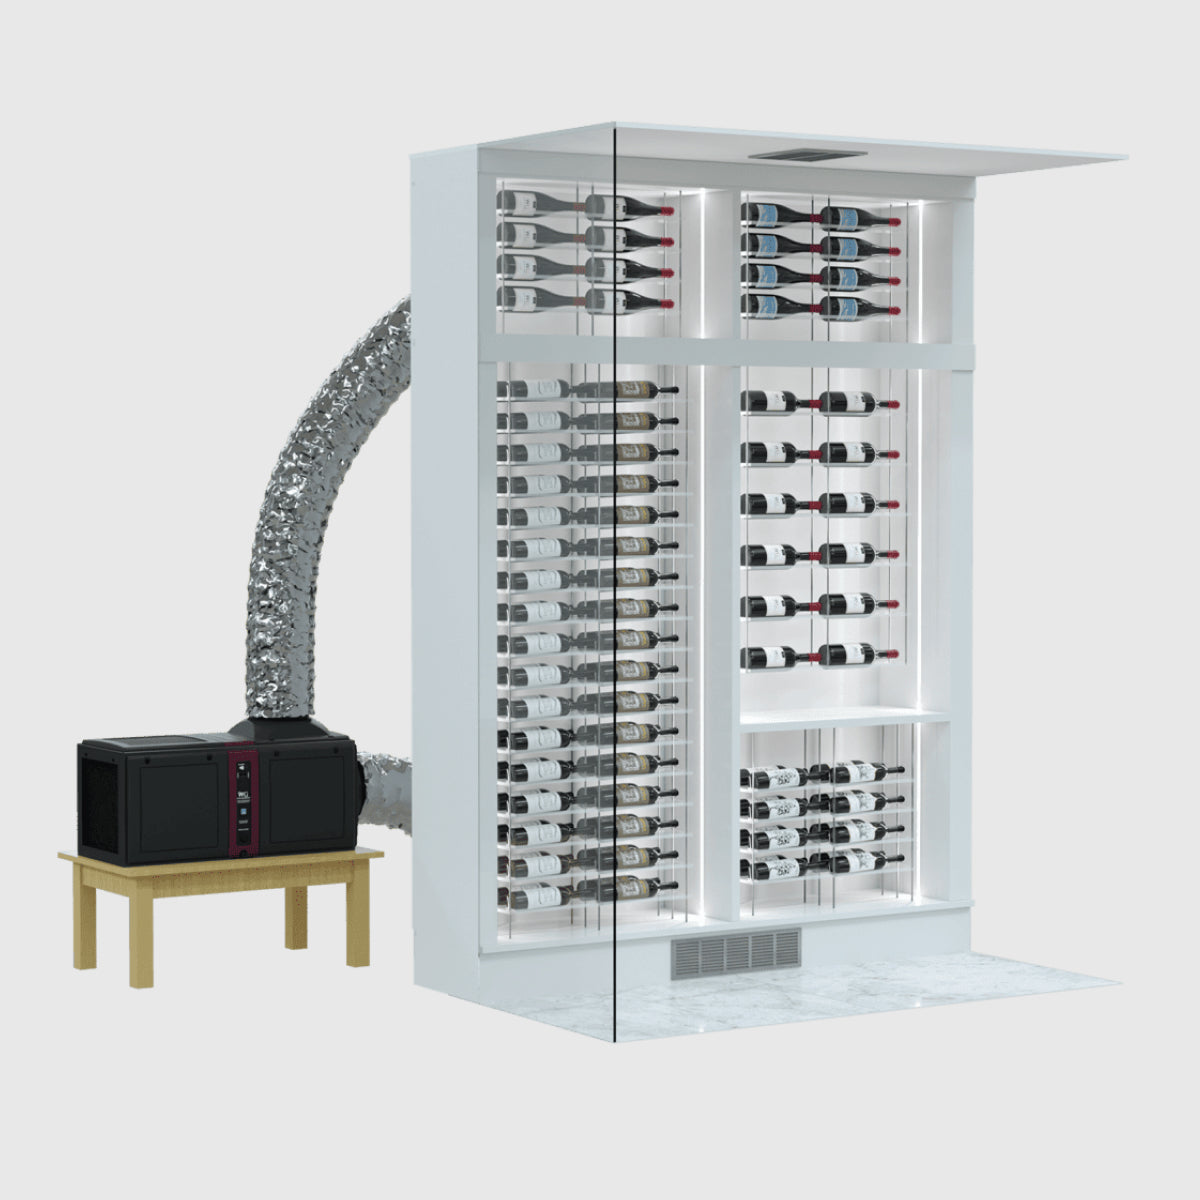
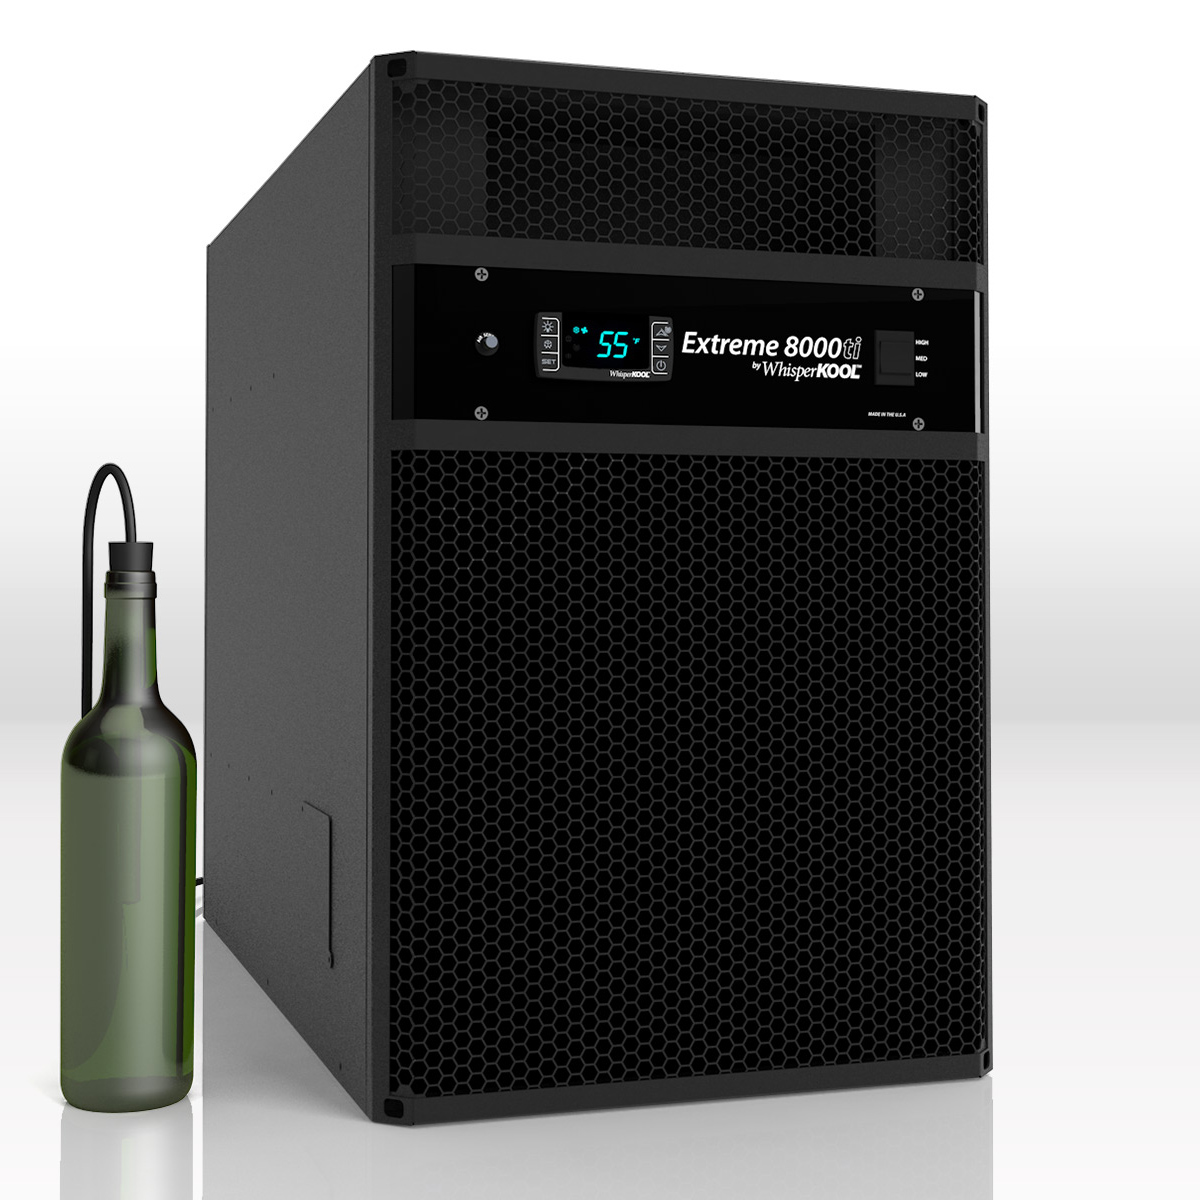
Rosehill Wine Cellars offers wine cooling units for wine-storage projects that need a considered climate-control solution. If recurring icing raises questions about whether your existing setup suits the cellar, explore cooling options when planning a replacement or new installation. The right choice depends on the storage space and the needs of the overall design, not frost alone.
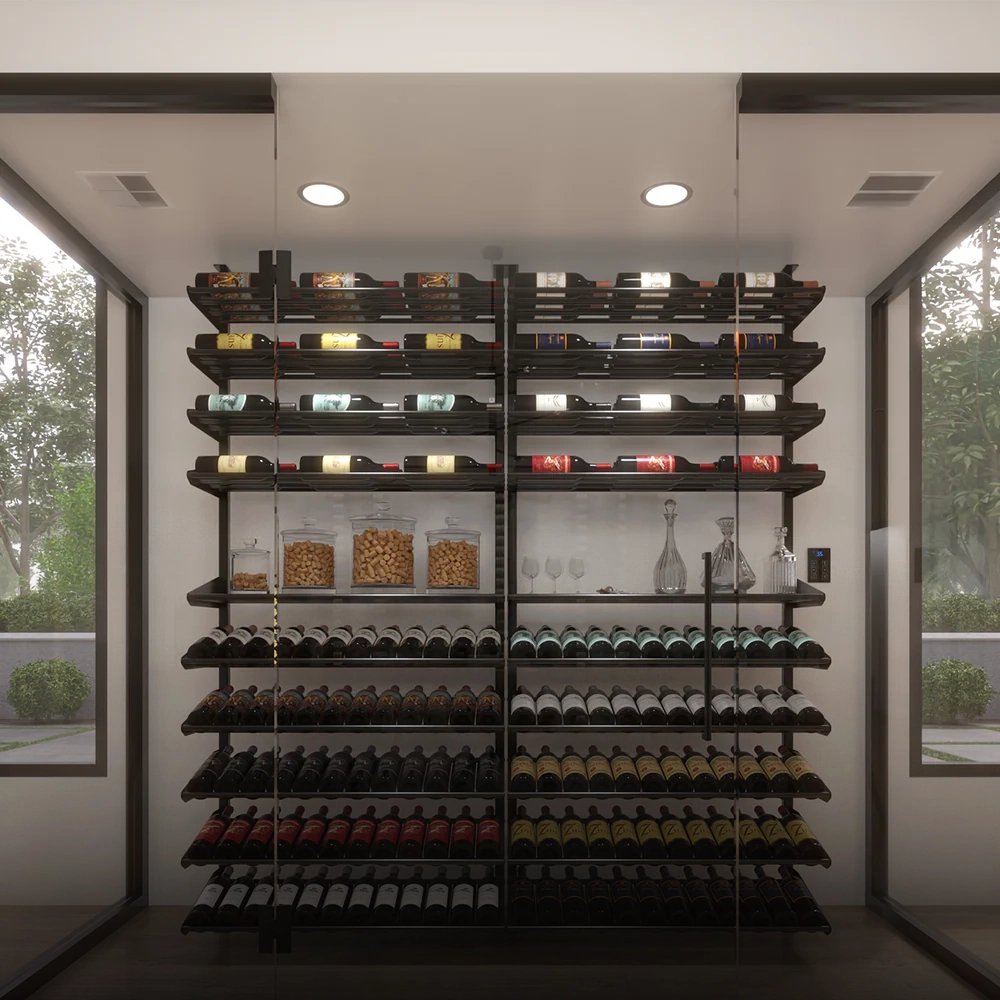
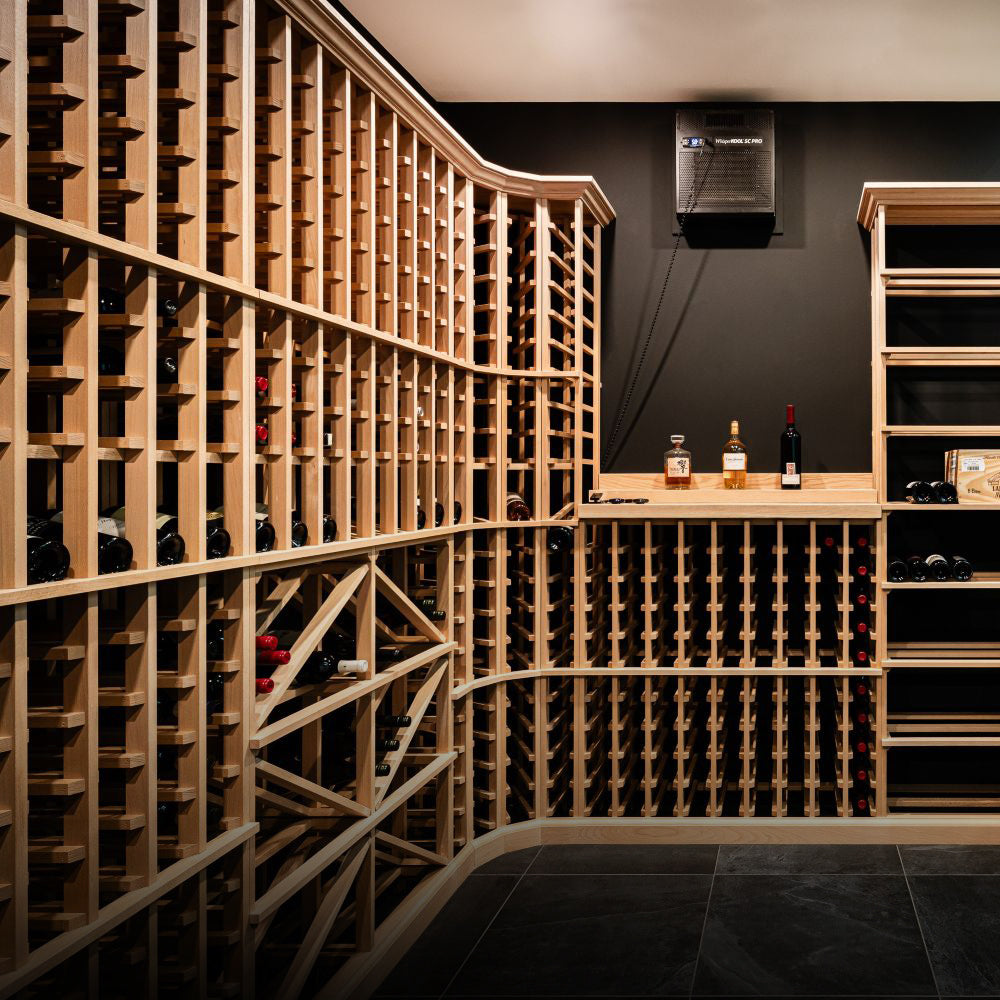
For a complete cellar plan, Vantaggio V300 Wine Cabinet and Premier Cru Classic Racking can complement a carefully arranged storage space. Premier Cru Modern Racking offers another racking option. These products address storage and layout; repairs to the cooling fluid or recurring mechanical faults require a qualified professional who works on heating and cooling systems.
Contact Rosehill Wine Cellars to discuss wine cooling units for your cellar.
Plan for a Confident Season Ahead
Make winter care part of a broader plan for dependable wine storage. Records of the unit’s behavior, maintenance, and seasonal shutdown can help you decide whether the current setup still suits your cellar. Preparing an outdoor wine cooling condenser for winter freezing is one part of protecting the environment around your collection, not a substitute for professional attention when icing continues.
For a considered storage design, Rosehill Wine Cellars offers the Vantaggio V300 Wine Cabinet, Premier Cru Classic Racking, and Premier Cru Modern Racking. These options can help shape a storage space around your collection and the way you want to use it. Choose the next step that fits your cellar, whether that means reviewing its layout or discussing wine cooling options.
Contact Rosehill Wine Cellars to discuss your wine-storage plans. A thoughtful approach now can help you move into the next season with greater confidence.
Frequently Asked Questions
Which Freeze-Up Symptoms Need a Licensed HVAC Professional?
Call a licensed HVAC professional if icing returns after a complete thaw, cooling remains unreliable, or the unit makes unusual operating sounds. Frost that keeps spreading after visible airflow openings are clear is one example. Stop adjusting settings repeatedly; note what changed and when. If the suspected cause involves refrigerant, electrical parts, or an internal fan, leave the unit off until it is assessed.
What is the minimum operating temperature for common wine cellar cooling condensers?
There is no single minimum operating temperature for every wine cellar cooling condenser. The safe operating range depends on the model and its installation conditions. Check the manual for its published limits, including any minimum outdoor temperature. Don’t assume a unit can run through a cold spell just because another condenser operates in similar weather. Follow the stated range.
Can freezing temperatures damage refrigerant lines, condensate pumps, or other wine cooling components?
Yes, freezing conditions can damage components, particularly where water can collect and freeze. Expanding ice may stress a drain pipe or the housing around a pump that removes water, while snow or ice pressing against equipment can block openings or cause physical damage. Refrigerant lines, which carry the cooling fluid, are a separate concern, and visible frost alone doesn’t prove they are damaged. If you see a leak, crushed line, or recurring fault, leave inspection to a qualified professional.