


R Series Helix Single 15 Wall Mounted Wine Rack
Description
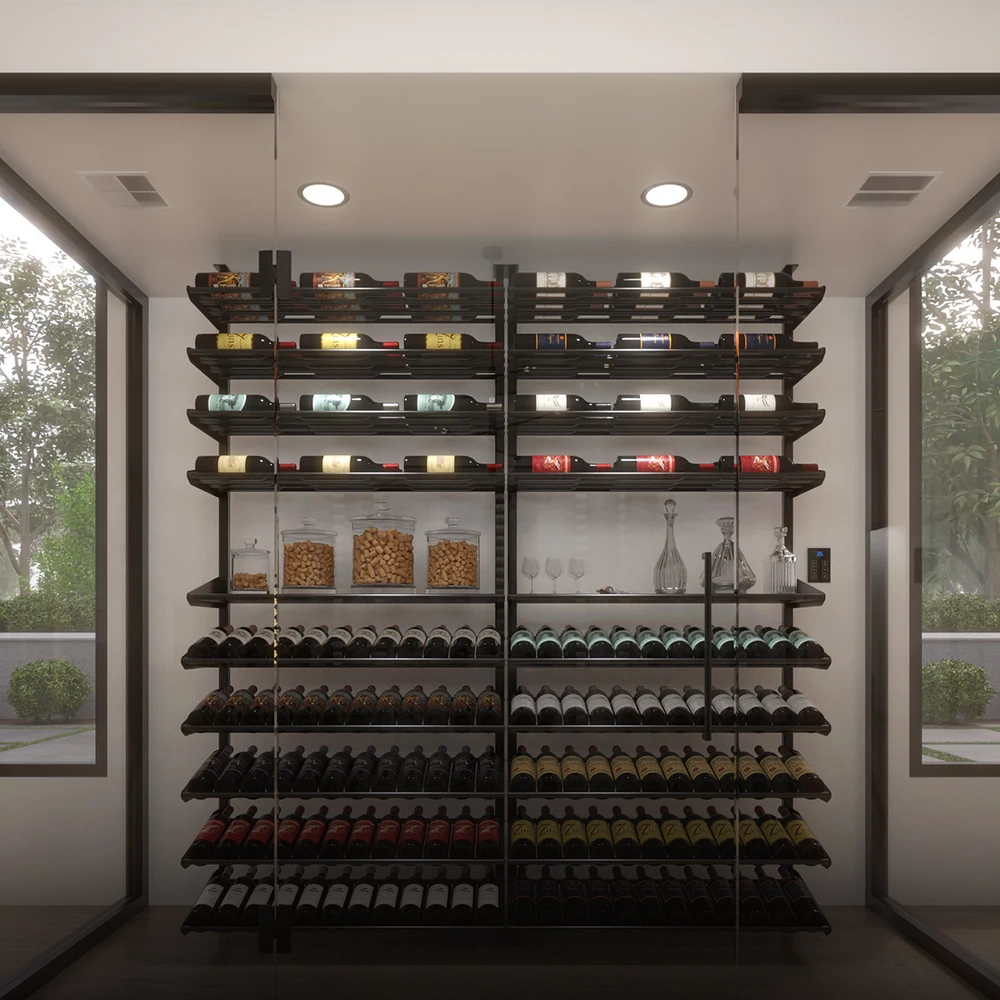
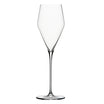
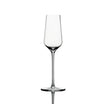
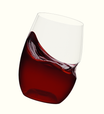
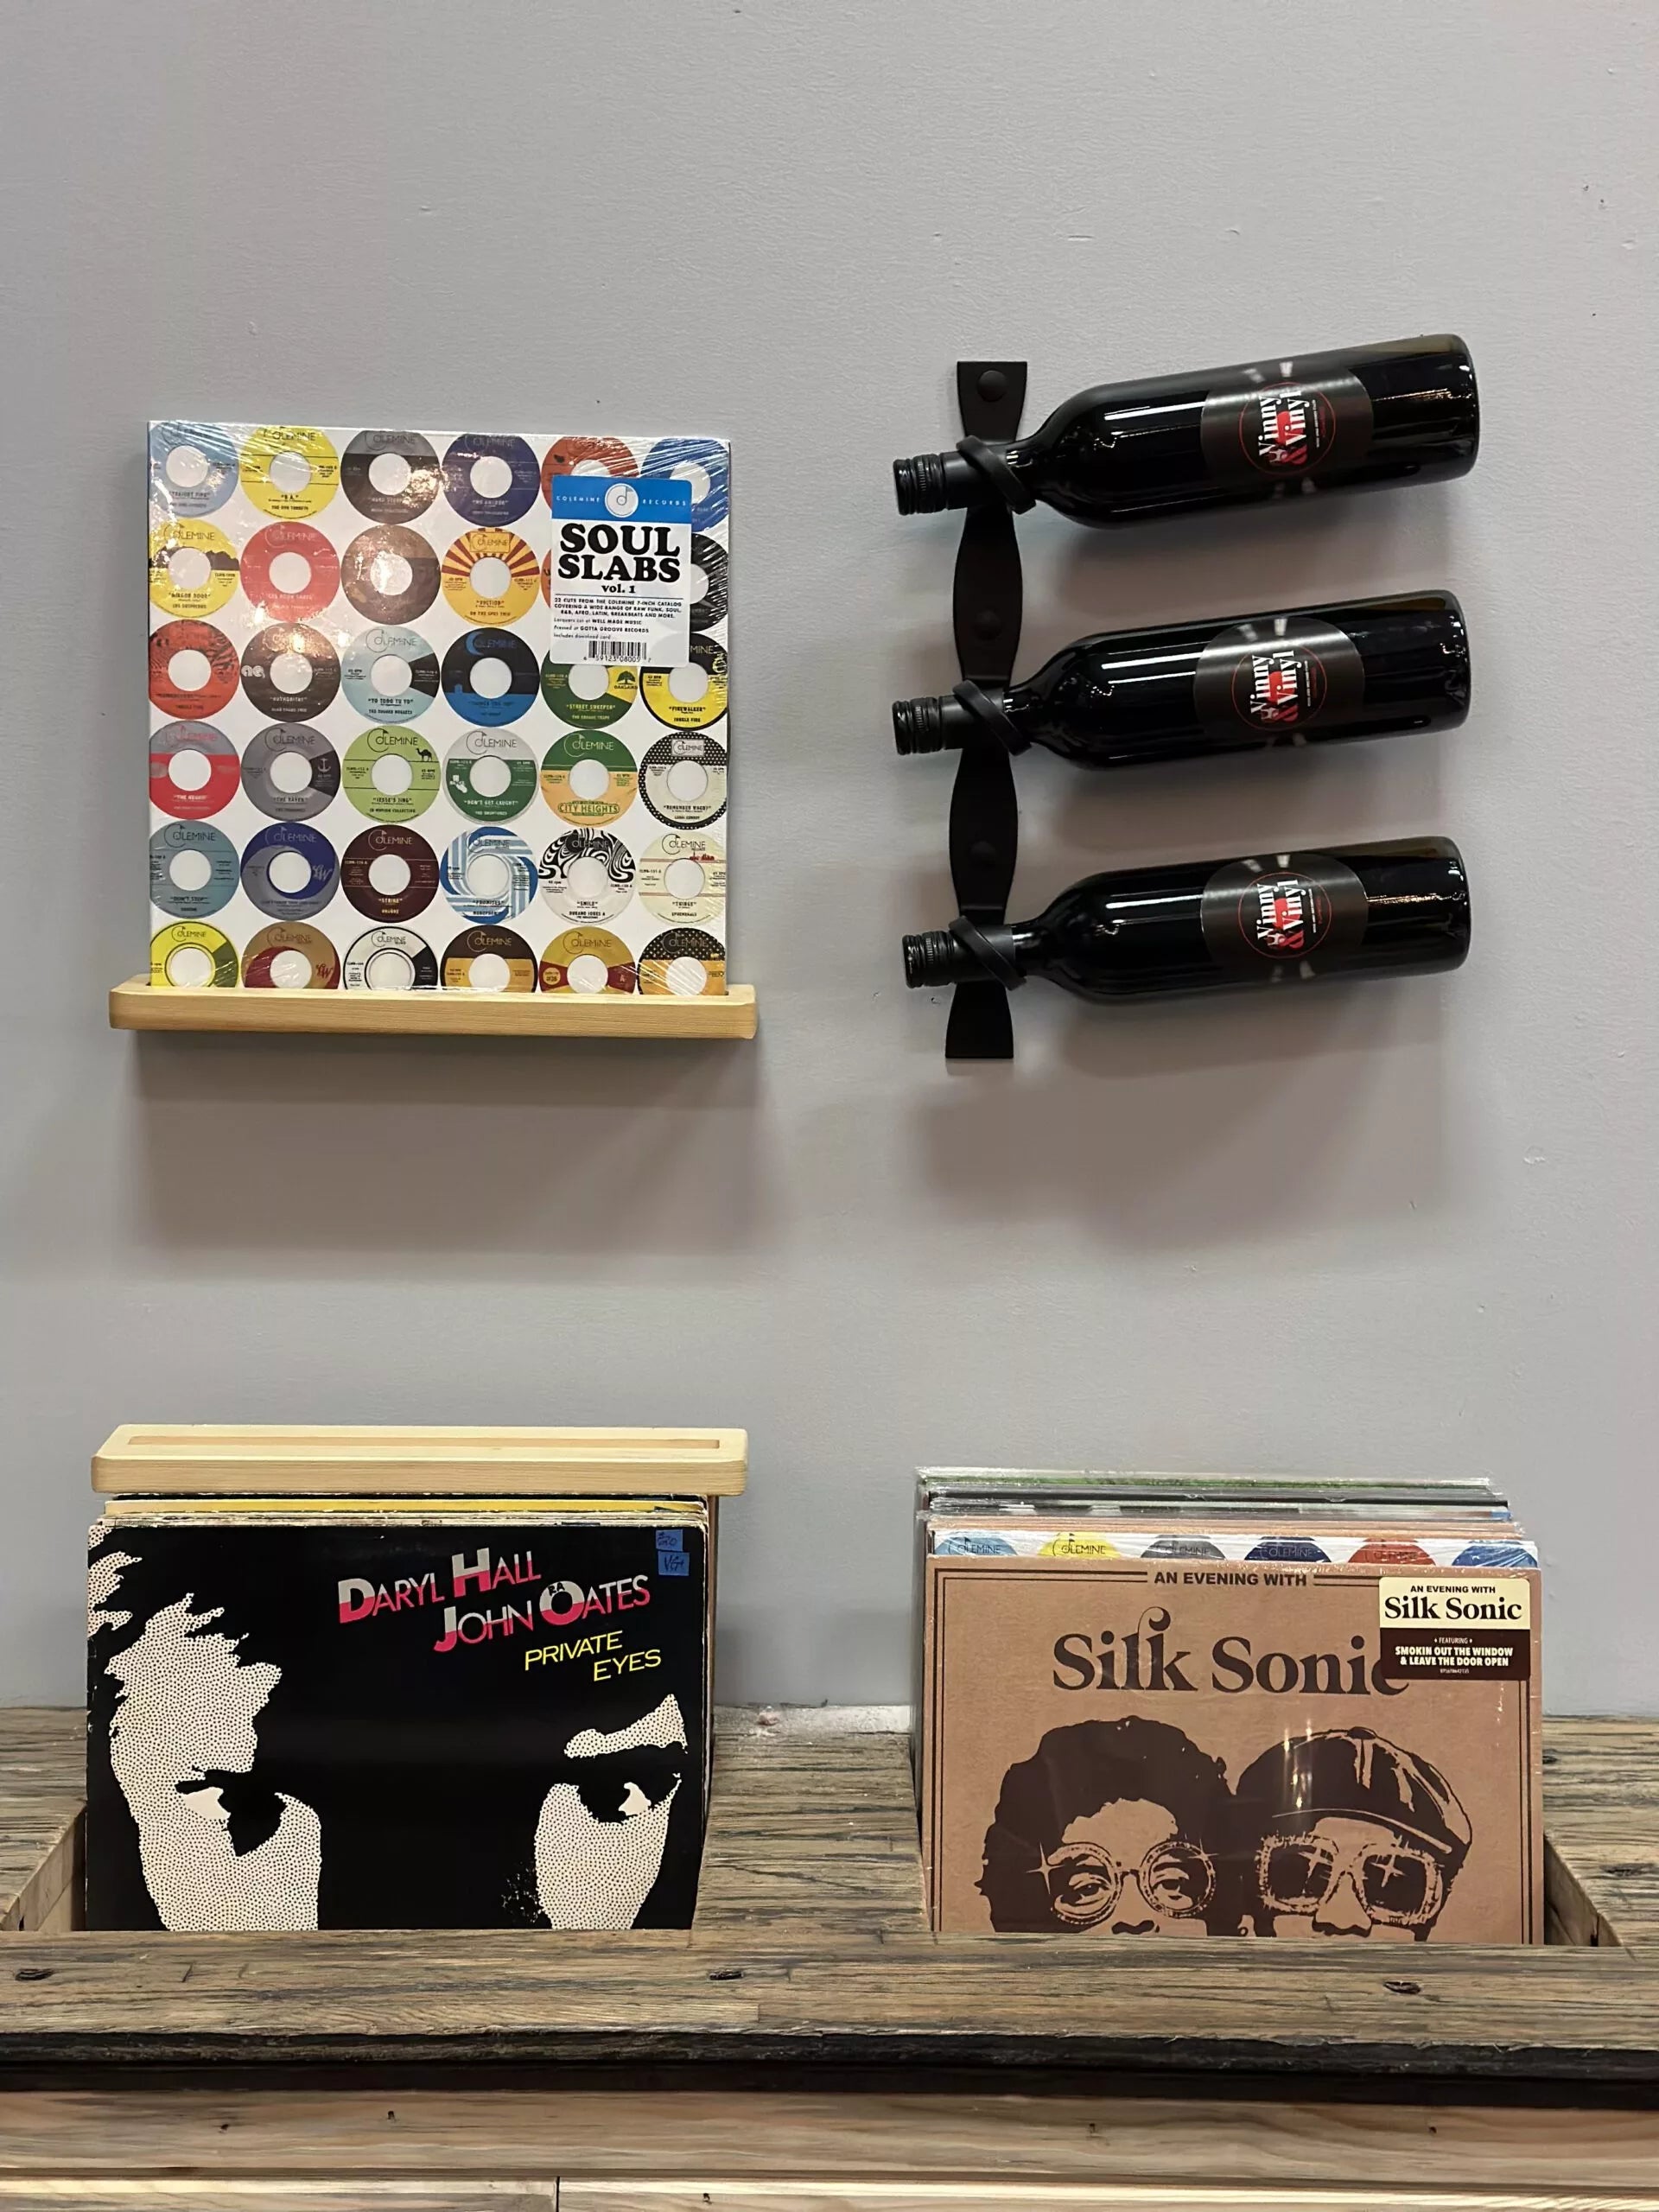
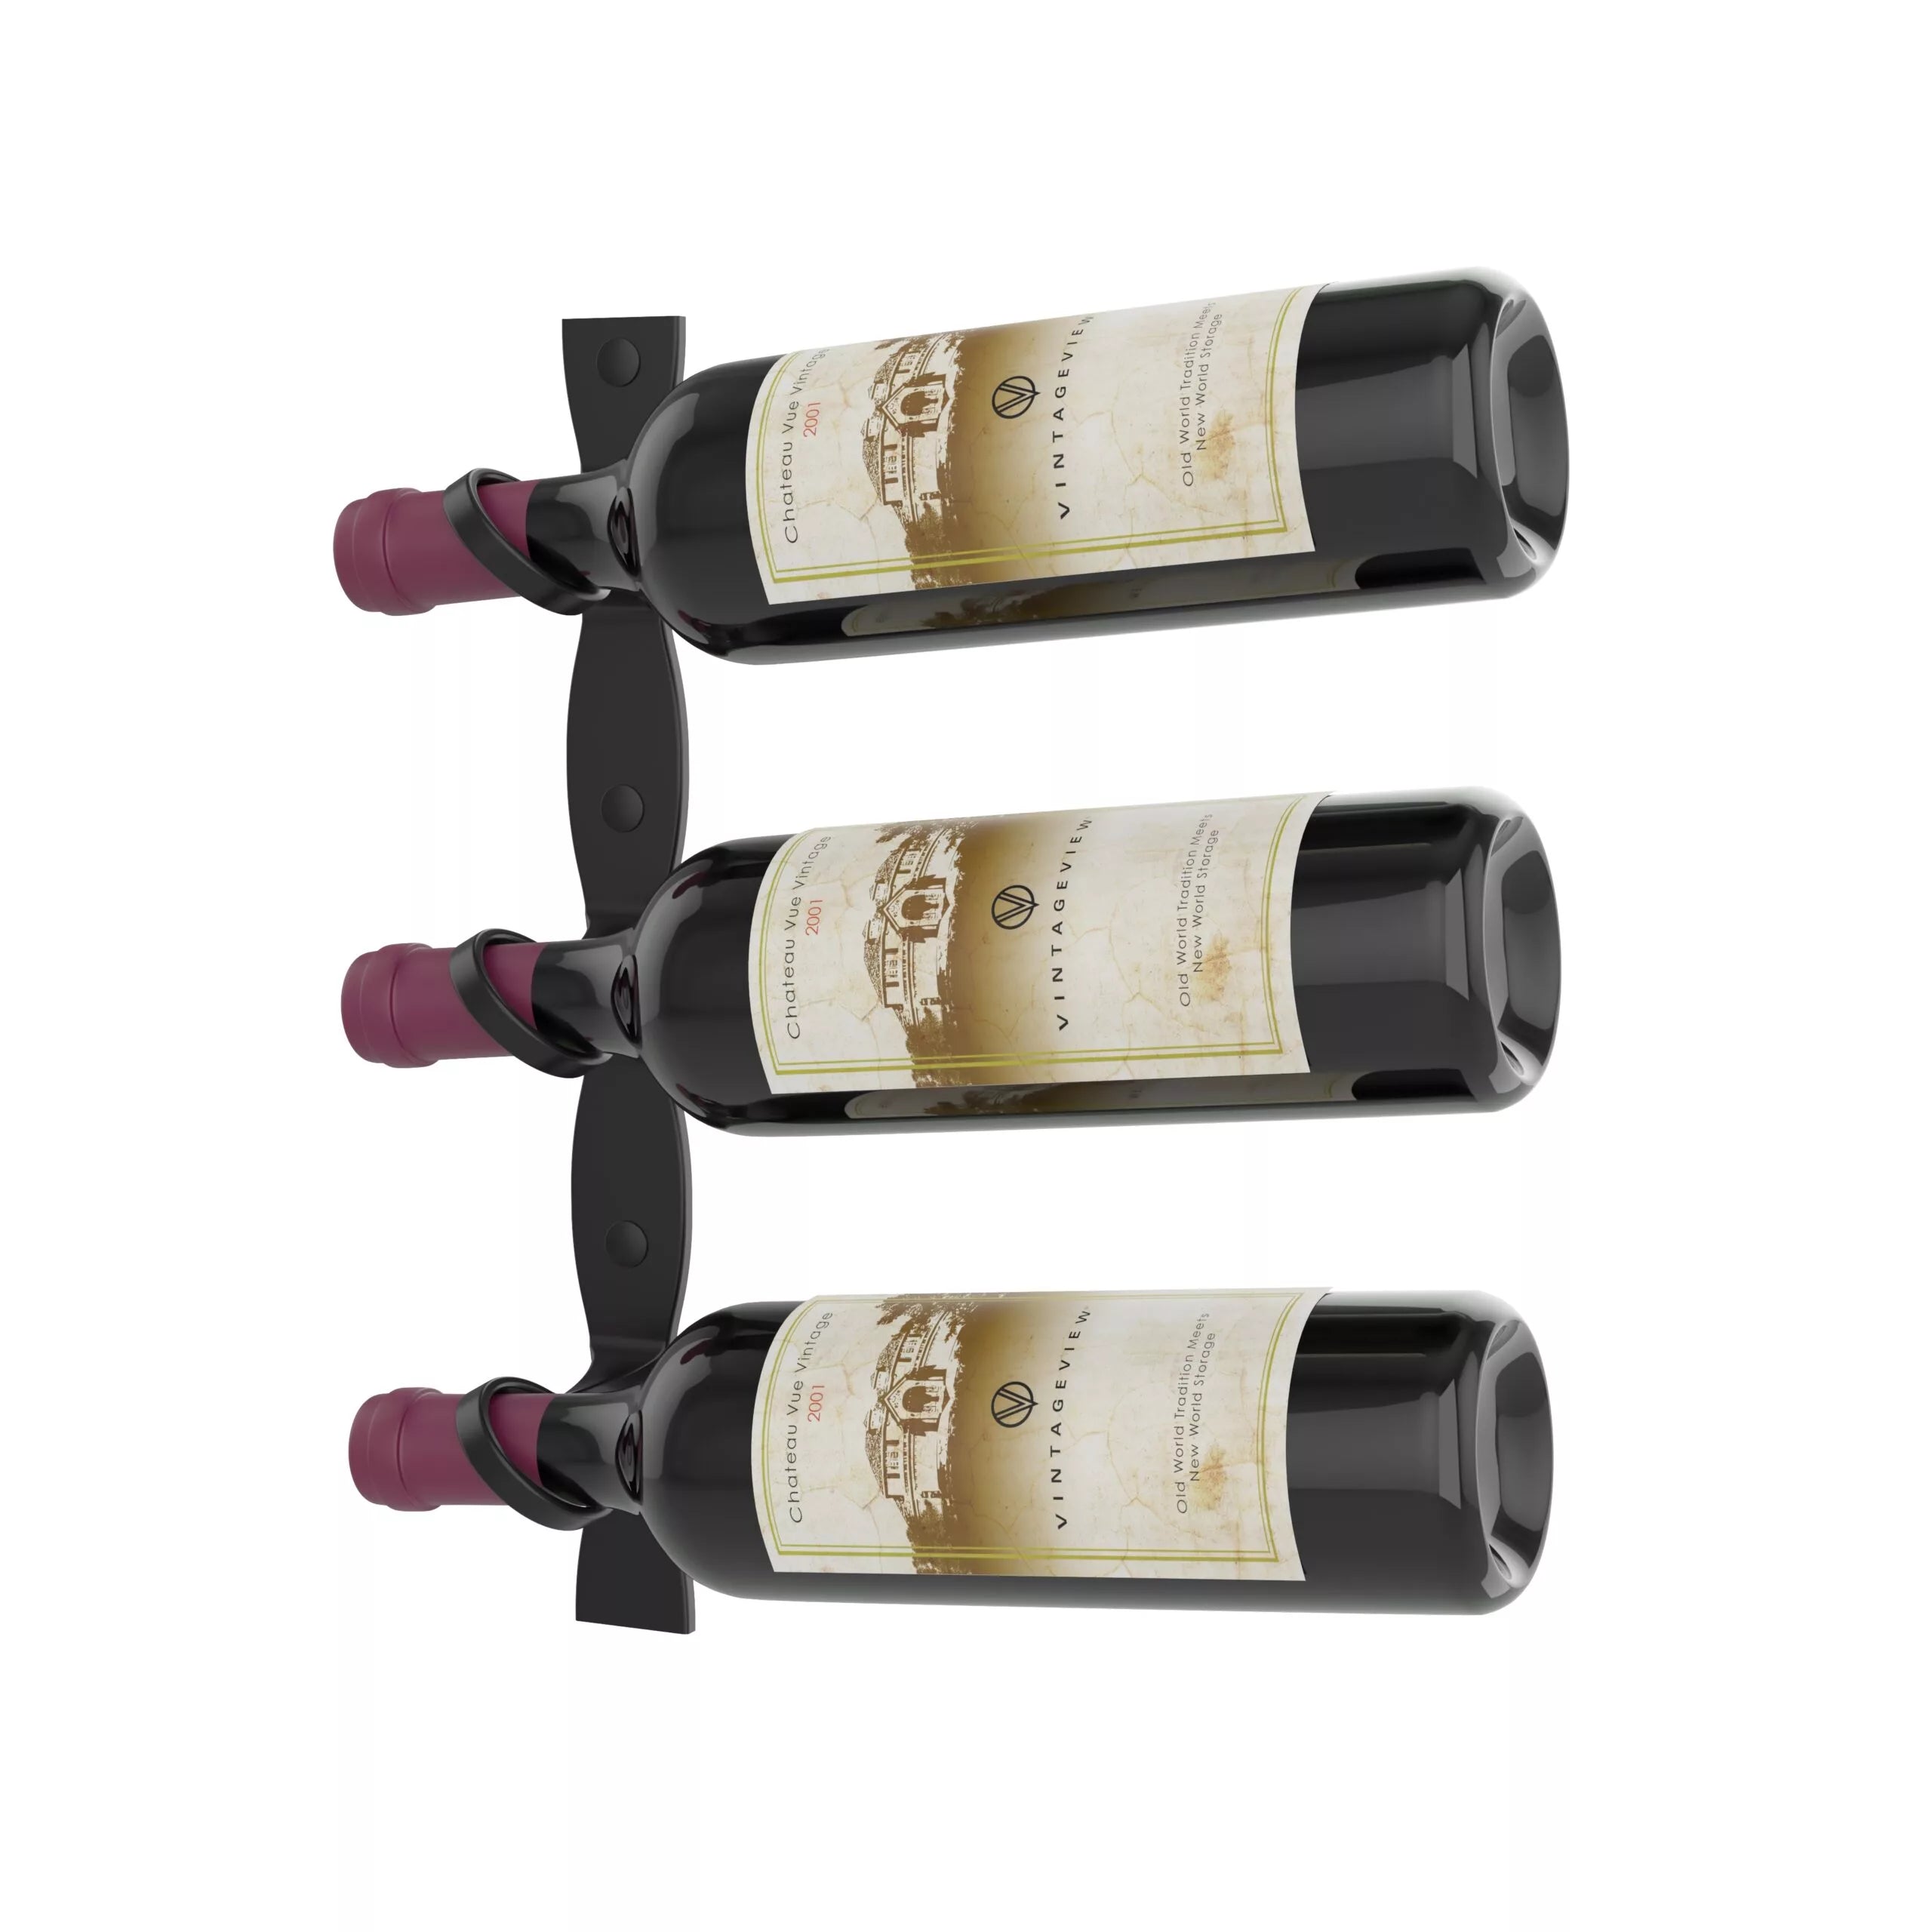
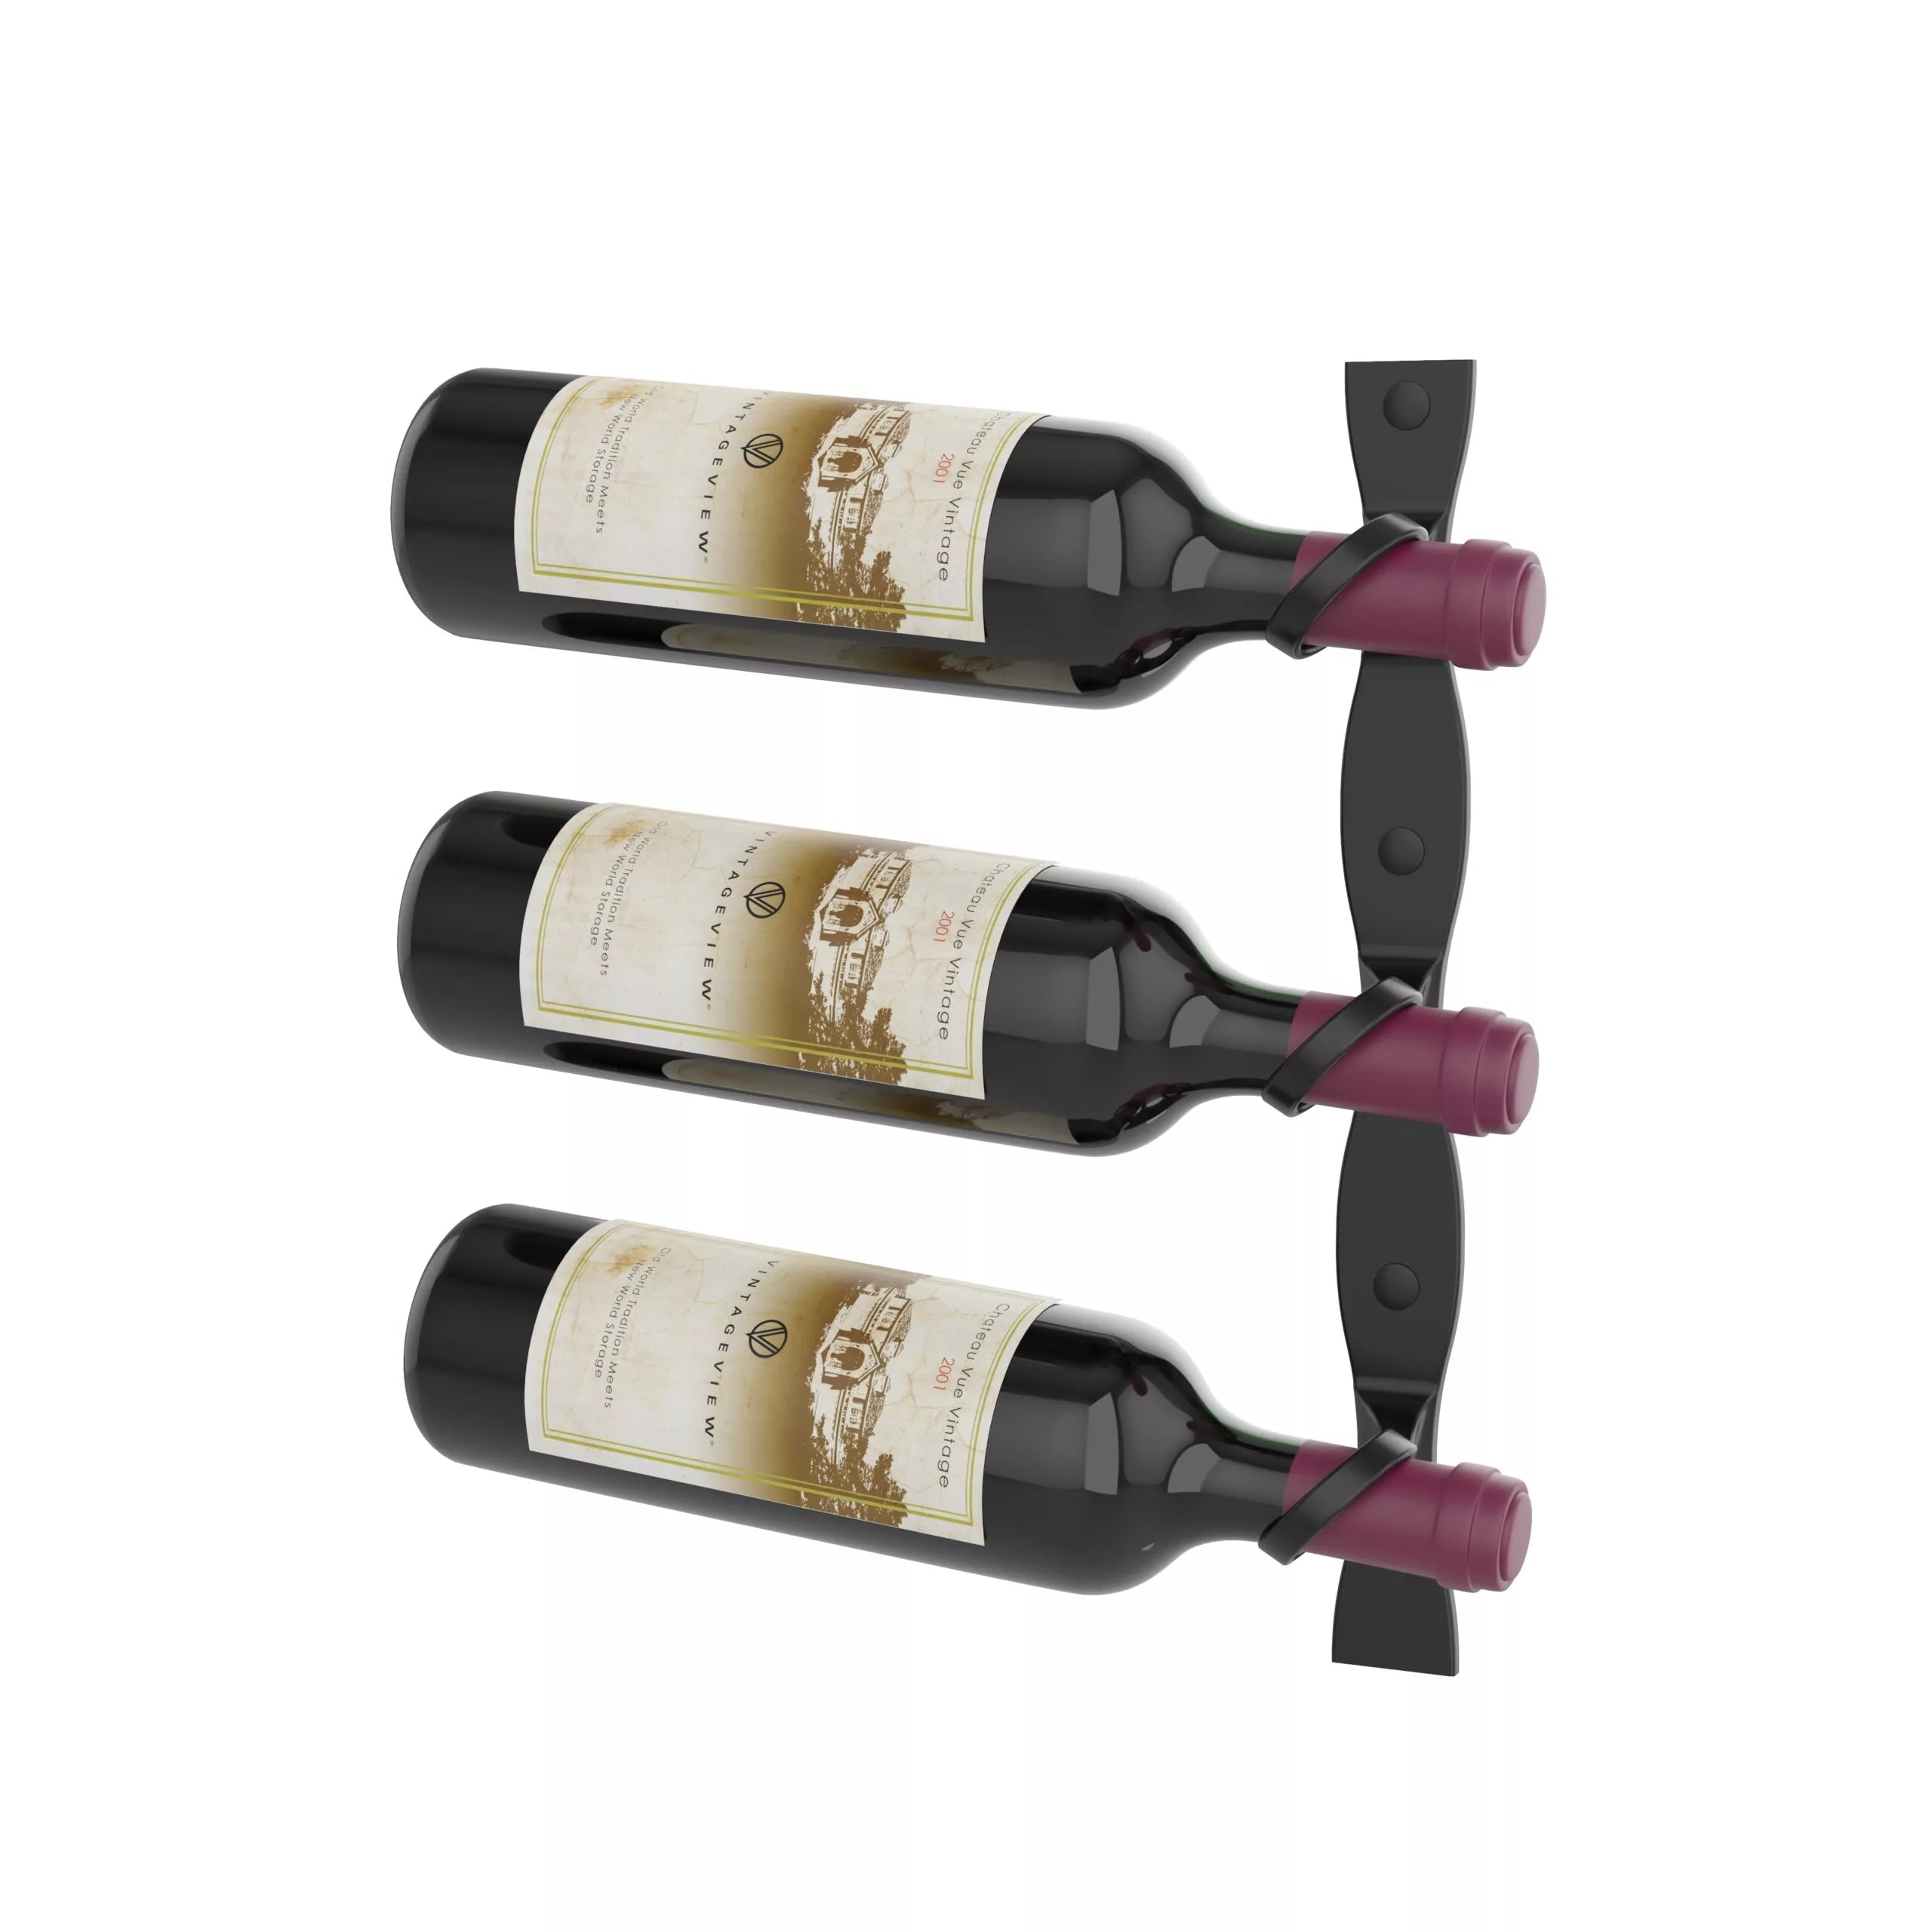
Helix Single 15 Minimalist Wall-Mounted Wine Rack turns three of your favourite bottles into modern wall art. It's sweeping steel/aluminium arc grips each neck so the bottle appears to float, whether it’s a standard 750 ml, a Champagne fizz, or an imposing magnum. At just 3 ¼ in (8.5 cm) deep, it slips behind bar counters, stair landings, or the narrowest pantry walls, yet its matte-black curves lend a gallery-like focal point to home cellars and tasting rooms alike.
Part of VintageView’s forward-thinking R Series, the Helix re-imagines the French riddling rack with left- or right-hand orientations that can be mixed, mirrored, and stacked into captivating patterns. Combine several Singles to frame a wet-bar backsplash, or integrate them into taller Dual panels for commercial feature walls—the included wood/drywall hardware makes installation straightforward, and the lifetime warranty lets you display prized vintages with confidence.
Pair your racking with the Helix Foil Guard (sold separately) for added protection and a polished look.
Additional Information
Crafted from a robust steel–aluminium alloy, the Helix Single 15 supports up to three full magnums without flex. Powder-coated finishes resist scratches and cellar humidity, while hidden fasteners keep the emphasis on bottle labels. Two standard heights (5 in and 15 in) and two depths let designers create custom geometries; VintageView’s CAD team can assist with large projects.
Key Features
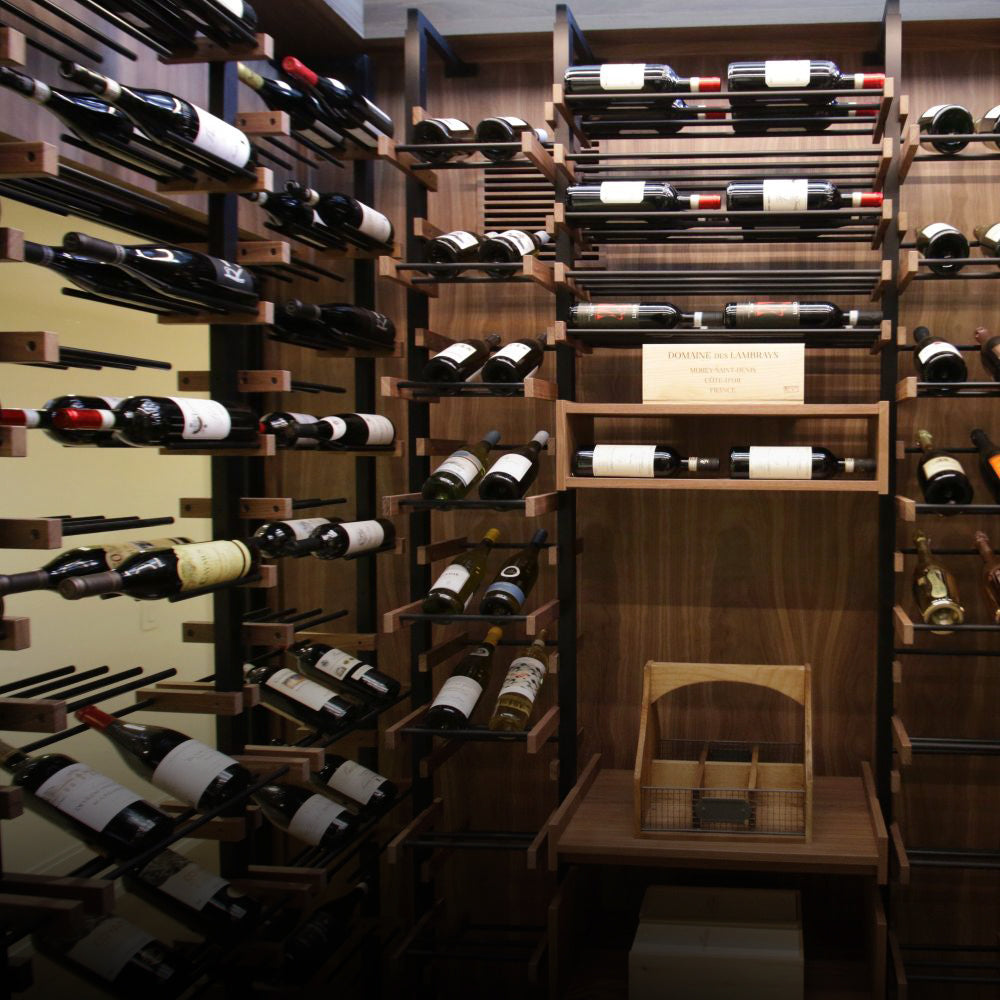
- Floating display presents 3 bottles labeled forward as if suspended in mid-air
- Universal cradle fits 750 ml, Champagne, and 1.5 L formats in either left- or right-hand orientation
- Ultra-slim profile: only 3 ¼ in (8.5 cm) from wall—ideal for narrow passages and under-cabinet spaces
- Modular R Series integrates with Helix Single/Dual panels and Wine Post systems for limitless layouts
- Commercial-grade durability: powder-coated steel/aluminium, lifetime warranty, hardware for wood or drywall included
Specifications
- Overall dimensions: 13 in W × 15 in H × 3 ¼ in D (33 × 38 × 8.5 cm)
- Bottle capacity: 3 (any mix of 750 ml, Champagne, or 1.5 L)
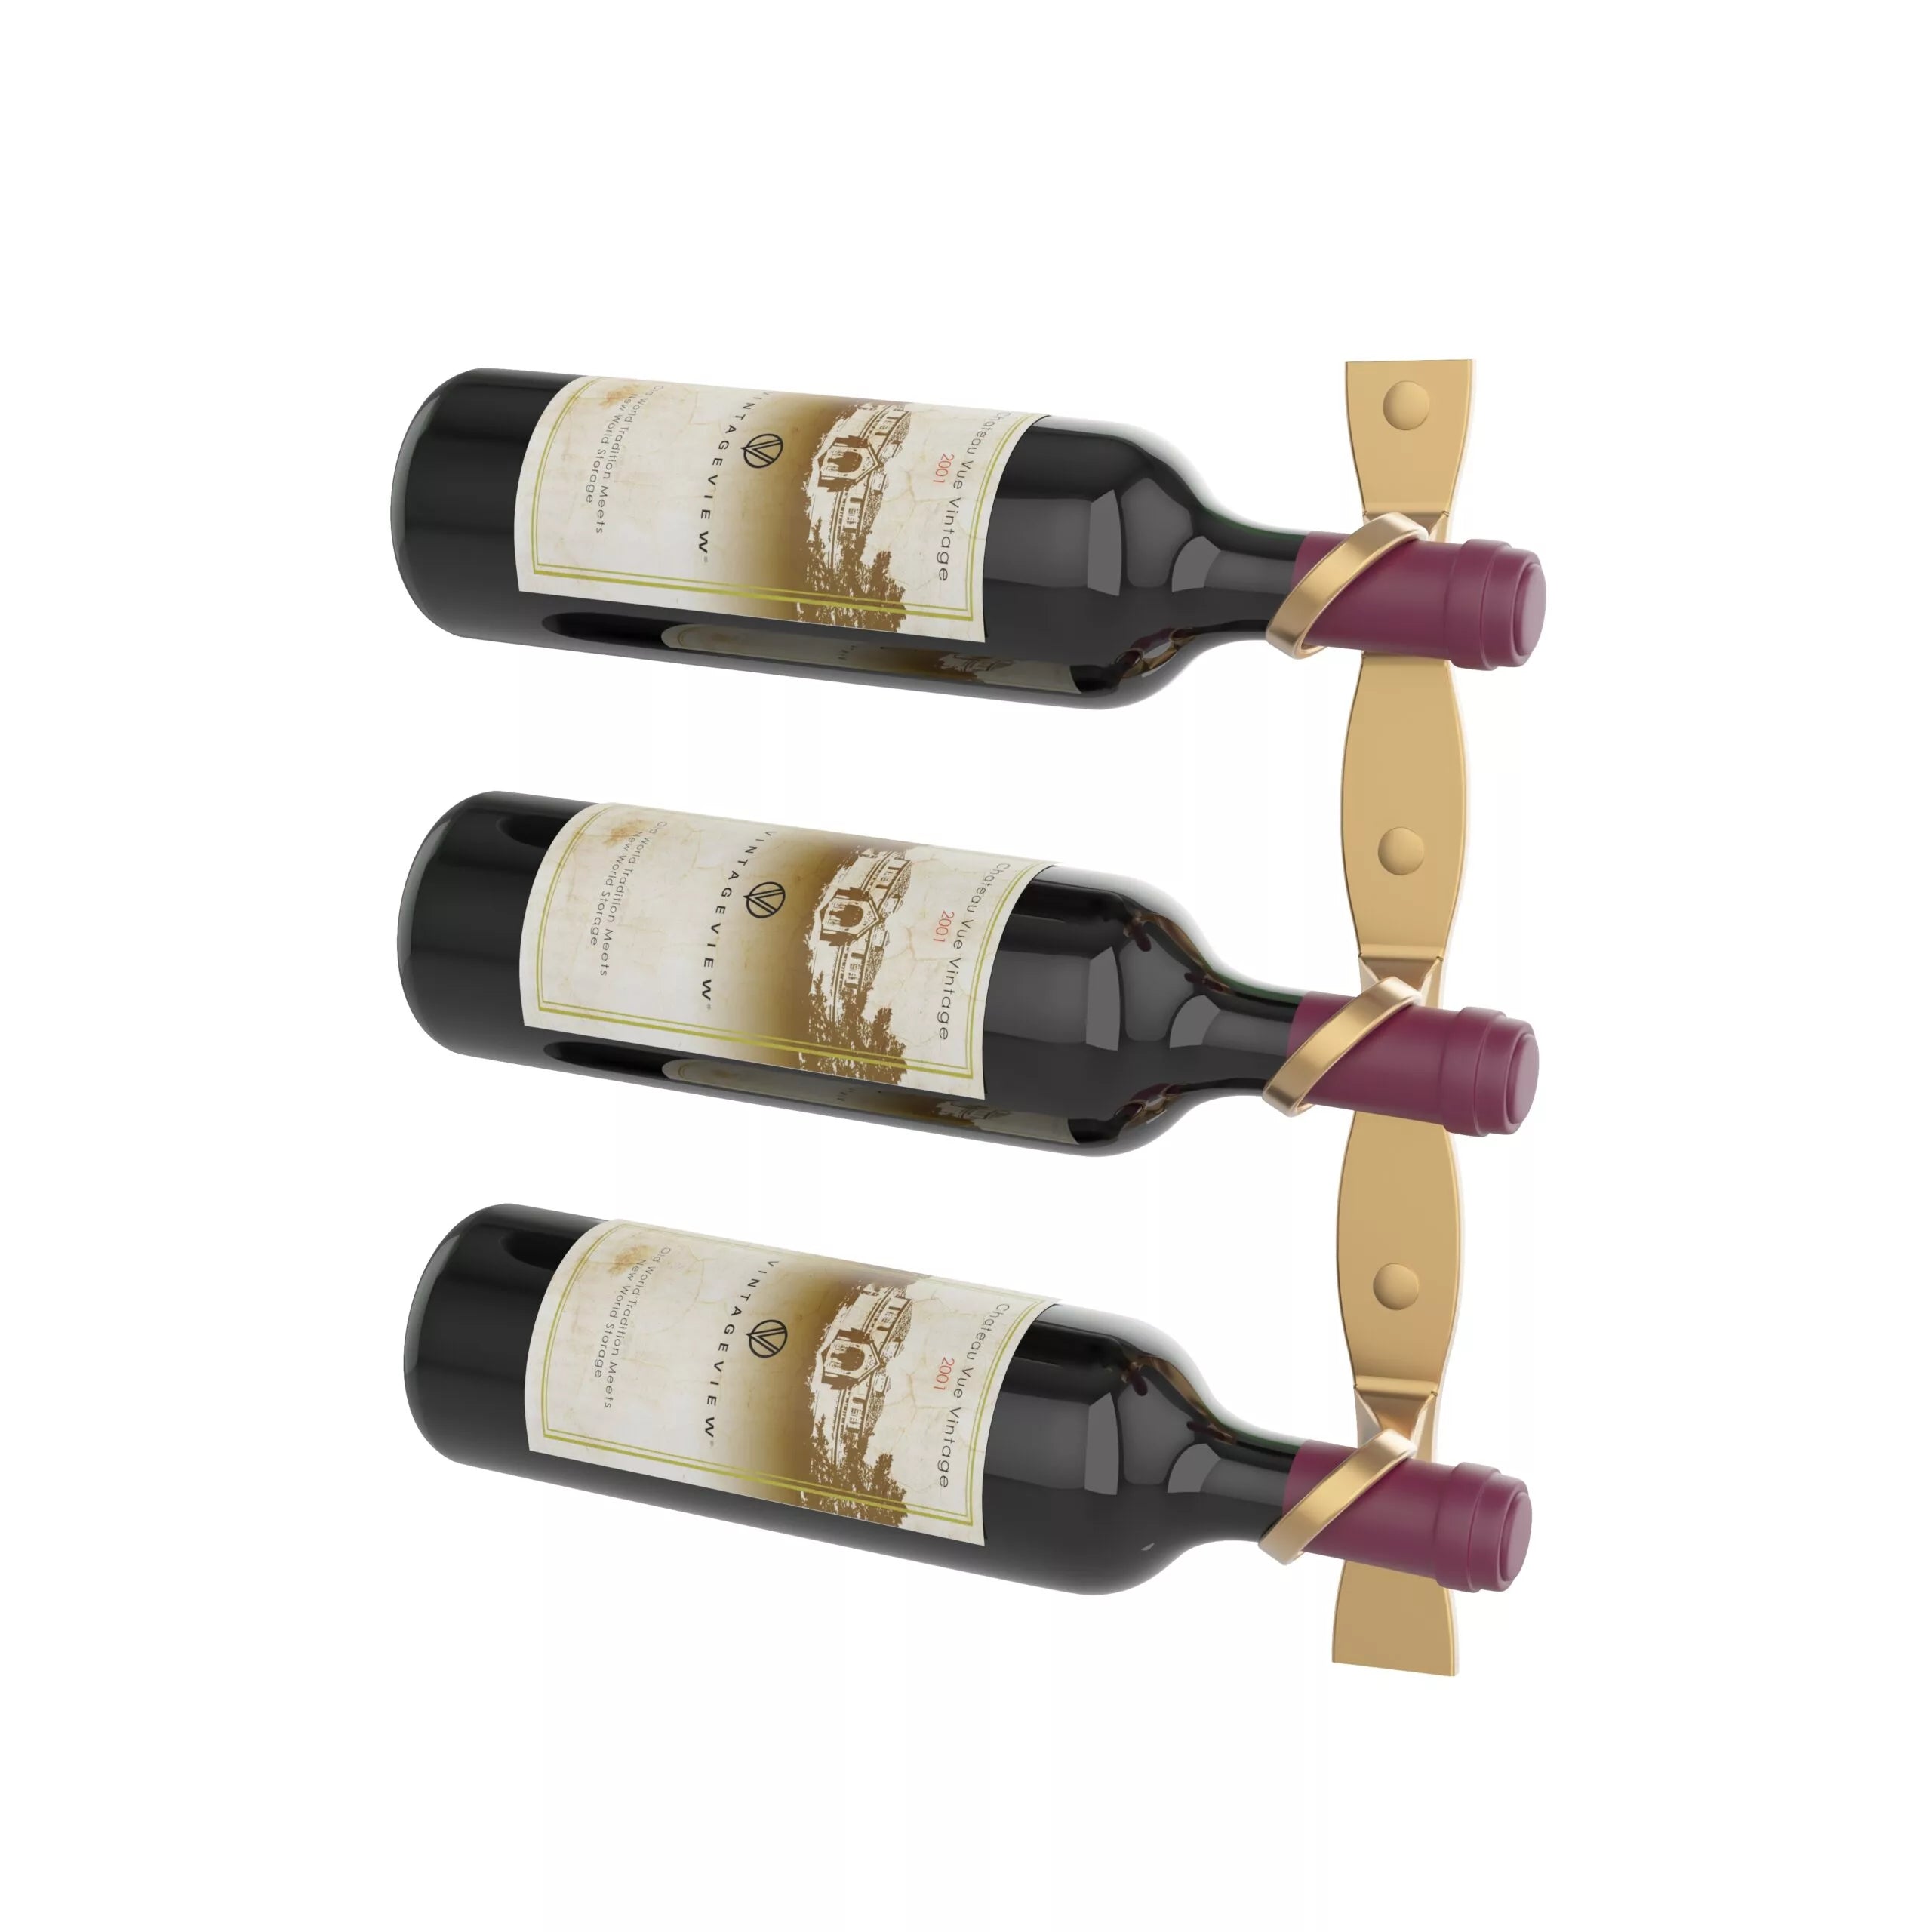
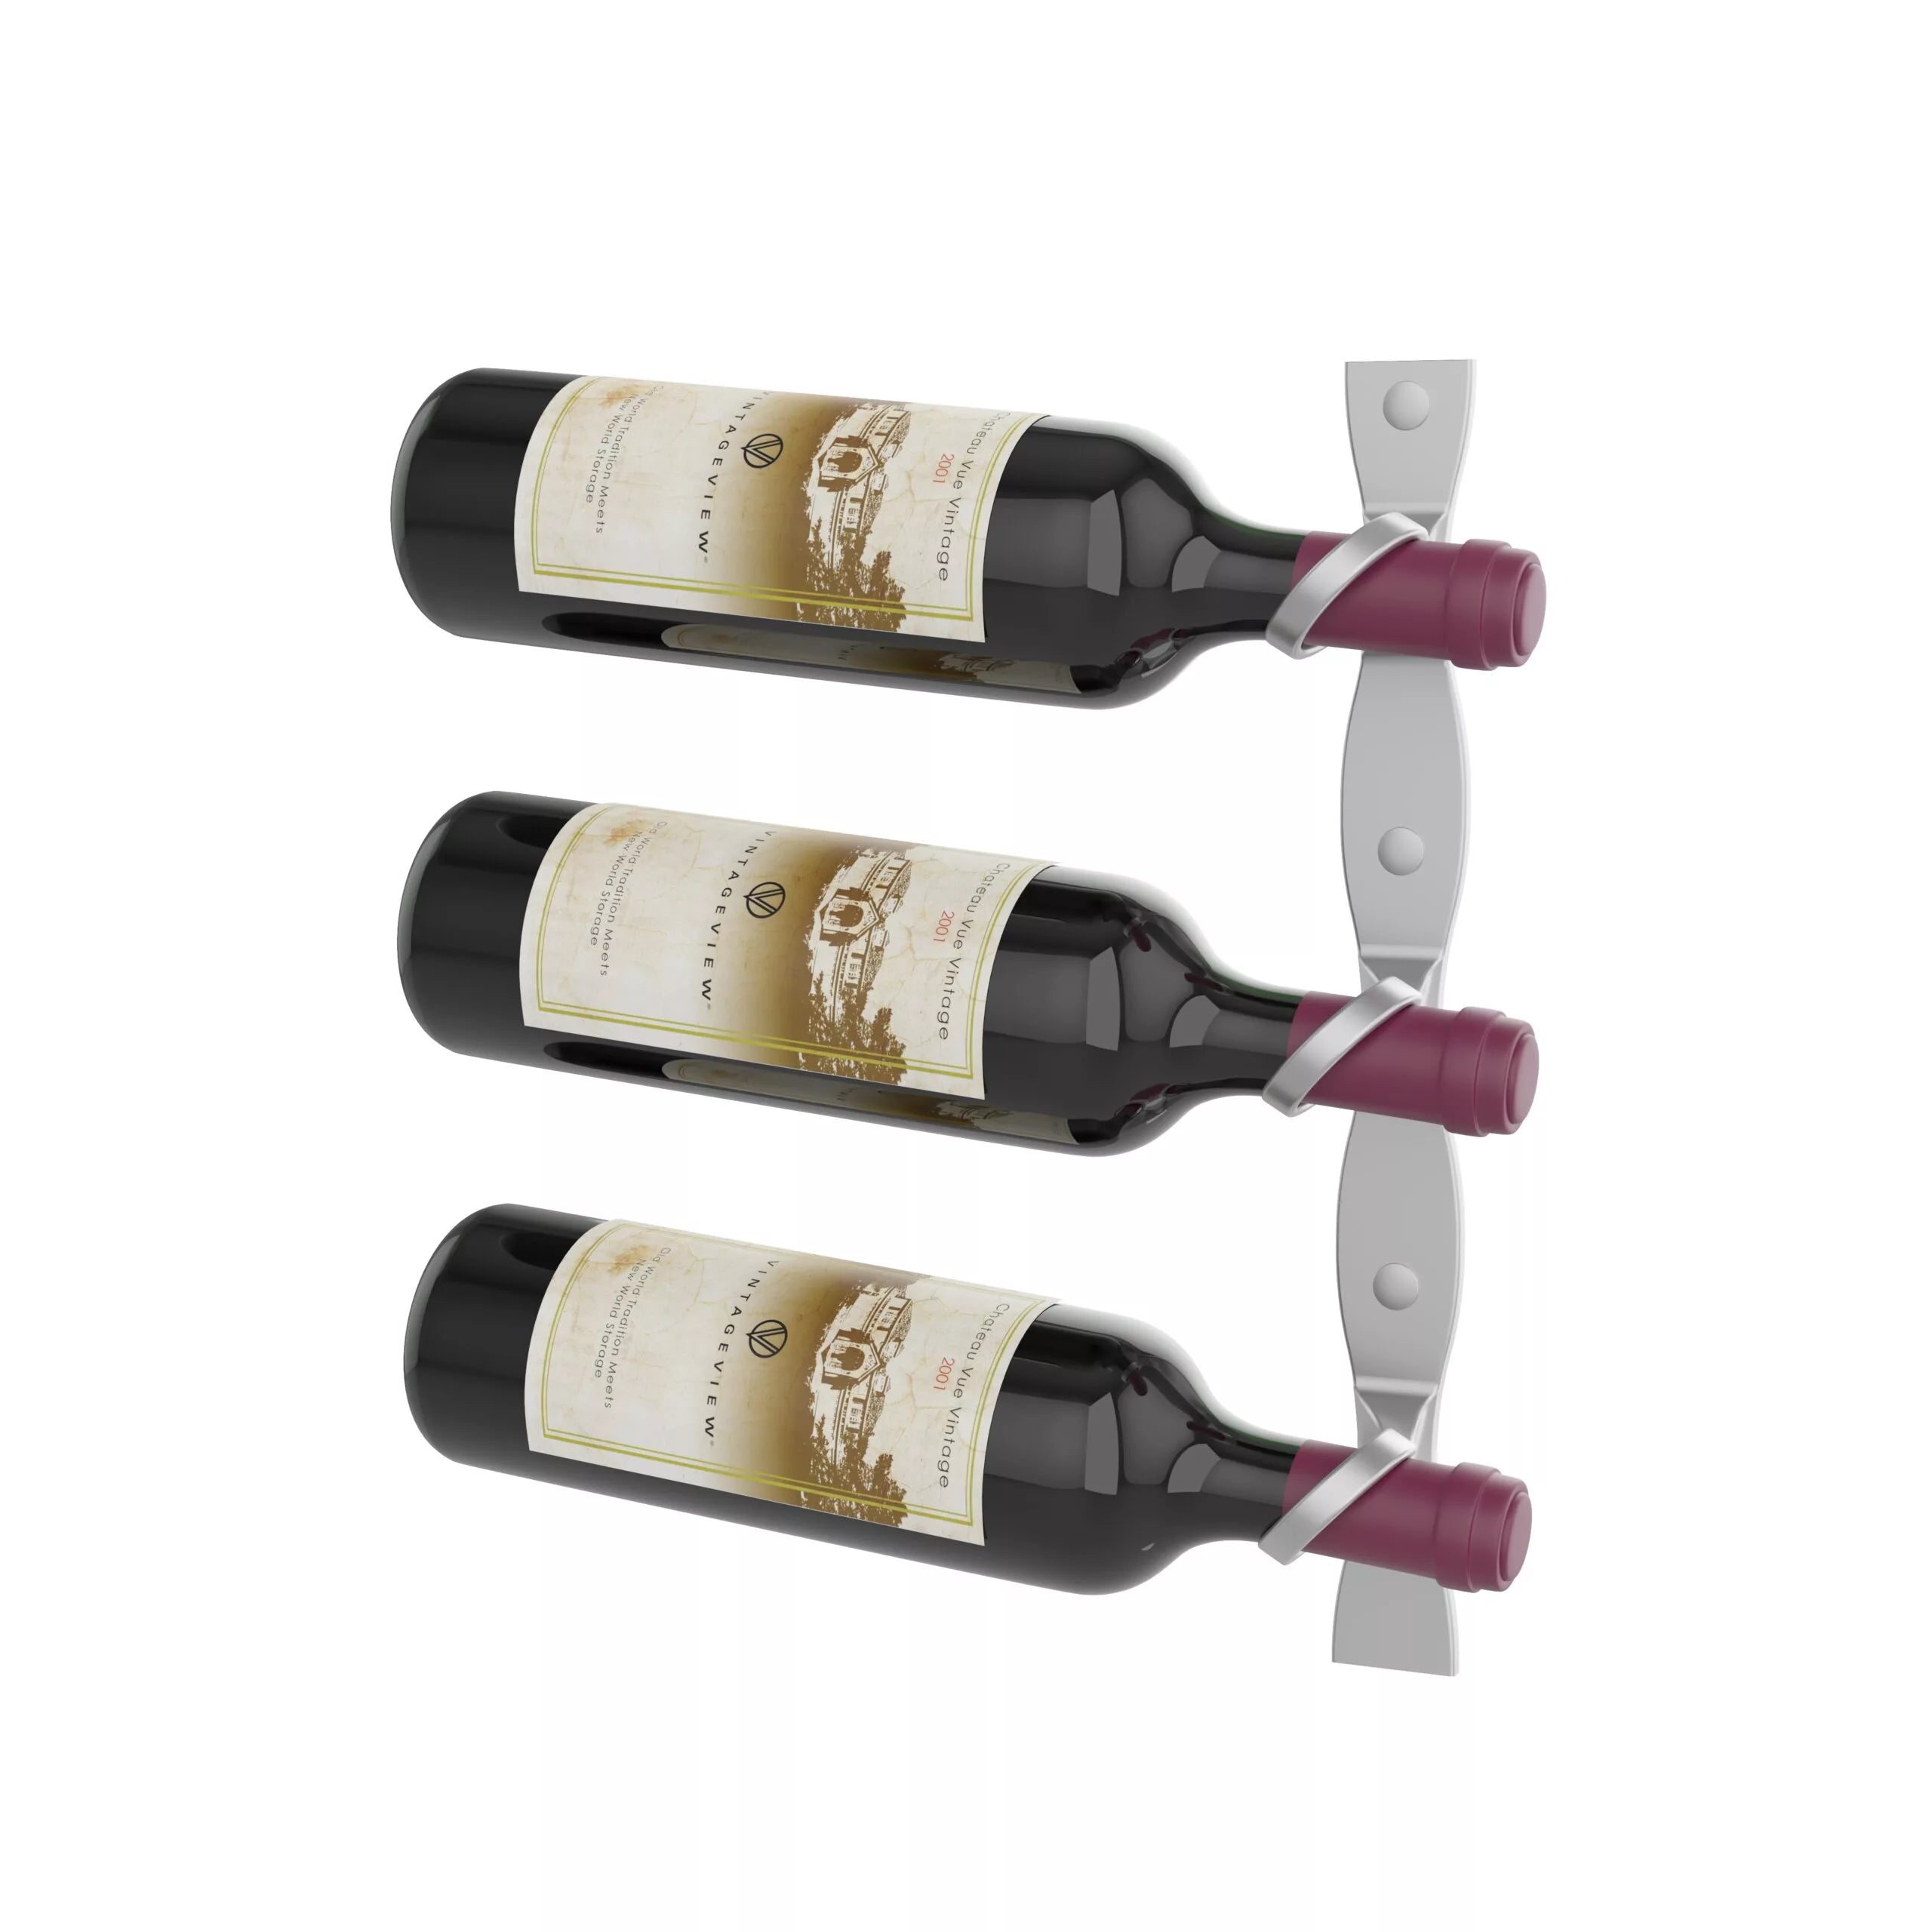
- Material: steel/aluminium alloy, matte black (golden bronze luxe optional)
- Mounting: direct to framed drywall or wood studs; all fasteners supplied
- Orientation options: Left or Right (order individually to create mirrored pairs)
- Series compatibility: R Series Helix Single 5, Dual 5, Dual 15, and Post systems
- Weight (unloaded): 1.8 lb | 0.8 kg
- Warranty: limited lifetime (VintageView)
In the box
Comes complete steel and aluminum wine rack, easy-to-follow installation instructions, and hardware to mount to wood or drywall surfaces.
customize by modularity
With (2) standard heights, (2) bottle depths, and a choice of bottle direction, custom results come as easily as working with our in-house CAD team.
durable material & distinct finishes
Built from a high-quality steel/aluminum alloy, backed by a lifetime warranty, and offered with a choice of matte black and golden bronze luxe finishes.
Shipping Information
Rosehill Reserves the right to contact you should shipping charges end up substantially higher than advertised on our website. You will have an opportunity to cancel your order at that time.
For CAD customers - Shipping Charges for importation, brokerage, duties are extra and might be charged extra, however you will be contacted by a Rosehill Customer Service Representative to discuss it further.
PRODUCT MANUALS
Get in touch with our design specialists to start building your custom wine cellar today.