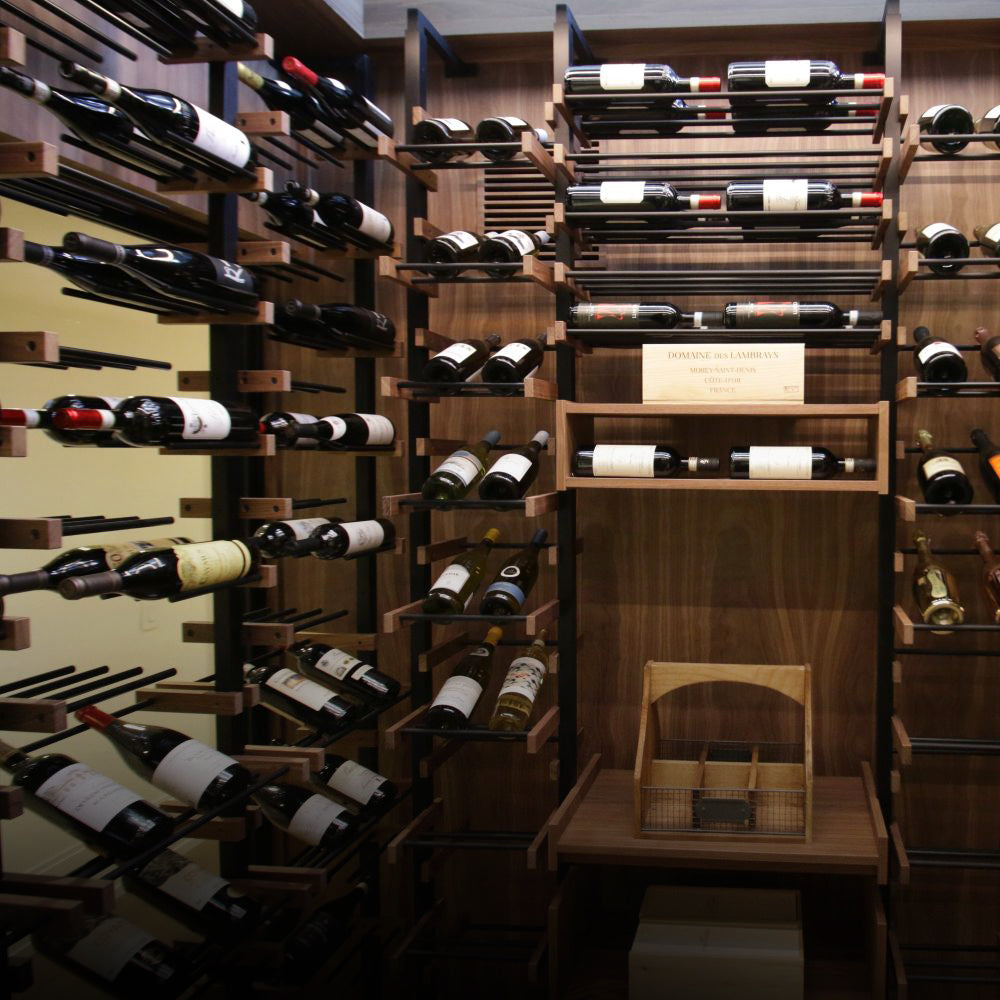






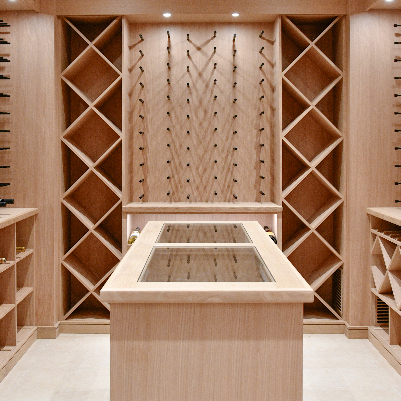
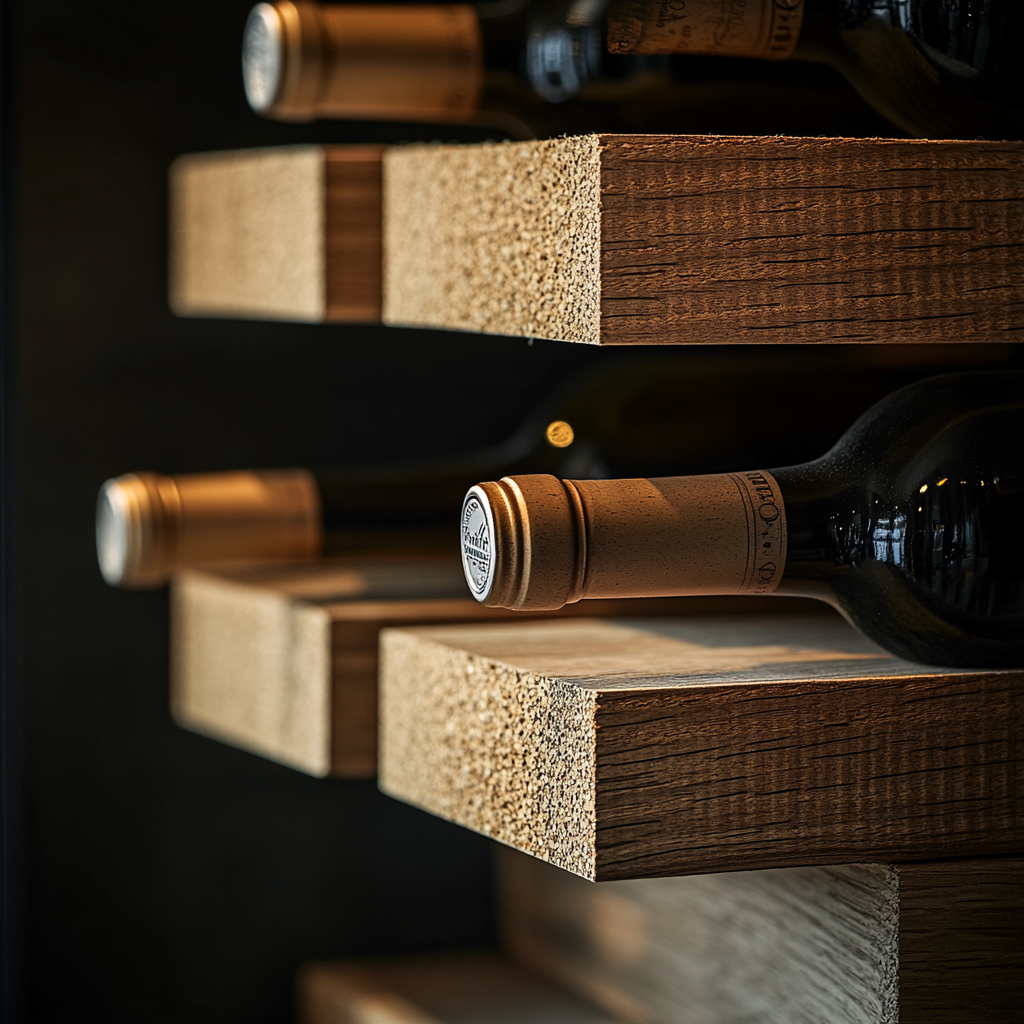











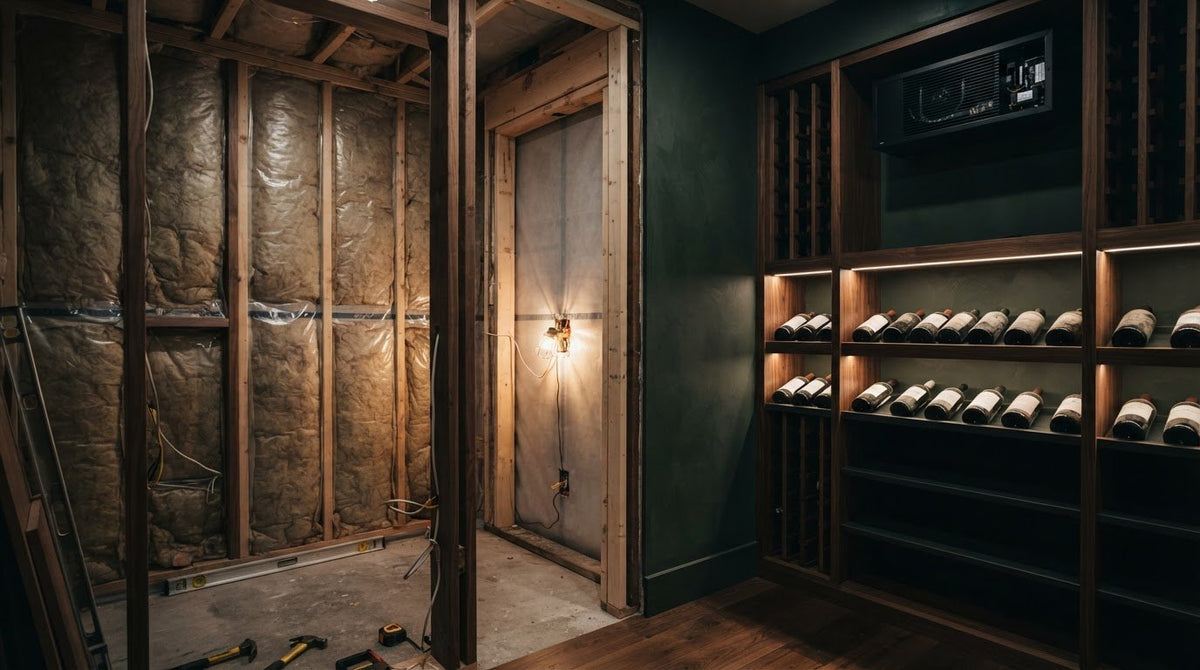
A DIY wine room is possible, but its framing must work with the insulation, vapor control, door seal, and cooling equipment. Framing choices that restrict ventilation, leave openings unsealed, or increase the cooling system’s workload can affect system performance. Plan the room before framing, HVAC, and electrical work are complete so these elements can be coordinated before the walls are closed.
Building the framing yourself gives you control over the room’s layout, but the structure also affects air loss, condensation, and equipment access. This guide explains how DIY wine room framing mistakes can put a cooling warranty at risk, and which details to address before drywall goes up. Consider the door, vapor barrier, insulation, and cooling-unit ventilation so you can make informed decisions as the room takes shape.
Key Takeaways
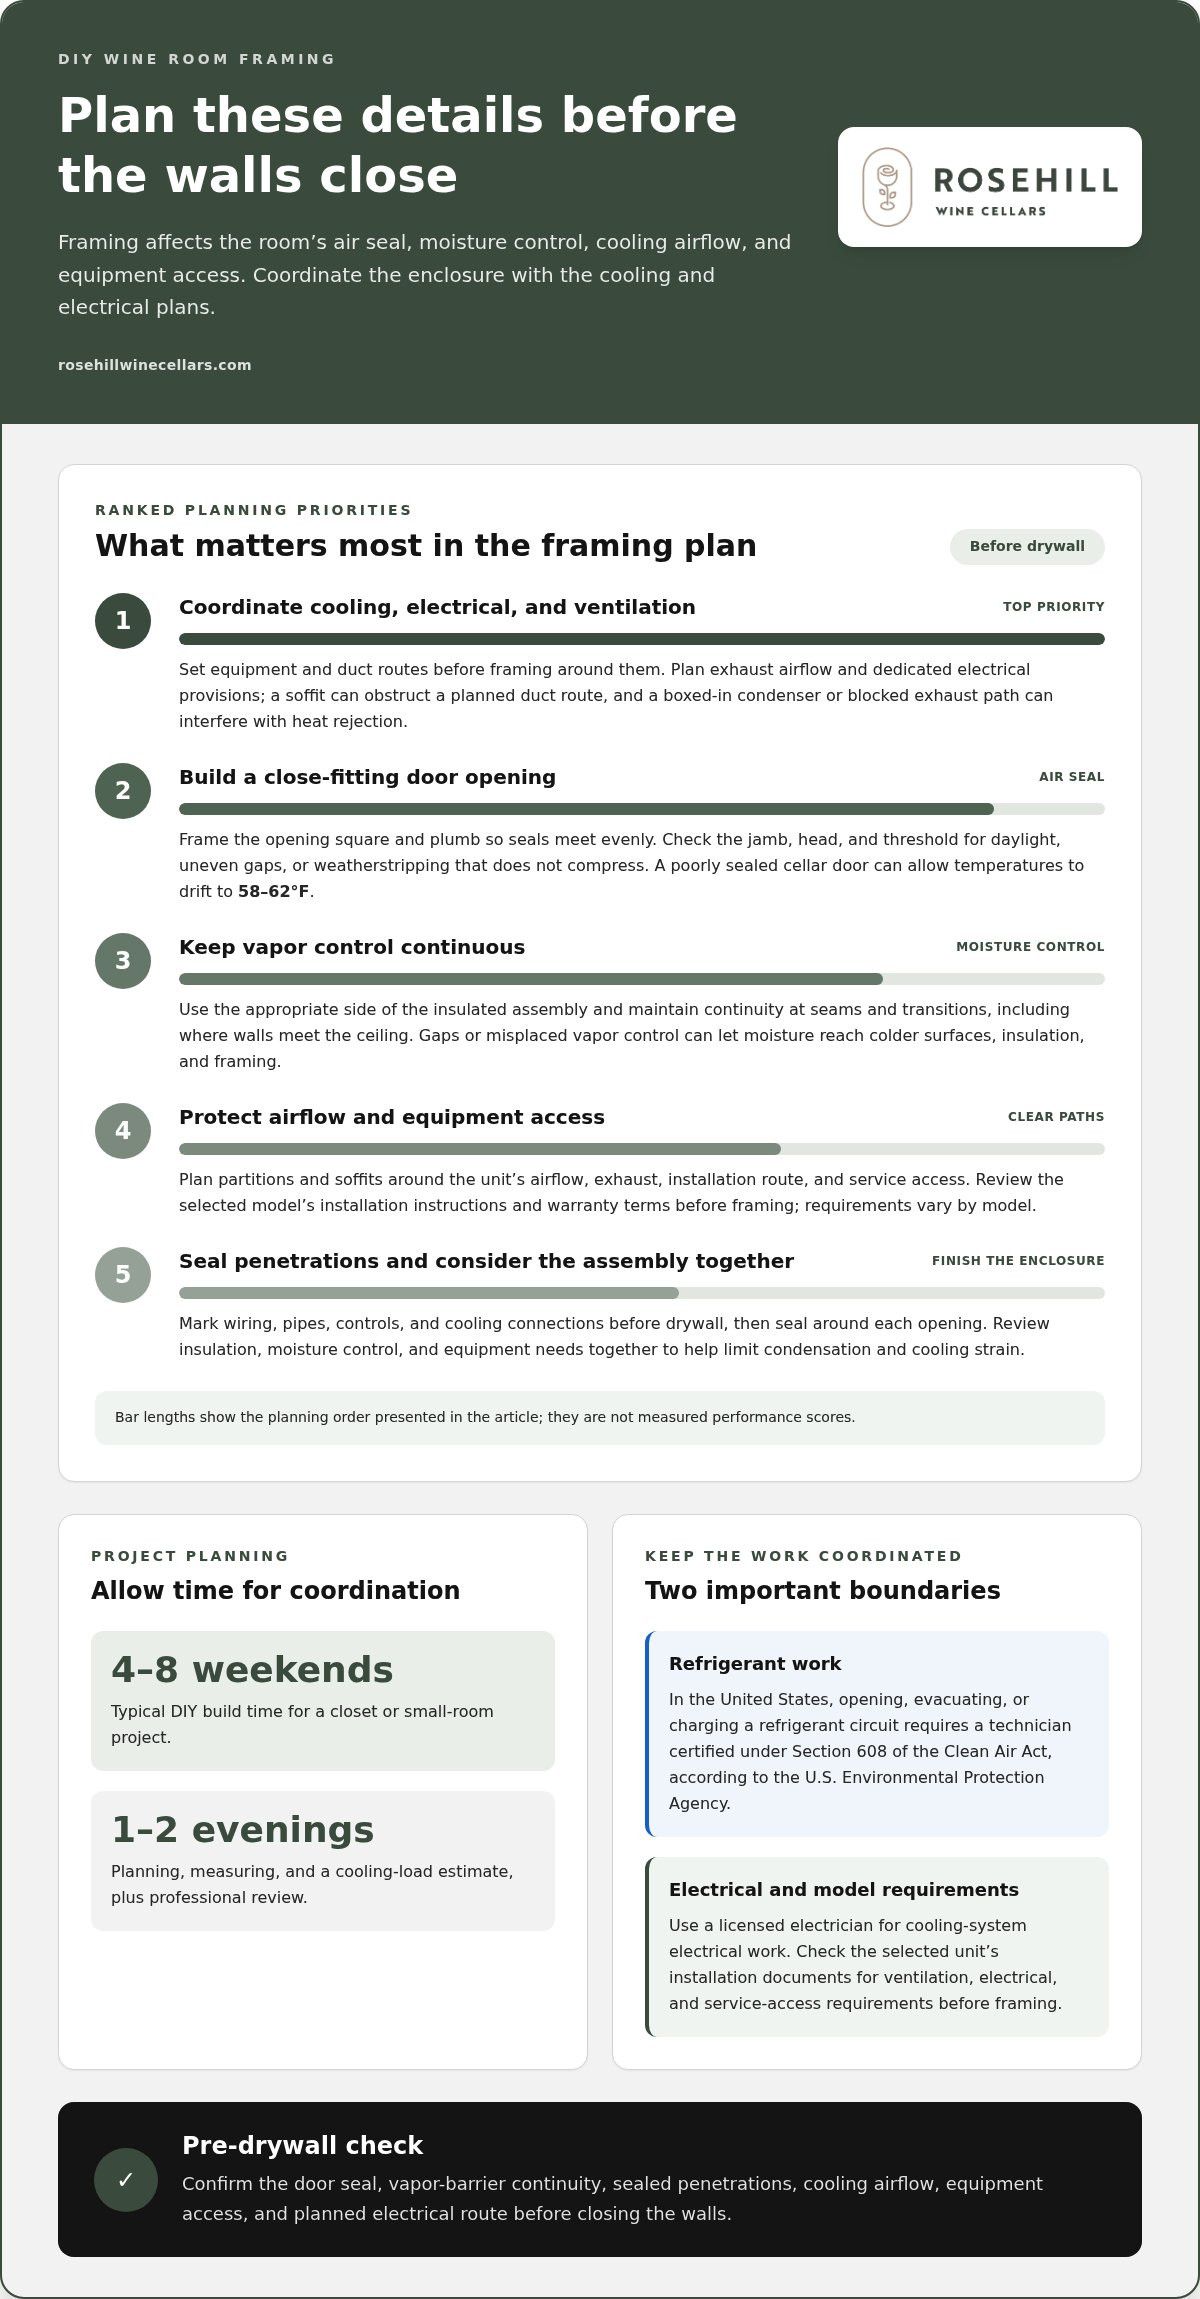
- Coordinate framing with cooling, electrical, and ventilation plans before closing the walls to reduce disruptive rework.
- Build the door opening for a close, consistent seal so conditioned air stays inside the wine room.
- Keep the vapor barrier continuous and seal wall penetrations to help limit moisture reaching insulation and framing.
- Plan partitions and soffits around the cooling equipment’s airflow and access needs rather than boxing them in.
- Review insulation, moisture control, and equipment requirements together to reduce the risk of condensation and cooling strain.
1. Can You Really Build a Wine Cellar Yourself?
Yes, you can handle much of a wine cellar’s framing yourself, but coordinate it with the cooling and electrical plans. The structure determines where insulation, vapor control, equipment, and wiring will fit. Careful framing can support reliable cooling; a soffit built across a planned duct route can obstruct installation. Treat framing as part of a coordinated build, not a standalone carpentry project.
Begin planning before framing, HVAC, and electrical work are complete. Waiting until those stages are finished can mean removing drywall, rerouting systems, and rebuilding sections. Start by measuring the room, sketching the door and equipment locations, and identifying duct or ventilation routes. A closet or small-room DIY build typically takes four to eight weekends, while planning, measuring, and a cooling-load estimate take one to two evenings, plus professional review.
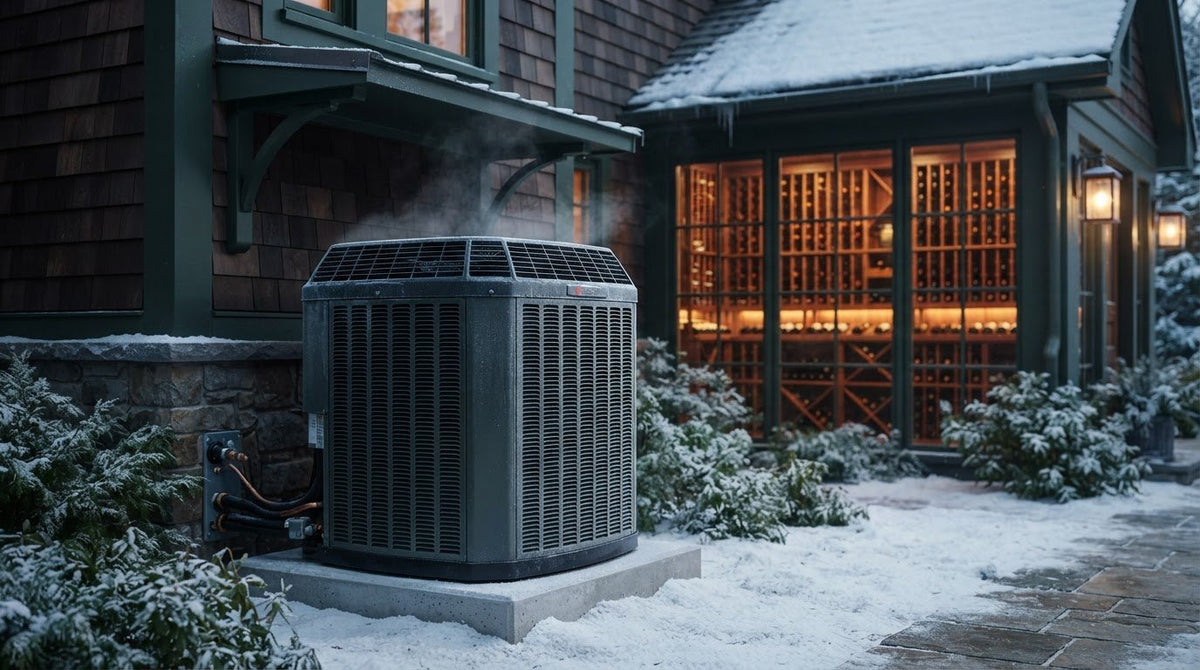
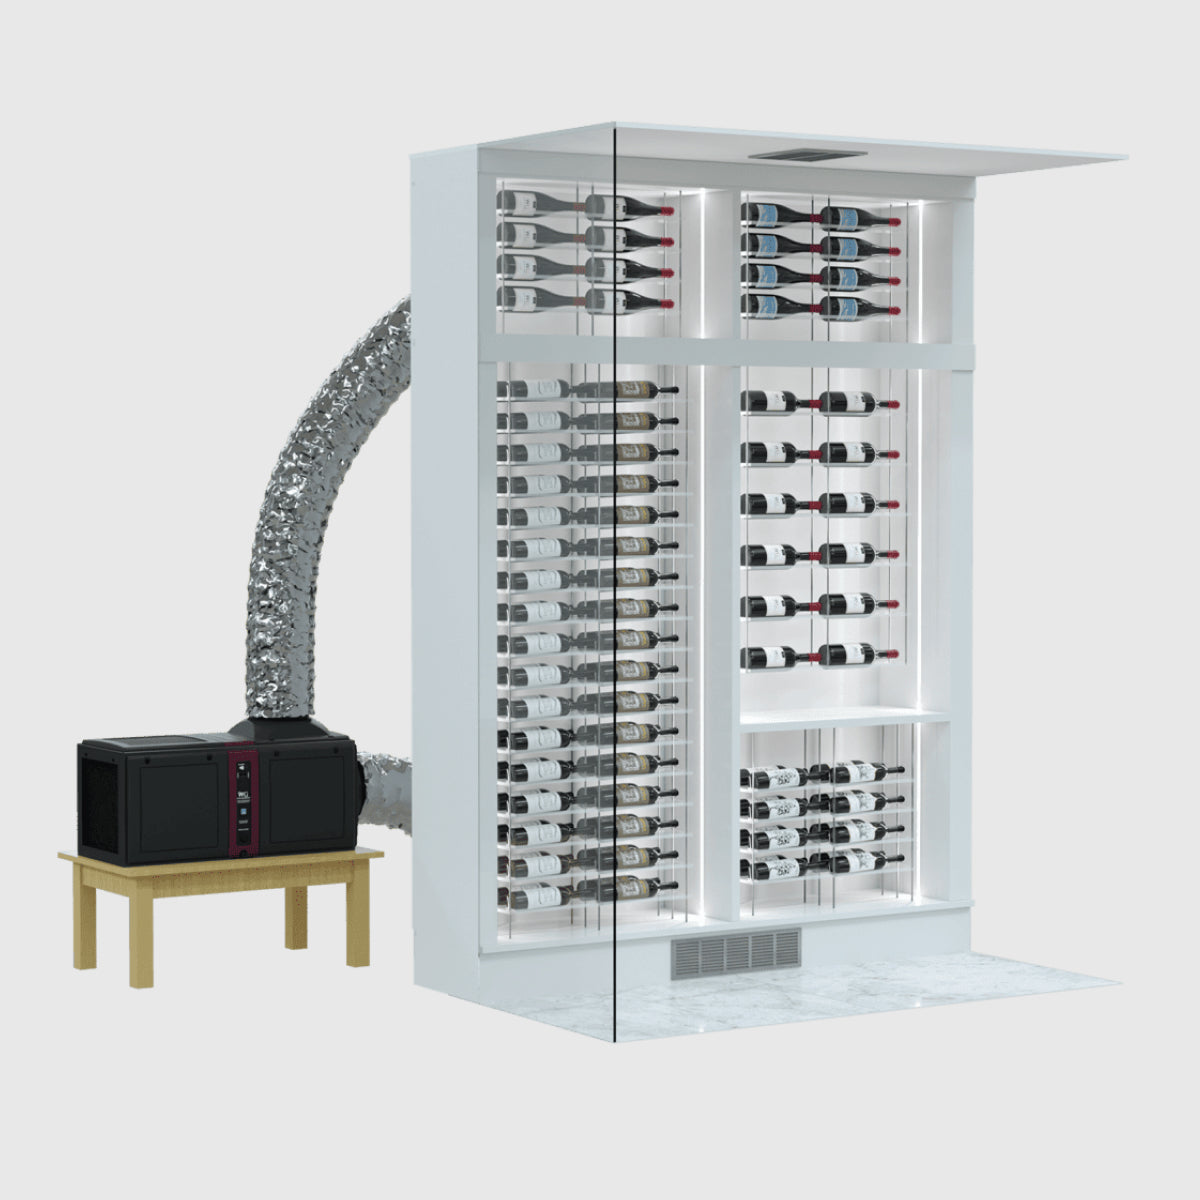
Set the cooling equipment’s route before building a soffit or closing a wall. For a ducted system, ask a licensed HVAC professional to determine the duct route before framing around it. Plan ducting, exhaust ventilation, and dedicated electrical provisions for the cooling system. A boxed-in condenser or blocked exhaust path can interfere with heat rejection, so keep the required airflow path clear. Coordinate the framing drawing with the cooling layout before cutting openings or fixing ceiling members in place.
Keep refrigerant work outside the DIY scope. In the United States, a refrigerant circuit must be opened, evacuated, or charged by a technician certified under Section 608 of the Clean Air Act, according to the U.S. Environmental Protection Agency. Homeowners can prepare the room and communicate equipment locations, but those refrigerant tasks require the stated certification. This distinction matters during installation and service, especially if framing changes restrict access to the unit or its connections.
Plan electrical work alongside the cooling system, not as an afterthought. Use a licensed electrician for cooling-system electrical work, and include applicable permits and inspections in the project plan. Before drywall, mark the equipment location and discuss the electrical route with the electrician. Keep framing clear of wiring access and the planned installation. This sequence aligns the room’s structure with the cooling unit’s electrical needs.
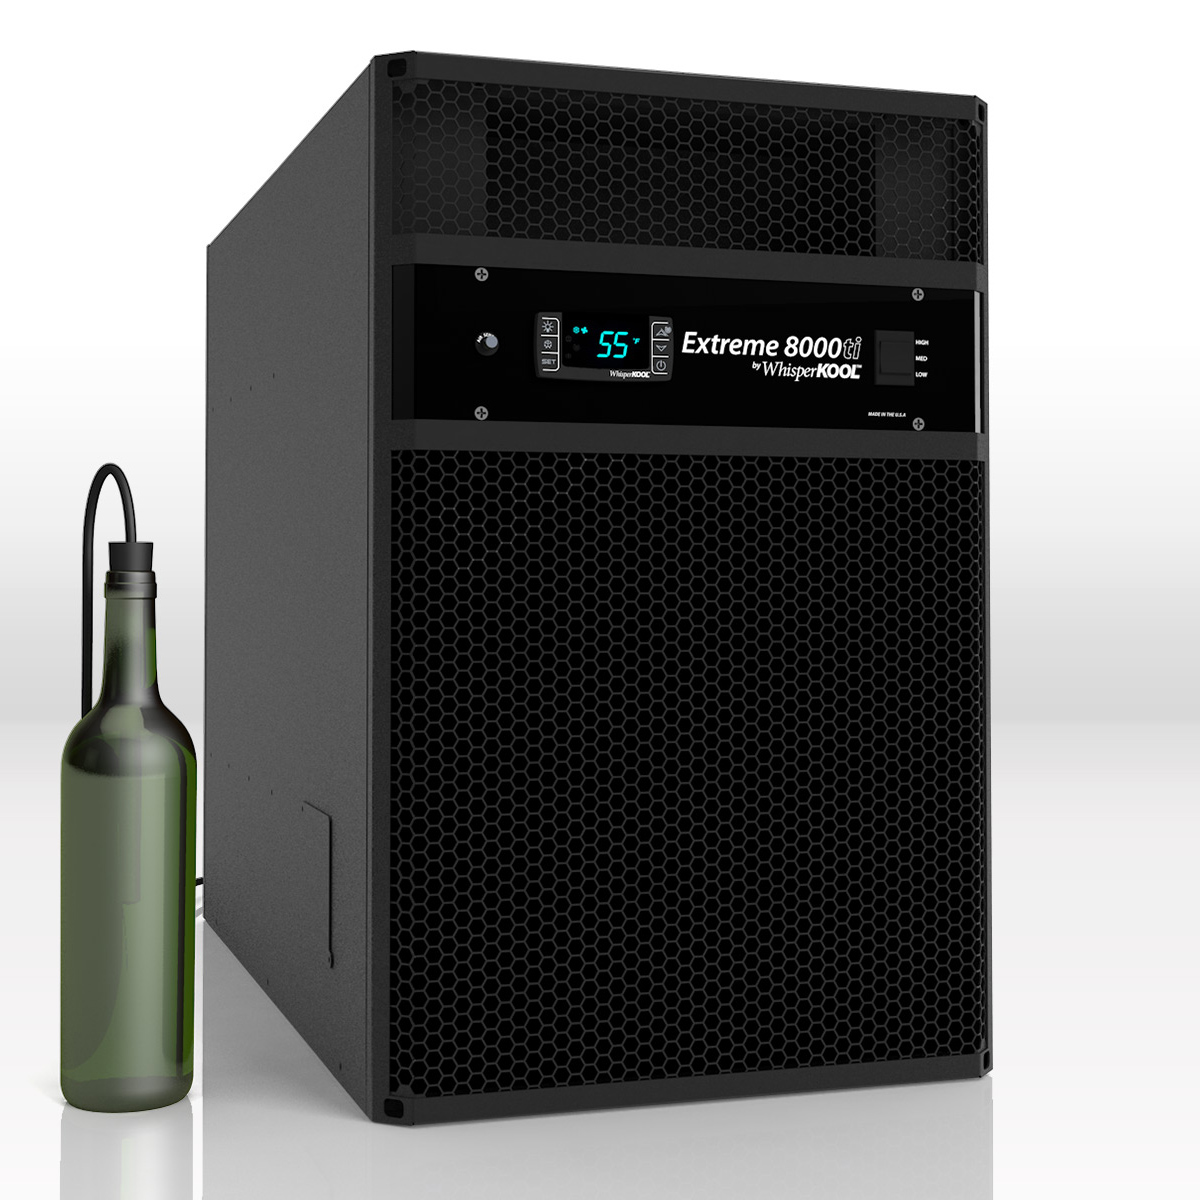
How do wine cellar cooling warranty requirements differ by brand and model? Warranty terms and installation instructions are specific to each model, so don’t assume one unit’s conditions apply to another. Review the selected unit’s documents before framing, especially the requirements for installation, ventilation, electrical work, and service access. This lets you plan around the actual equipment instead of discovering a conflict after the walls are finished.
2. Door sealing and conditioned-air loss
A cellar door is part of the room’s thermal enclosure, not merely an entryway. Gaps at the jamb, threshold, or head let conditioned air escape and warmer air enter. A poorly sealed wine cellar door can allow temperatures to drift to 58–62°F. Frame the opening square and plumb so the door closes evenly against its seals. If the latch pulls one corner tight while leaving another loose, air can still pass around the perimeter.
Before fitting trim, close the door and inspect the full contact line. Look for daylight, uneven gaps, or weatherstripping that does not compress. Check where the door meets the floor: a sweep set too high can leave a continuous opening. Adjust the frame or sealing components rather than relying on decorative casing to hide gaps. A consistent seal helps the cooling system maintain room conditions without constantly compensating for air exchange.
Choose and install the door assembly with the wine room’s insulated enclosure in mind. A standard interior door may not seal as closely as a purpose-selected cellar door, particularly if its frame shifts or the floor finish changes the clearance. Before finalizing the opening, account for the finished floor, door swing, hinges, latch, and seal locations. Test the closed door from both sides, and correct binding or uneven contact before paint and trim make adjustments harder.
Treat wall penetrations with the same care. Mark every planned opening for wiring, pipes, controls, or cooling connections before drywall closes the framing. Seal around each penetration as part of completing the room enclosure; an oversized opening around a cable can become an unnoticed air path. Keep the seal continuous and avoid exposed gaps behind escutcheons or trim plates. If several lines share an opening, close the remaining space rather than assuming the cover plate seals it.
Finish with a practical inspection. Close the door, check the perimeter and threshold, and look for gaps at every wall penetration. Recheck the door after adjusting its hardware, since changing the latch position can affect how firmly the seal meets the frame. These steps address air leakage, but they do not replace the cooling unit’s installation requirements or establish warranty coverage. A well-fitted door and sealed openings create a more complete enclosure and help reduce avoidable air loss.
3. Vapor barrier placement and continuity
A vapor barrier must form a continuous layer around the wine room’s insulated enclosure. A missing section, poorly joined seam, or misplaced barrier can let moisture reach colder surfaces inside a wall. Moisture can dampen insulation, reduce its effectiveness, and create conditions for musty odors or mold. Problems often start at transitions, such as where a wall meets the ceiling, rather than across an uninterrupted sheet.
Place the barrier on the appropriate side of the assembly, not simply on the side that is easiest to reach. A barrier on the cold side can contribute to moisture problems if humid air reaches surfaces where condensation can form. Correct placement depends on the room’s construction and cooling design. Consider the full assembly: insulation, barrier, framing, and penetrations must work together. A barrier cannot make up for insulation gaps or an open seam.
What installation requirements do wine cellar cooling manufacturers specify for framing and insulation? Requirements depend on the model, so use the selected unit’s installation instructions to determine framing clearances and insulation details. Plan the room enclosure as a coordinated assembly, with insulation, a continuous vapor barrier, and sealed penetrations, rather than treating each as a separate finishing task.
Before drywall installation, inspect every visible part of the barrier. Follow the seams from corner to corner, then examine ceiling transitions, framing intersections, and openings for wiring or pipes. Repair tears and close gaps before they disappear behind the wall finish. Check that insulation fills each framed cavity, with no exposed voids or areas pushed aside around penetrations. Photographing the completed barrier gives you a useful record before it is concealed.
Sequence the work so each trade preserves continuity. Mark planned electrical, plumbing, and cooling penetrations before installing the barrier. Seal each opening after the relevant line is in place, and repair the barrier if later work cuts or punctures it. For example, routing a new cable through a finished wall can leave a gap in the vapor-control layer. Don’t assume trim or a cover plate closes it.
The consequences can appear well after construction. In one wine-cellar scenario, humidity reached 78% three months after completion when the barrier was missing or misplaced. Use that example as a reminder to inspect the complete assembly before drywall, not as a universal prediction. Continuity, correct placement, and properly fitted insulation help limit moisture movement and preserve the room’s thermal performance.
4. Condensation, mold, and cooling inefficiency
Condensation forms when humid air meets a surface cold enough for moisture to collect. In a wine room, gaps in insulation and breaks in vapor control can let moisture reach colder framing or wall surfaces. Damp insulation then performs less effectively, allowing more heat to enter. The cooling system must work harder against that added load. A cellar scenario describes a system running constantly yet failing to cool below 60°F by its fourth year.
Look for clues around the room’s boundaries, not just at the cooling unit. During inspection, note damp patches, musty odors, or persistent moisture near corners, ceiling edges, and penetrations. A cellar scenario with a missing or misplaced vapor barrier describes mold appearing on wine labels six months after completion. Mold on stored items is a serious sign of a moisture problem, not a cosmetic issue to conceal. Trace the affected area toward nearby insulation, seams, and openings.
Humidity readings help distinguish a brief surface issue from a room-wide condition. One cellar example describes humidity above 50% as desirable, with a target range of 60–70%. The floor in that example is expected to tolerate 55 percent to 65 percent relative humidity. Those figures describe different considerations: the room’s humidity target and the floor’s stated tolerance. Avoid assuming that a material’s tolerance defines the ideal humidity throughout the cellar.
For a practical check, inspect the room after the cooling system has operated under normal conditions. Look for moisture on cold surfaces, damp insulation at accessible edges, and staining around framing joints. Compare humidity readings with visible conditions rather than relying on one observation. If condensation appears at a wall corner, inspect the insulation and vapor-control layer behind it. A wet patch can point to a break in the enclosure, not just a cooling-unit fault.
Correct the assembly before covering or refinishing affected areas. Restore insulation where cavities are incomplete, reconnect any broken vapor-control layer, and seal penetrations that leave openings through the enclosure. Keep the cooling system’s airflow and exhaust path clear; restricting ventilation can add strain without resolving moisture trapped inside the wall. Photograph repairs before drywall or trim conceals the work.
These checks show how framing quality affects cooling performance. A room with continuous insulation and moisture control creates a more consistent load than one with damp cavities or exposed gaps. If the system runs constantly, inspect the enclosure as well as the equipment. Addressing the source of condensation can prevent recurring moisture and reduce avoidable cooling inefficiency.
5. Framing non-structural partitions and planning around cooling equipment
Non-structural partitions still affect airflow, access, and cooling load. Even a short divider can block a return path or trap condenser exhaust. Before framing, mark the cooling unit, its intake and exhaust, and any duct route on the room plan. Keep these routes open throughout installation, including behind cabinets and soffits. Some DIY wine room framing mistakes that void a cooling warranty start with placing a partition without considering the unit’s airflow.
What framing mistakes can void a wine cellar cooling unit warranty? Blocking required airflow, trapping condenser exhaust, or preventing installation according to the unit’s instructions can put warranty coverage at risk. Terms differ by brand and model, so follow the requirements for the selected system instead of assuming one layout suits every unit.
What clearance and ventilation space does a wine cellar cooling unit need? The required clearance depends on the unit’s intake, exhaust, and service-access design. Preserve the space specified for that model. Don’t direct exhaust into a closet, attic, or other unventilated enclosure; restricted heat removal can reduce capacity and cause short cycling during warm weather.
Plan service access before fixing partition locations. A removable panel or clear approach can provide access without dismantling finished framing. Keep permanent studs, shelves, and storage niches clear of controls and service connections. If the design includes a soffit, coordinate its depth and route with the equipment layout before closing the ceiling. The enclosure should protect the unit without restricting airflow or access.
Can framing a wine room against an exterior wall cause cooling or warranty problems? It can increase the room’s heat load, particularly if insulation and glass are not planned for that exposure. The wall location alone does not establish a warranty problem. What matters is whether the enclosure and equipment installation meet the unit’s requirements. Account for room size, insulation values, and glass area when planning cooling capacity.
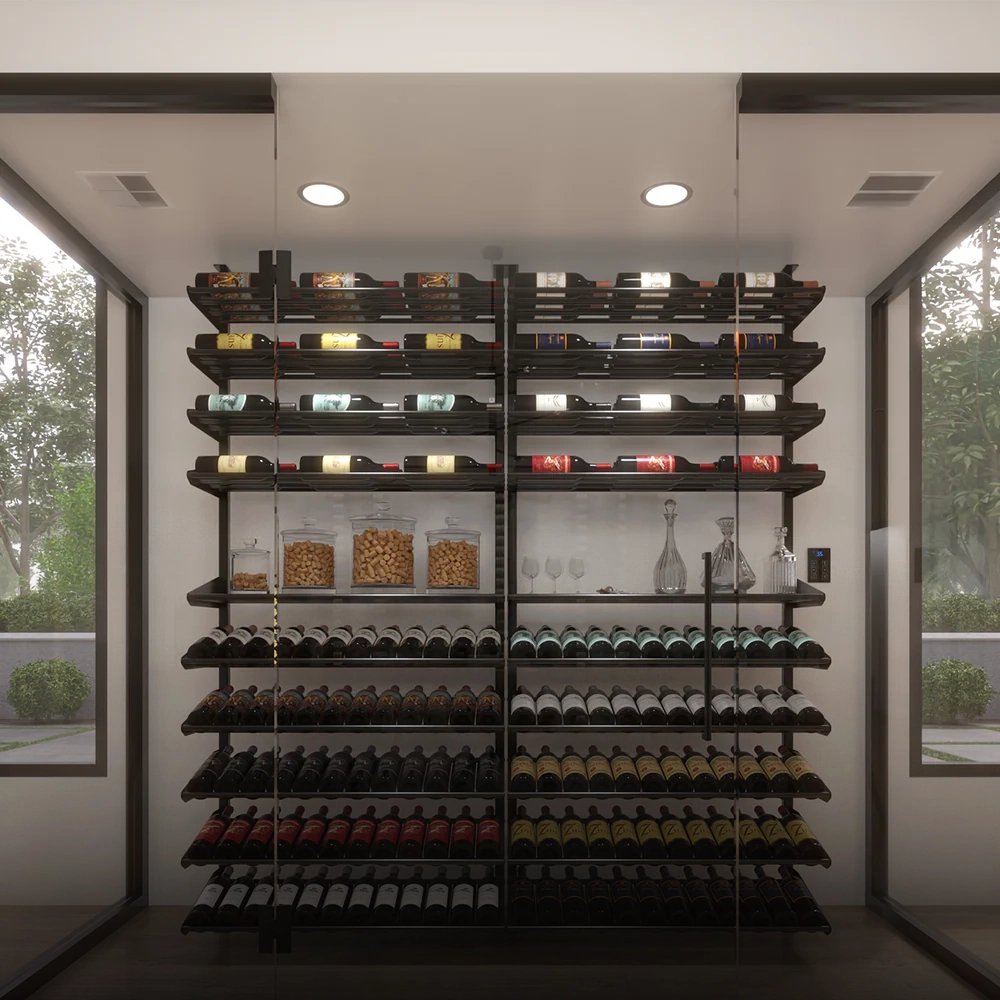
Draw the partition line, unit footprint, ventilation path, and service access on one plan. Then consider how each framed surface affects airflow and heat gain. Expansive glass walls can increase heat load, so account for their specifications before finalizing a partition or equipment position. Direct condenser exhaust toward a space where heat can dissipate, not back into the cellar.
Before drywall, compare the framing with the selected unit’s installation instructions. Confirm that the enclosure preserves the specified clearance, ventilation, and access. Avoiding DIY wine room framing mistakes that void a cooling warranty starts with planning these equipment requirements before finishes conceal the layout.
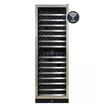
Rosehill Wine Cellars: Vantaggio V300 Wine Cabinet
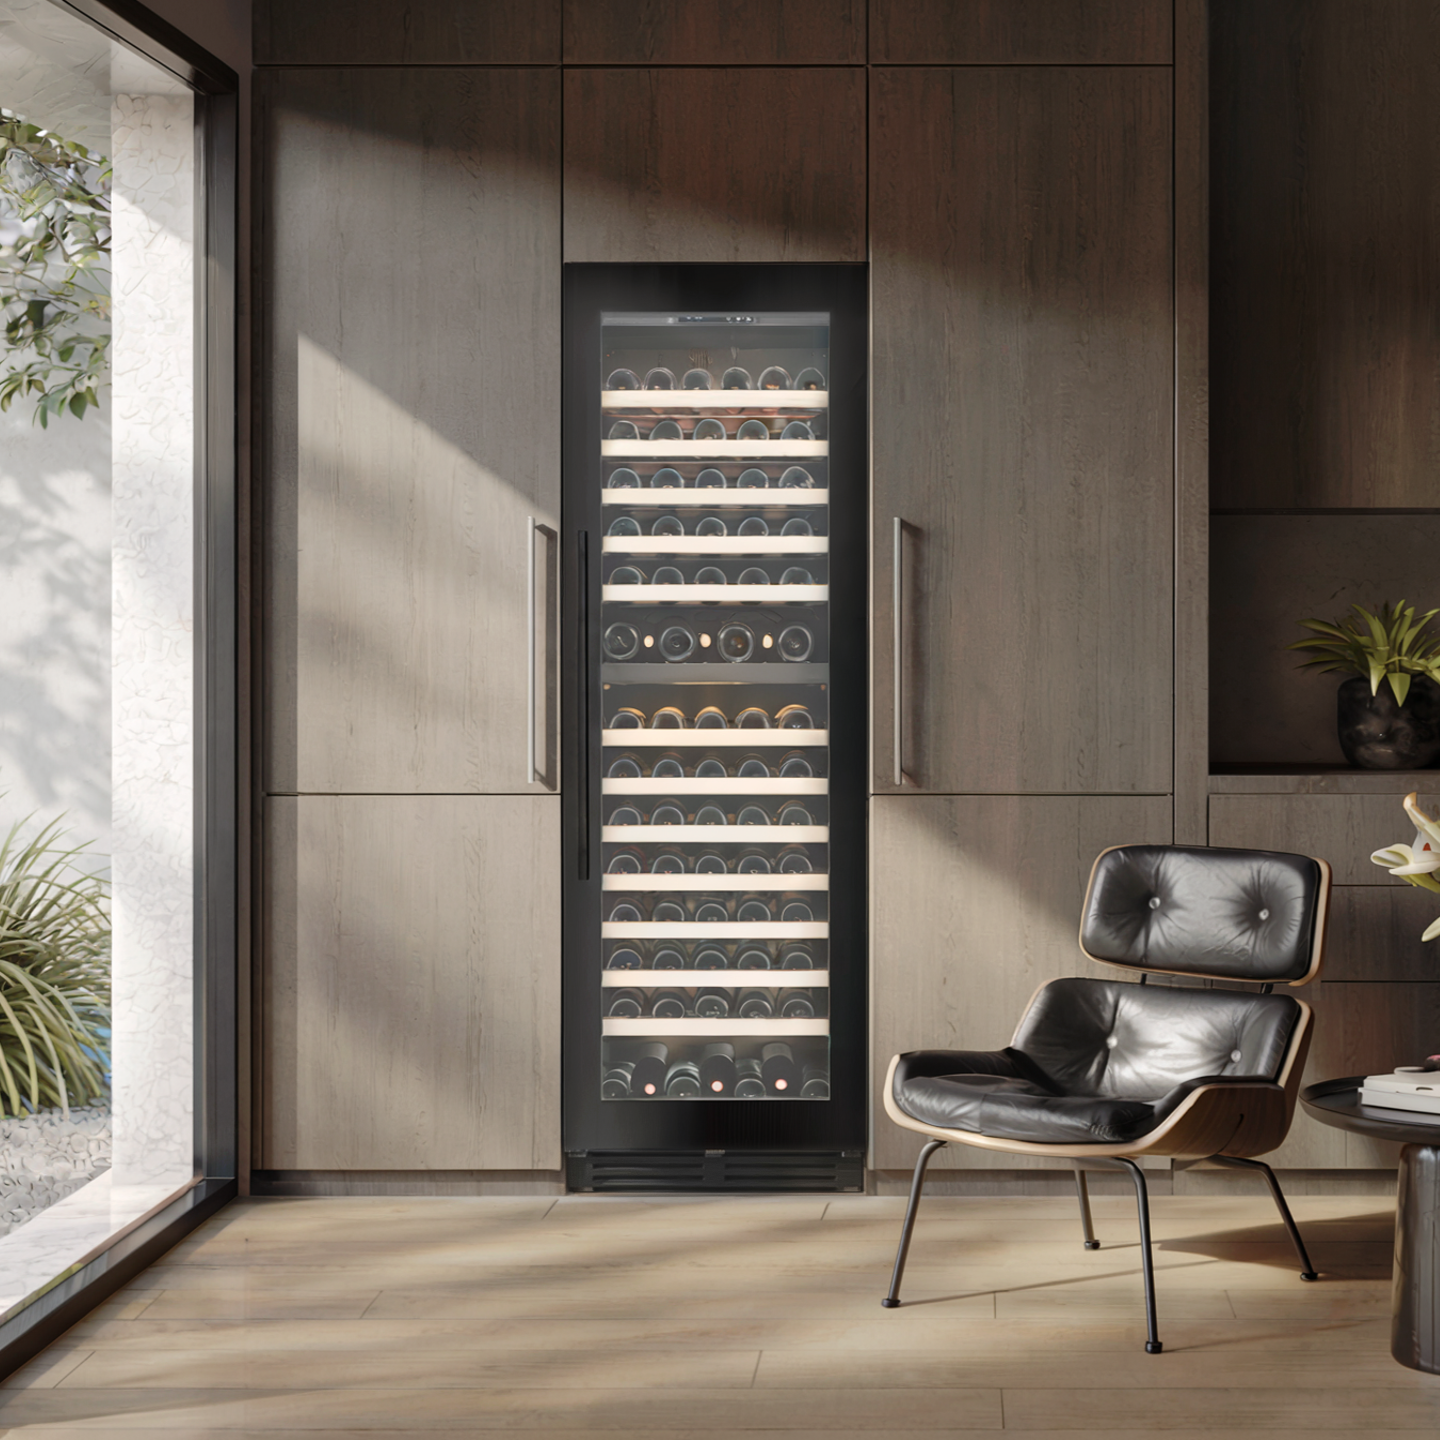
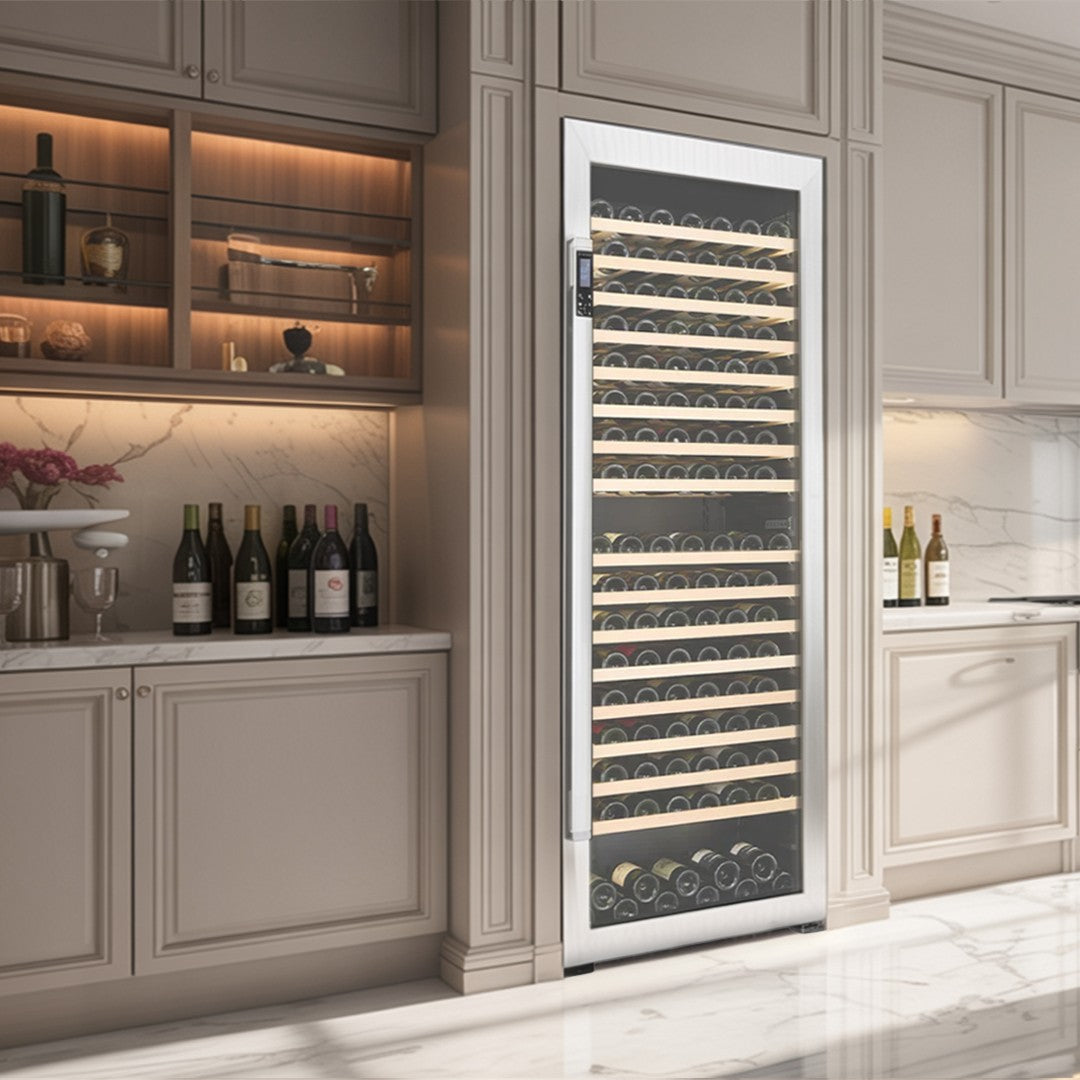
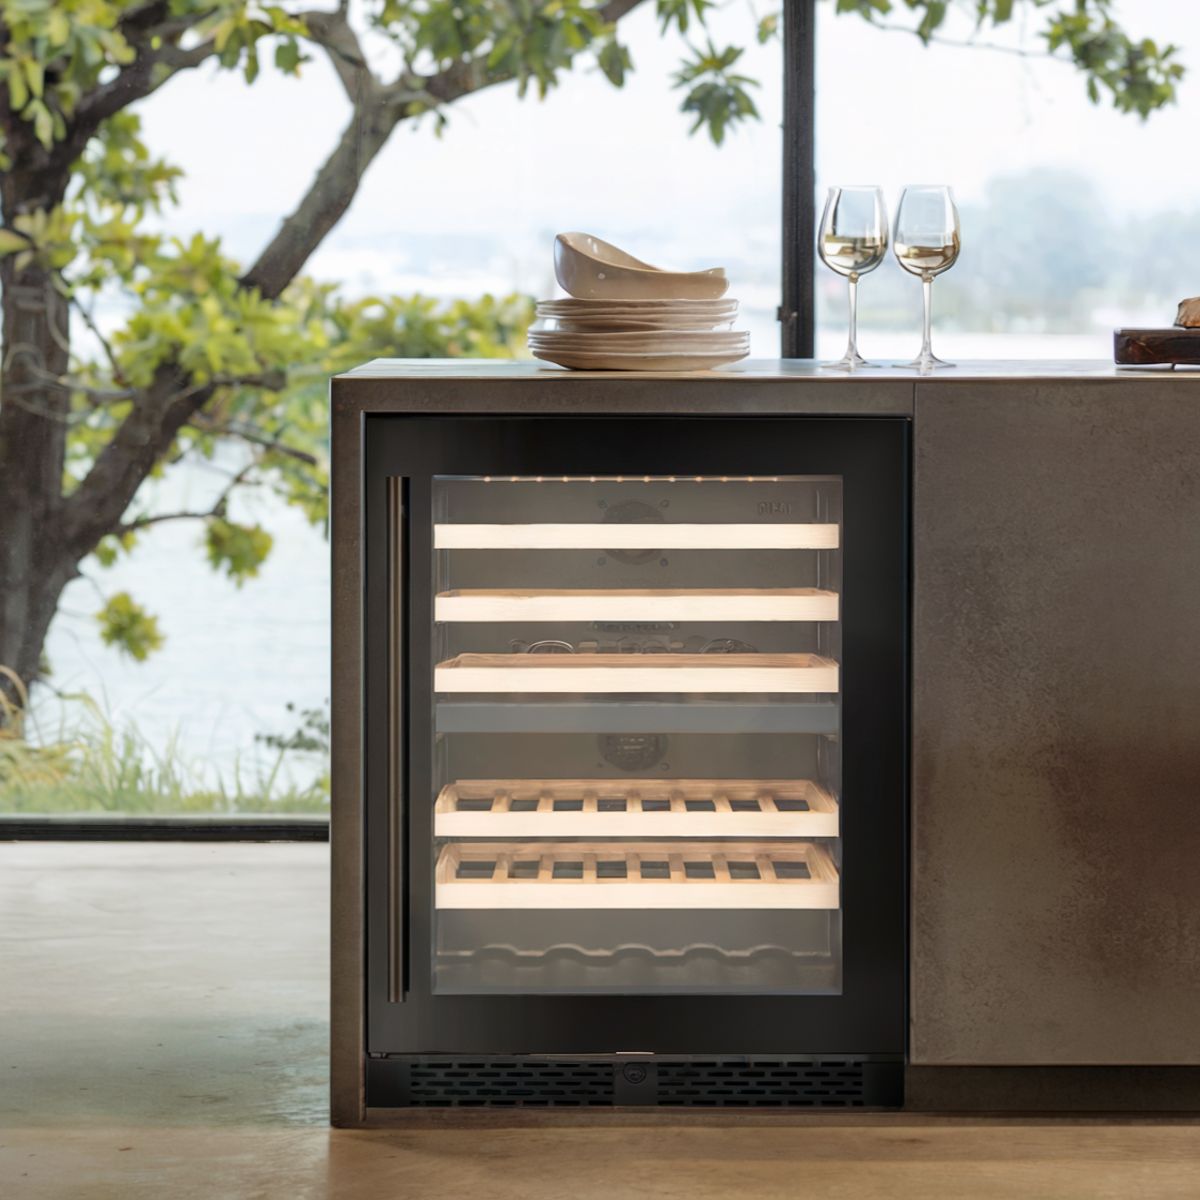
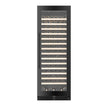
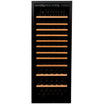
Rosehill Wine Cellars offers the Vantaggio V300 Wine Cabinet as an alternative to framing a dedicated wine room. If your space or renovation plans make a separate enclosure impractical, a wine cabinet may suit your storage approach without requiring room partitions. For a built-in cellar project, Rosehill Wine Cellars also offers Custom Wine Cellar Design and Wine Cooling Units, helping you consider the room and its cooling equipment together.
Use the framing checks in this guide to clarify whether your project needs a dedicated room or a different storage solution. Explore the Vantaggio Wine Cabinets, then visit Rosehill Wine Cellars online to learn more.
Plan the Next Step With Confidence
Before committing to a cellar layout, turn your framing plan into a coordinated design for storage, cooling, and access. Addressing DIY wine room framing mistakes that could put cooling warranty coverage at risk starts with matching the room’s construction to the equipment and the way you intend to store your collection. If a dedicated room isn’t the right fit, Rosehill Wine Cellars offers the Vantaggio V300 Wine Cabinet. For a cellar project, Premier Cru Classic Racking and Premier Cru Modern Racking provide distinct racking options to consider alongside the room design.
A thoughtful next step is to discuss your space, preferred layout, and storage approach before construction details are finalized. That conversation can help bring the design choices into focus without treating framing as separate from the room’s purpose. Contact Rosehill Wine Cellars to explore options for your wine storage project, and move ahead with a plan shaped around your space and collection.
Frequently Asked Questions
Can You Really Build a Wine Cellar Yourself?
Yes, a homeowner can frame and finish many parts of a cellar, while specialized work should be assigned appropriately. You can prepare a framing plan and coordinate equipment locations, for example, but U.S. refrigerant-circuit work has specific certification requirements. Make a task list that separates carpentry from HVAC and electrical work. This helps you manage the project without treating every installation task as suitable for DIY.
What Are the Most Common Wine Cellar Mistakes?
Common mistakes include choosing equipment before assessing the room, overlooking the enclosure, and planning storage without considering access. A tall racking layout, for instance, may block a cooling unit’s service panel, while a glass feature may add heat to the room. Map bottle storage, door swing, equipment location, and glass areas together. This makes conflicts visible while the design can still be adjusted.
Where Do DIY Wine Cellars Most Often Go Wrong?
DIY projects often run into trouble at the transitions between trades and materials. A framing crew may leave an opening for a later installation, while the person finishing the wall assumes another trade will seal it. Create one shared plan marking every opening, equipment connection, and finish boundary. Before covering a wall, compare the work with the plan and record any changes that need attention.
What wall and ceiling R-values are required for a wine room cooling system?
There isn’t one R-value that applies to every wine room and cooling system. Required insulation performance depends on the room’s dimensions, surrounding conditions, glass area, and selected cooling equipment. A room with expansive glass has a different heat load from one with insulated walls and no glass. Use the equipment’s installation guidance and a room-specific cooling-load assessment to determine the insulation design before closing the framing.
How should a wine room be insulated and vapor-sealed to prevent condensation?
Fit insulation continuously within the framed cavities, then integrate it with a continuous vapor-control layer suited to the wall assembly. Pay particular attention to corners, ceiling junctions, and openings for wiring or pipes, where continuity can be interrupted. Before drywall, inspect the entire visible layer and repair tears or gaps. For example, seal around a cable opening rather than simply hiding it behind a cover plate.
How do improper door framing and air leaks affect wine cellar cooling performance?
An out-of-square door opening can keep the door from contacting its seals evenly, allowing room air to exchange with the surrounding space. That extra air movement can make temperature control more demanding. Check the opening against the planned finished floor and door hardware, then test the closed door around its full perimeter. Inspect nearby trim and service openings too, since hidden gaps can undermine an otherwise well-fitted door.
Do wine cellar cooling warranties require installation by a licensed HVAC contractor?
Warranty conditions vary by cooling-unit brand and model, so there is no single rule for every installation. Read the warranty and installation instructions for the exact unit before selecting an installer or finalizing the room. Distinguish equipment installation requirements from other applicable rules. Keep the model documentation and installation records together; they help identify which instructions apply if the system needs service.
How can improper framing cause moisture damage, mold, or cooling system failure?
Framing can create cold spots or concealed gaps when insulation is incomplete or the moisture-control layer is interrupted. Moist air reaching a cold surface can condense, leaving damp materials that may support mold and reduce insulation performance. For example, moisture near a wall corner calls for examining the surrounding assembly, not just wiping the surface. Address the source and restore the enclosure before replacing finishes, or the moisture problem may persist.